How to Clean and Sanitize Your Electric Shaver Blades: A Step-by-Step Hygiene Guide
By Myfreebird | Published: 2026-06-14
Category: How-to Guides
Learn the proper step-by-step method to clean and sanitize your electric shaver blades. Extend blade life, prevent irritation, and maintain peak hygiene with our expert guide.
Your electric shaver is one of the most personal grooming tools you own — it touches your face, neck, and sensitive skin every day. But how often do you think about what’s living on those blades? Dead skin cells, dried shaving cream, natural oils, and even bacteria can build up quickly. Without proper cleaning and sanitizing, your shaver can become a breeding ground for germs, leading to skin irritation, razor bumps, and reduced performance.
In this comprehensive guide, we’ll walk you through exactly how to clean and sanitize your electric shaver blades safely and effectively. Whether you use a foil shaver, rotary shaver, or a precision trimmer, these steps will keep your tool in top shape and your skin happy. Let’s dive into the best electric shaver blade cleaning routine for long-lasting hygiene.
Why Cleaning Your Shaver Blades Matters More Than You Think
Many men and women treat their electric shaver like a set-it-and-forget-it tool. But skipping regular cleaning can lead to:
- Blunt blades: Hair and debris cause friction, dulling the cutting edge faster.
- Skin infections: Bacteria and fungi thrive in damp, dark blade compartments.
- Rust and corrosion: Moisture trapped against metal blades accelerates wear.
- Poor shave quality: A clogged shaver pulls hairs instead of cutting them cleanly.
According to dermatologists, cleaning your shaver after every use reduces the risk of folliculitis and razor bumps. Plus, a well-maintained shaver can last years longer than one that’s neglected. The good news? It only takes a few minutes.
What You’ll Need to Clean Your Electric Shaver Blades
Before you start, gather these supplies:
- Small brush (often included with your shaver or a soft toothbrush)
- Isopropyl alcohol (70% or higher) for sanitizing
- Mild soap or shaver cleaning solution
- Clean, lint-free cloth or microfiber towel
- Small bowl or cup for soaking
- Lubricating oil (shaver-specific or mineral oil)
Note: Always check your shaver’s manual before using liquids — some models are not fully waterproof.
Step-by-Step Guide: How to Clean and Sanitize Electric Shaver Blades
Step 1: Disassemble the Shaver Head
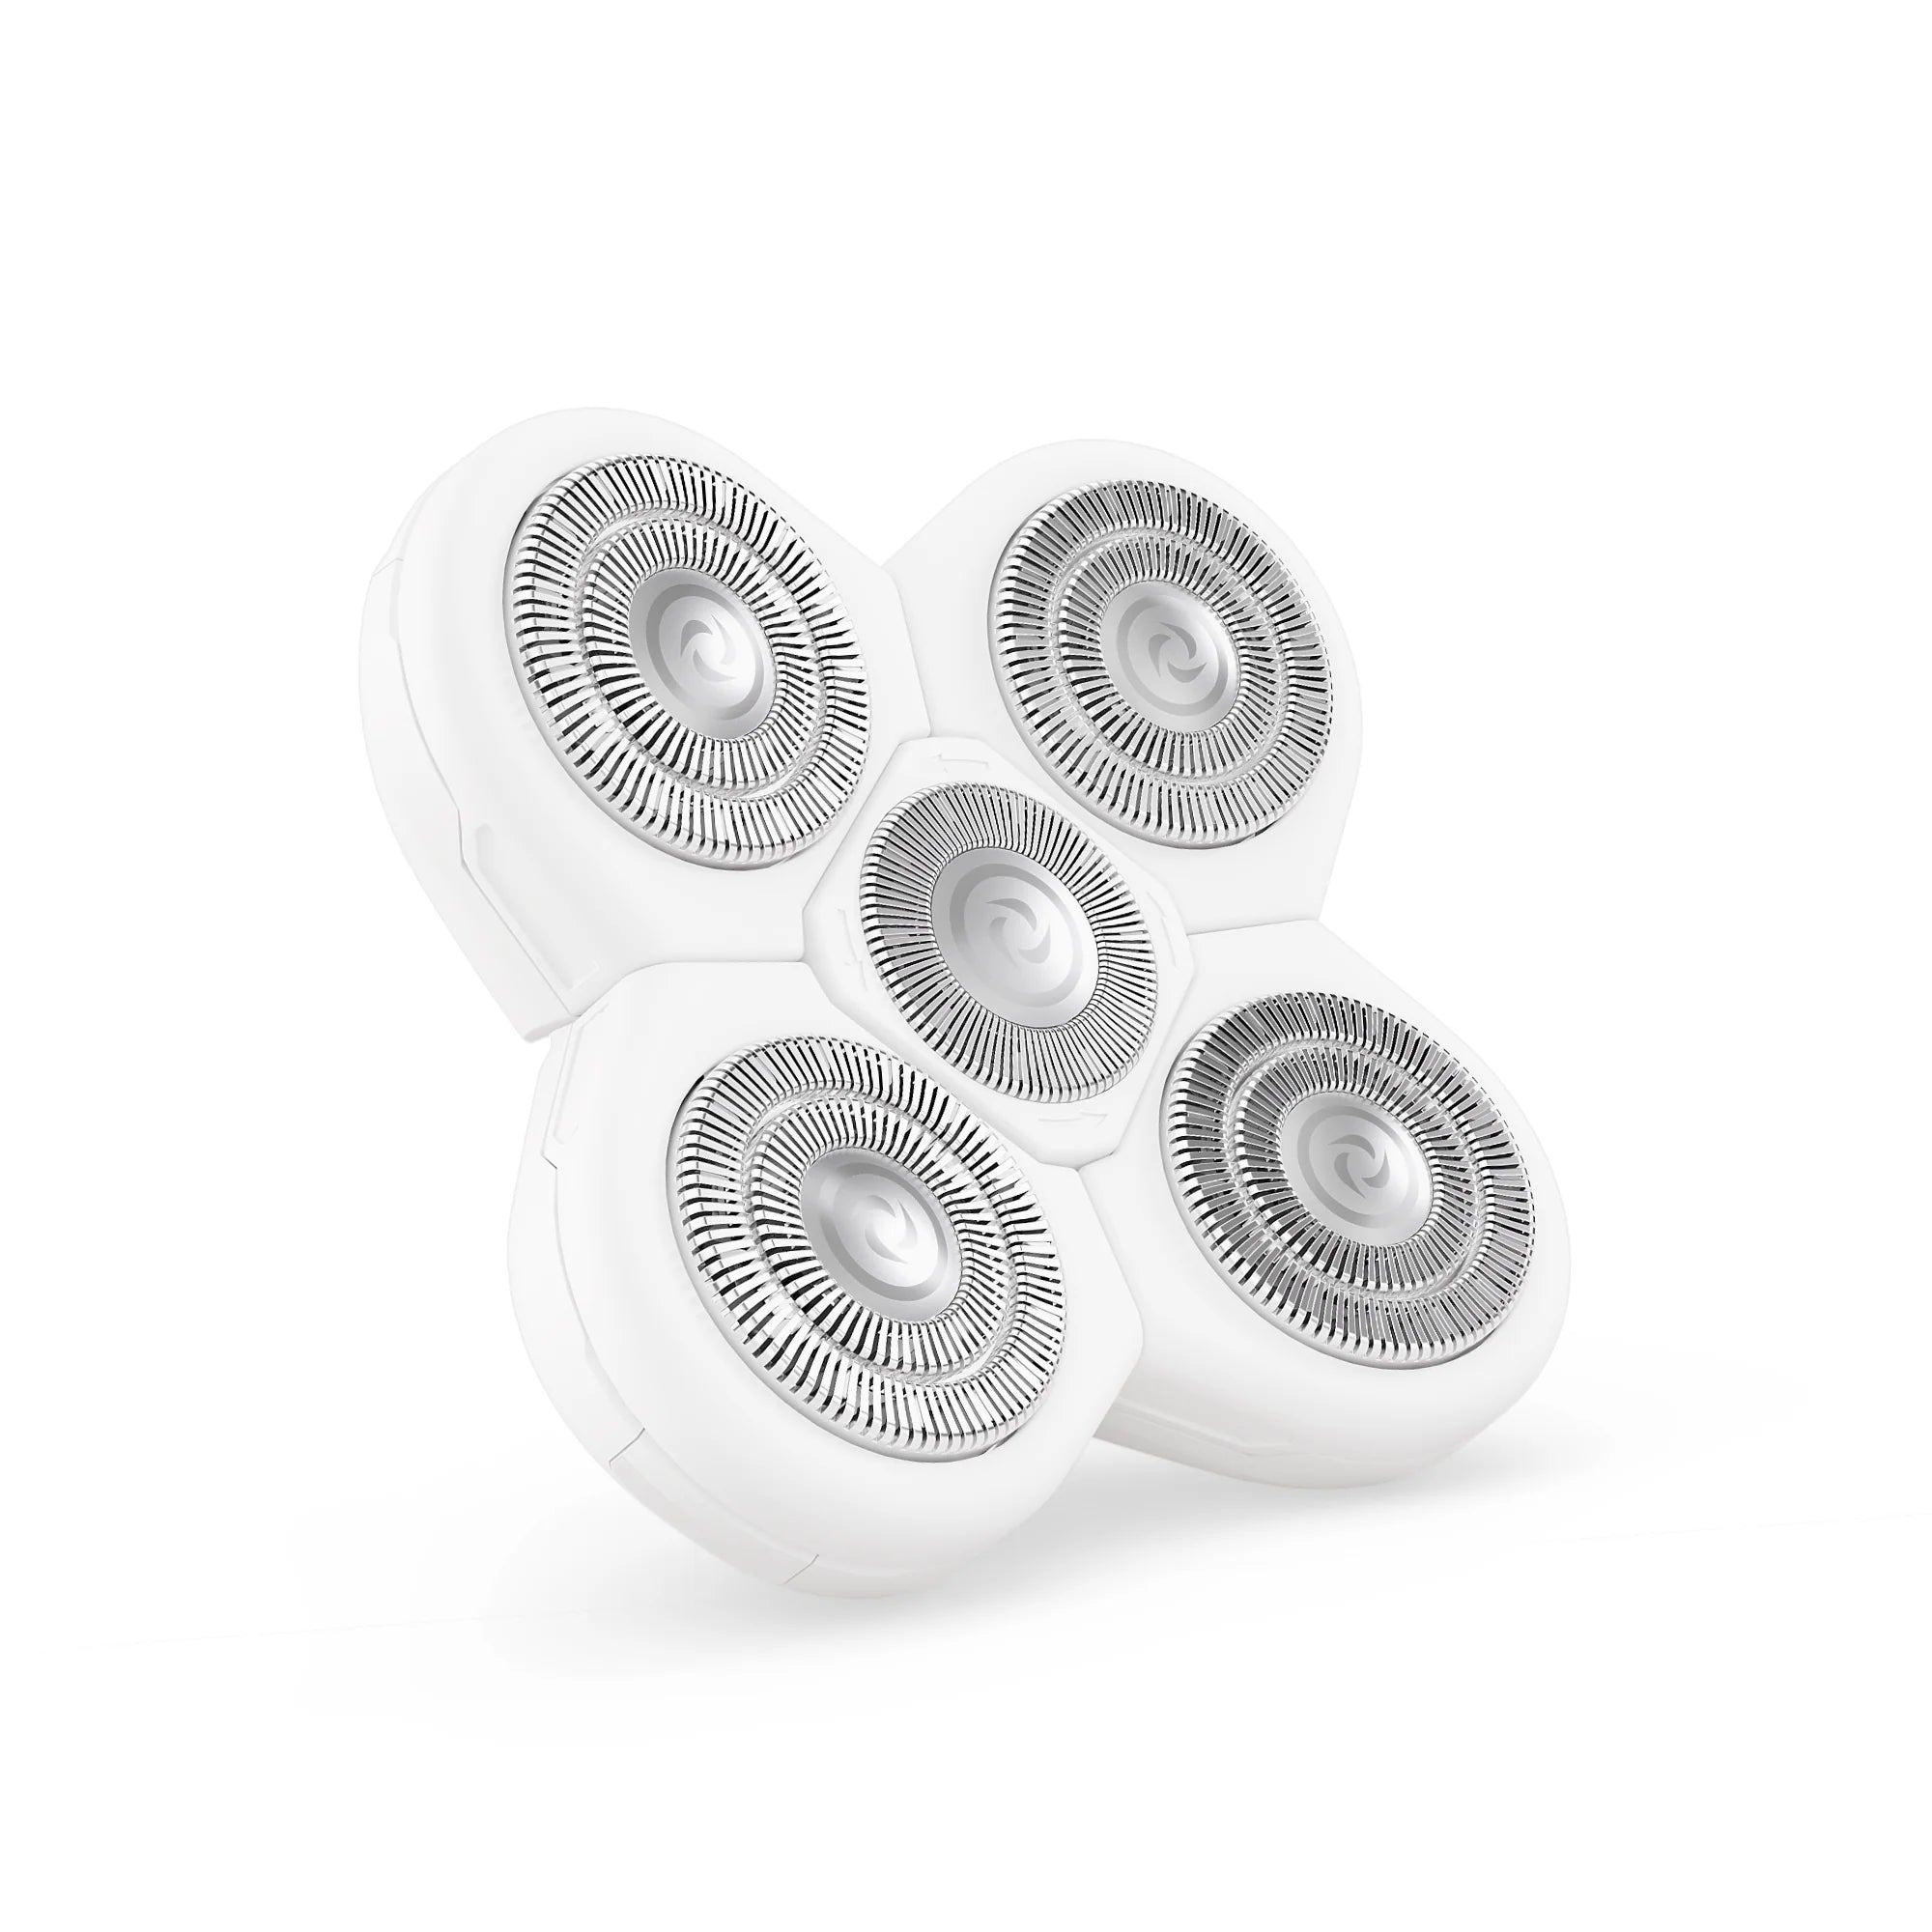
Turn off and unplug your shaver. Remove the blade assembly, foil, or cutter block according to your model’s instructions. Most modern shavers have a latch or button that releases the head. If you’re using a Precision Clipper & Guards, detach the guard and blade head carefully. Lay all parts on a clean towel.
Step 2: Brush Away Loose Hair and Debris
Use the included brush to sweep away hair clippings from the blades, foil, and inner cutter. Pay special attention to the corners where hair tends to pack tightly. For stubborn debris, use a toothpick (gently) to dislodge it. This dry brushing step is crucial — it prevents clogs when you add water or alcohol.
Step 3: Rinse with Warm Water (If Waterproof)
If your shaver is waterproof, rinse the blade assembly under warm running water. Avoid hot water, as it can warp plastic components. Hold the head at an angle so water flows through the cutting system. For non-waterproof models, skip this step and proceed to wiping with a damp cloth.
Step 4: Deep Clean with Soap or Cleaning Solution
Fill a small bowl with warm water and a drop of mild liquid soap. Submerge the blade assembly (only if waterproof) and let it soak for 2–3 minutes. Gently swish it around to loosen dried-on cream and oil. If you have a Shave Care Kit, you can use the included cleaning solution for a deeper clean — just follow the kit instructions.
For non-waterproof blades, dip a toothbrush in soapy water and gently scrub the blades and housing. Then wipe with a damp cloth.
Step 5: Sanitize the Blades with Alcohol
This is the most important step for hygiene. Pour a small amount of 70% isopropyl alcohol into a bowl. Submerge the blade assembly for 30–60 seconds. Alcohol kills bacteria, viruses, and fungi without damaging the metal. It also evaporates quickly, reducing the risk of rust. If you can’t submerge, spray alcohol onto the blades and let it sit for a minute.
Step 6: Dry Thoroughly
Shake off excess liquid and place the parts on a clean, dry towel. Let them air-dry completely — at least 15–20 minutes. Never reassemble a wet shaver, as trapped moisture leads to rust and mold growth. Use a hairdryer on low heat if you’re in a hurry, but keep it moving to avoid overheating.
Step 7: Lubricate the Blades
Once dry, apply one drop of shaver oil or mineral oil to the blade edges. Run the shaver for a few seconds to distribute the oil. Lubrication reduces friction, prevents corrosion, and keeps the blades gliding smoothly. This step extends blade life significantly.
Step 8: Reassemble and Store Properly
Put the blade assembly back together exactly as it was. Store your shaver in a dry place — never leave it in the shower or a humid bathroom cabinet. If you travel, consider using a FlexSeries® Pro Travel Case to protect the blades and keep them clean on the go.
How Often Should You Clean Your Electric Shaver Blades?
Frequency depends on usage:
| Usage Pattern | Cleaning Frequency |
|---|---|
| Daily shaving | After every use (rinse + brush) |
| Every other day | After every use (brush + weekly deep clean) |
| Occasional (1–2x per week) | After each use (brush + monthly deep clean) |
| Shared shaver (not recommended) | Sanitize with alcohol before each use |
In addition, do a full sanitize shaver blades routine (steps 4–6) at least once a month, or more often if you have sensitive skin or acne.
Common Mistakes to Avoid
Even experienced groomers make these errors. Here’s what NOT to do:
- Using boiling water: High heat can damage plastic and dull blades permanently.
- Scrubbing with abrasive pads: Steel wool or rough sponges scratch the blade surface, leading to faster dulling.
- Skipping drying time: Moisture is the #1 cause of rust and bacterial growth.
- Reassembling before oiling: Running dry blades increases friction and wear.
- Ignoring the charging port: Dust and hair can accumulate in the charging dock — wipe it clean weekly.
Signs Your Blades Need Replacement
No matter how well you clean, blades eventually wear out. Replace them when you notice:
- Pulling or tugging during shaving
- Visible nicks or chips on the foil or cutter
- Rust spots that won’t come off
- Unusual noise (whining or grinding)
- Reduced shave closeness even after cleaning
For compatible replacement parts and safety guards, explore the Pro Clipper Safety Guards to protect your skin while maintaining performance.
Bonus Tips for Long-Lasting Shaver Hygiene
- Keep a dedicated brush near your shaver for quick touch-ups.
- Use a UV sanitizer: Some travel cases include UV-C light to kill germs (handy for shared tools).
- Replace blades every 12–18 months (or per manufacturer recommendation).
- Don’t share your shaver: Even with sanitizing, sharing increases infection risk. If you must share, sanitize with alcohol for 2 minutes.
- Pair with proper pre-shave prep: Using a quality shaving cream or gel reduces residue buildup on blades.
Conclusion: Make Shaver Cleaning a Habit
Cleaning and sanitizing your electric shaver blades doesn’t have to be a chore. Once you build it into your routine, it takes less than five minutes and pays off in smoother shaves, healthier skin, and a longer-lasting tool. Remember: a clean shaver is a happy shaver — and your face will thank you.
Ready to elevate your grooming hygiene? Check out the FlexSeries® Pro Charging Dock to keep your shaver organized and charged while you maintain that pristine blade condition.