How to Clean and Maintain Your Electric Shaver for Long-Lasting Performance
By Myfreebird | Published: 2026-07-01
Category: How-to Guides
Learn the best practices for cleaning and maintaining your electric shaver to extend its lifespan, ensure hygiene, and get a smooth, comfortable shave every time.
Your electric shaver is an investment in your daily grooming routine, and like any quality tool, it requires regular care to perform at its best. Without proper cleaning and maintenance, hair clippings, dead skin cells, and oil buildup can dull the blades, clog the mechanism, and even lead to skin irritation or infections. Whether you use a foil shaver, rotary shaver, or a versatile grooming system, a few simple habits can dramatically extend the life of your device and keep it running like new.
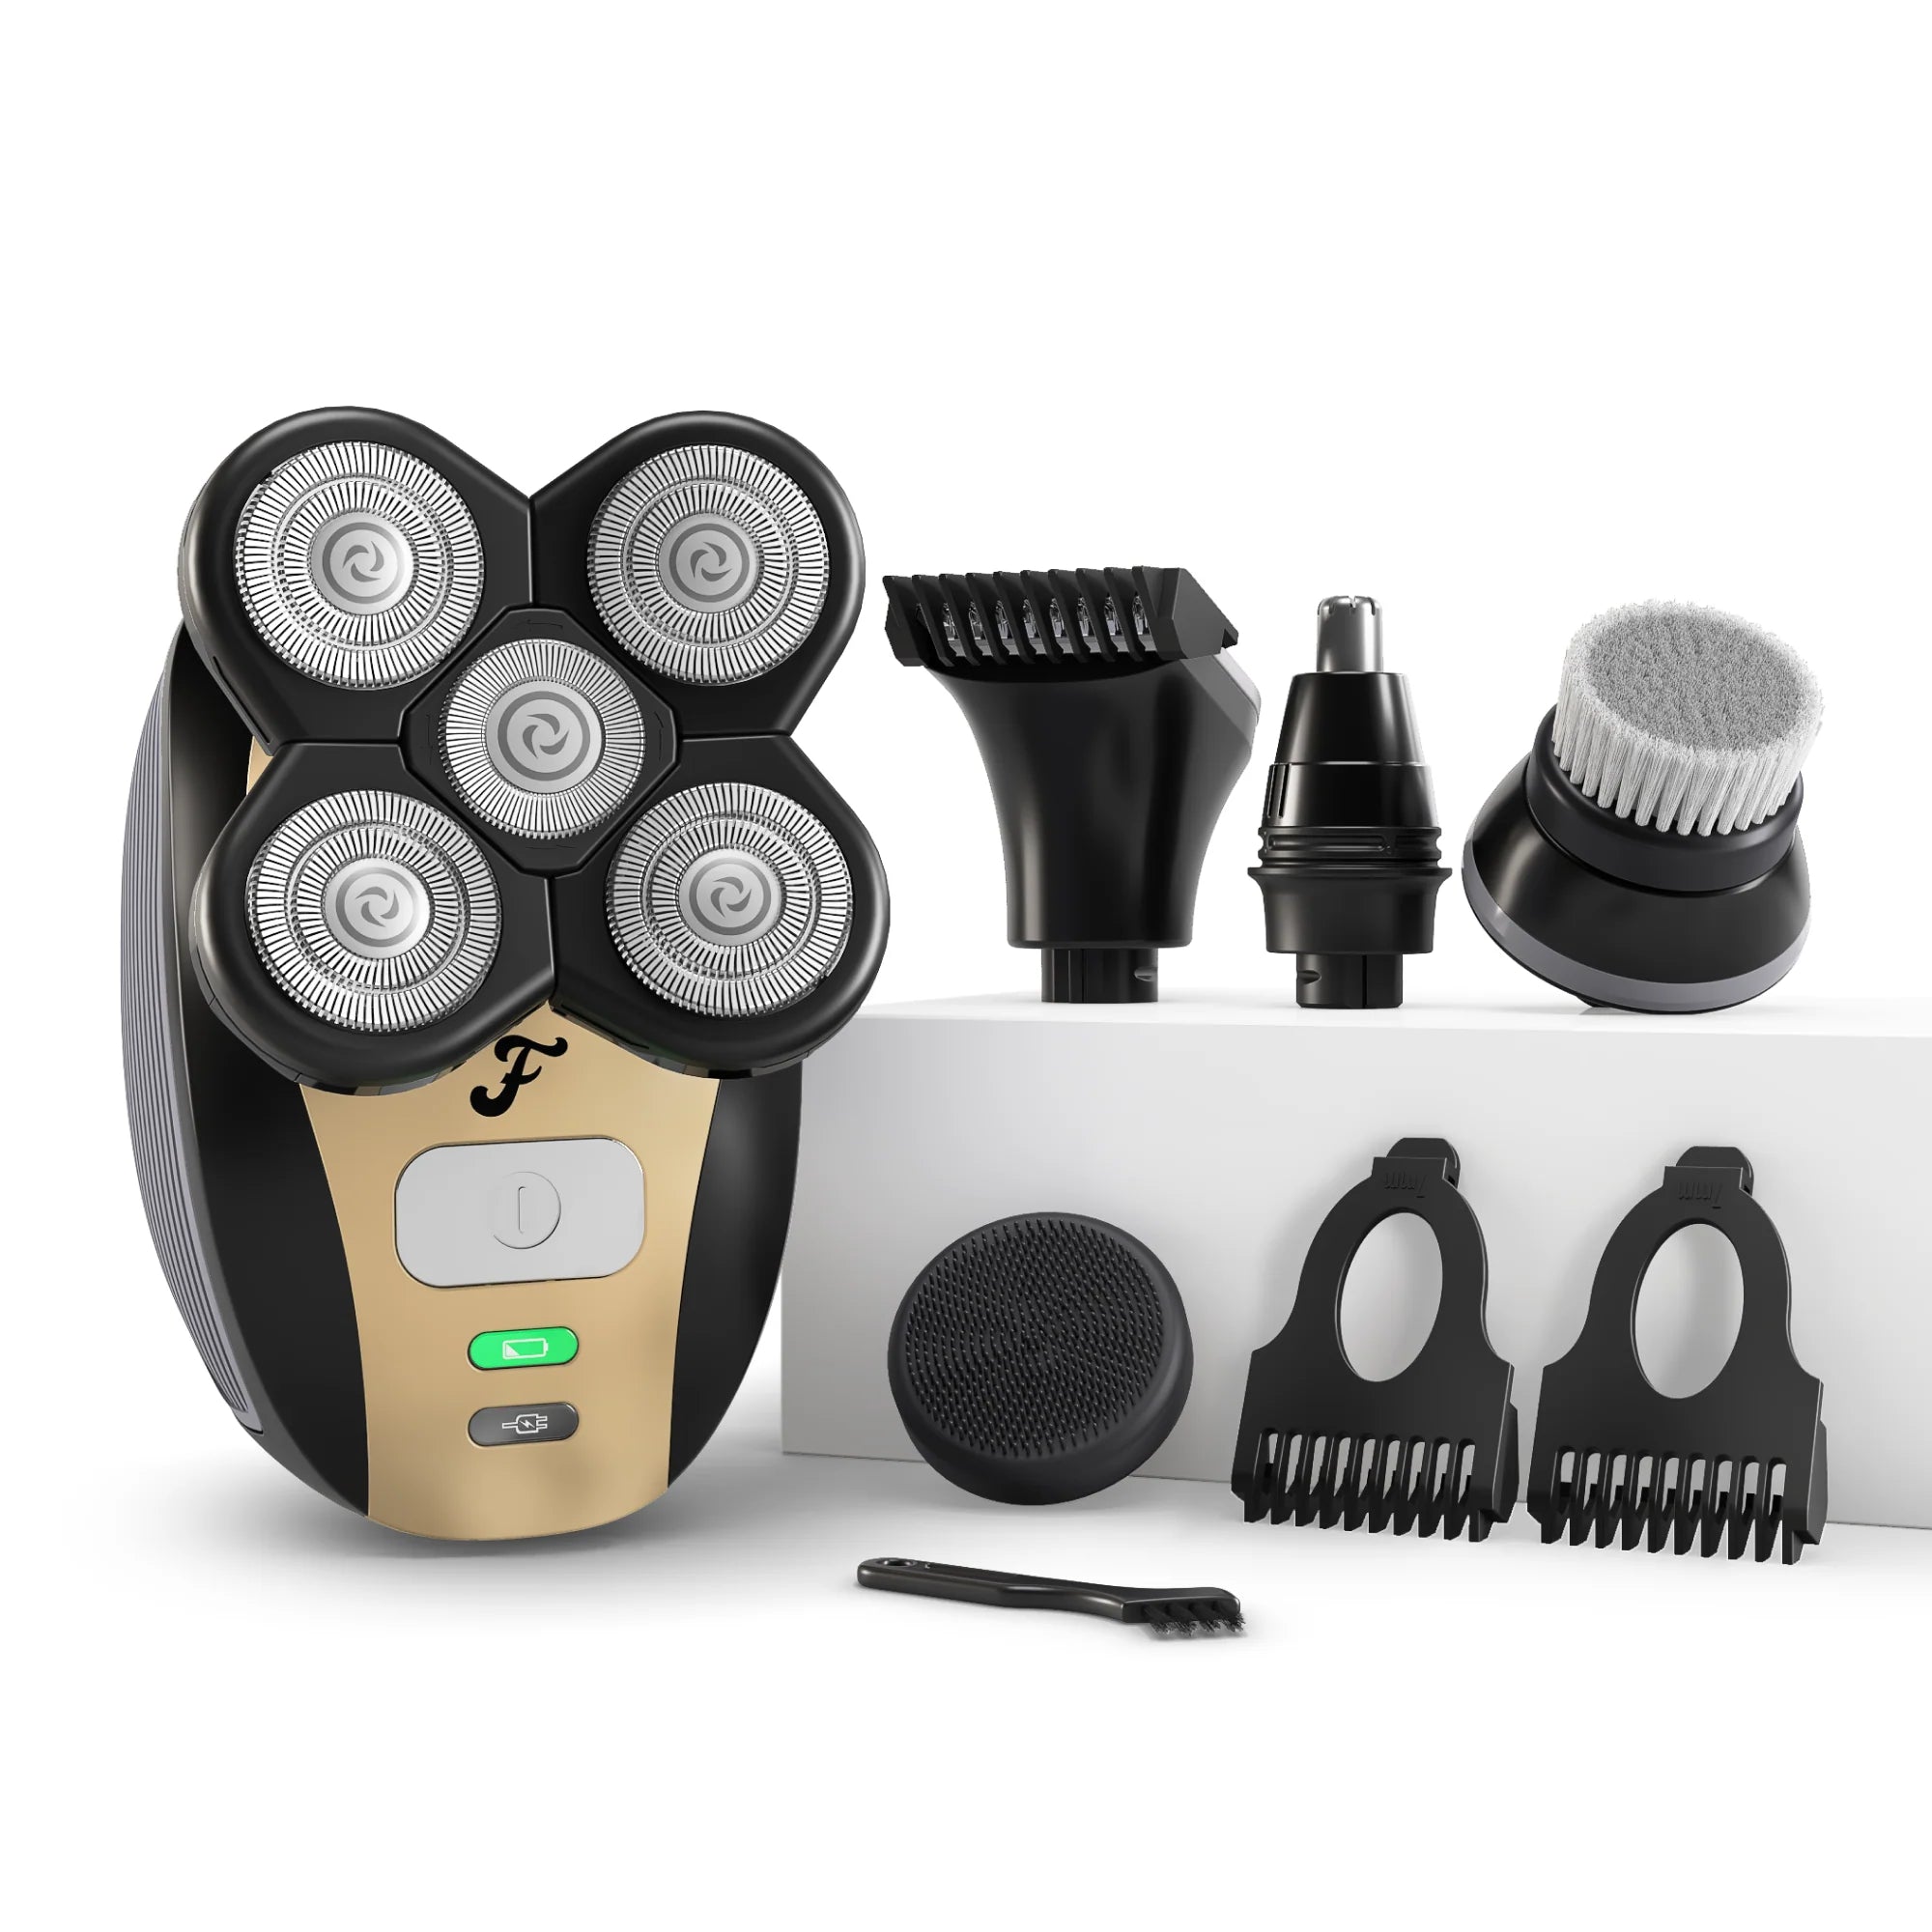
In this guide, we’ll walk you through the essential steps for cleaning your electric shaver, caring for the blades and foils, and storing it properly. We’ll also highlight products that make maintenance easier, such as the FlexSeries® Shaving Kit and the Micro Cleaning Brush, so you can keep your grooming tools in top shape without hassle.
Why Regular Shaver Maintenance Matters
Electric shavers operate with precision-engineered blades that move at high speeds. Over time, microscopic hair fragments and natural oils from your skin accumulate on the cutting heads and inside the shaver. This residue not only reduces cutting efficiency but can also become a breeding ground for bacteria. A dirty shaver may tug at hairs, cause razor bumps, or transfer germs to your skin, leading to breakouts or folliculitis.
Regular maintenance also preserves the battery and motor. When the blades are clogged, the motor has to work harder, draining the battery faster and potentially overheating. By cleaning your shaver after every use and performing deeper maintenance weekly, you can avoid costly repairs or early replacement. In fact, a well-maintained electric shaver can last 5 to 10 years, saving you money and reducing waste.
- Prevents skin irritation and infections
- Maintains sharpness and cutting efficiency
- Extends battery and motor life
- Reduces long-term costs and environmental impact
Daily Cleaning: The Quick Rinse Routine
For most modern electric shavers, a quick rinse under warm water after each use is the easiest way to remove loose hair and debris. Start by turning off the shaver and removing the shaving head or foil assembly. Rinse the head under running water, gently tapping it to dislodge trapped hairs. Avoid using hot water, as it can damage seals or plastic components over time.
If your shaver is not waterproof, use the included cleaning brush to sweep away hair from the blades and housing. Many grooming kits, like the FlexSeries® Shaving Kit, come with a dedicated brush for this purpose. After rinsing or brushing, shake off excess water and leave the head open to air dry completely before reassembling. This prevents moisture from causing rust or mold inside the shaver.
- Always check if your shaver is waterproof before rinsing
- Use a soft brush to clean non-waterproof models
- Air dry the head thoroughly to avoid bacterial growth
Weekly Deep Cleaning: Disassemble and Sanitize
Once a week, give your shaver a more thorough cleaning. Disassemble the cutting head, foil, and any removable parts according to the manufacturer’s instructions. Soak the detachable components in warm, soapy water for a few minutes to dissolve oil and residue. Use a mild dish soap or a specialized shaver cleaning solution. Avoid abrasive cleaners that could scratch the blades.
For stubborn buildup, a dedicated tool like the Micro Cleaning Brush can reach into tight crevices and between blades without damaging them. Gently scrub each part, then rinse thoroughly with clean water. Pat dry with a soft cloth and let all pieces air dry completely before reassembling. This deep clean restores blade sharpness and ensures hygienic contact with your skin.
- Soak removable parts in warm soapy water for 5 minutes
- Use a soft brush or Micro Cleaning Brush for detailed cleaning
- Dry all parts completely before reassembly
Blade and Foil Care: Lubrication and Replacement
Sharp blades are essential for a comfortable shave. Over time, even the best blades dull from friction and mineral deposits. To keep them gliding smoothly, apply a drop of lightweight machine oil (often included with your shaver) to the blades after each deep cleaning. This reduces friction, prevents rust, and maintains cutting performance.
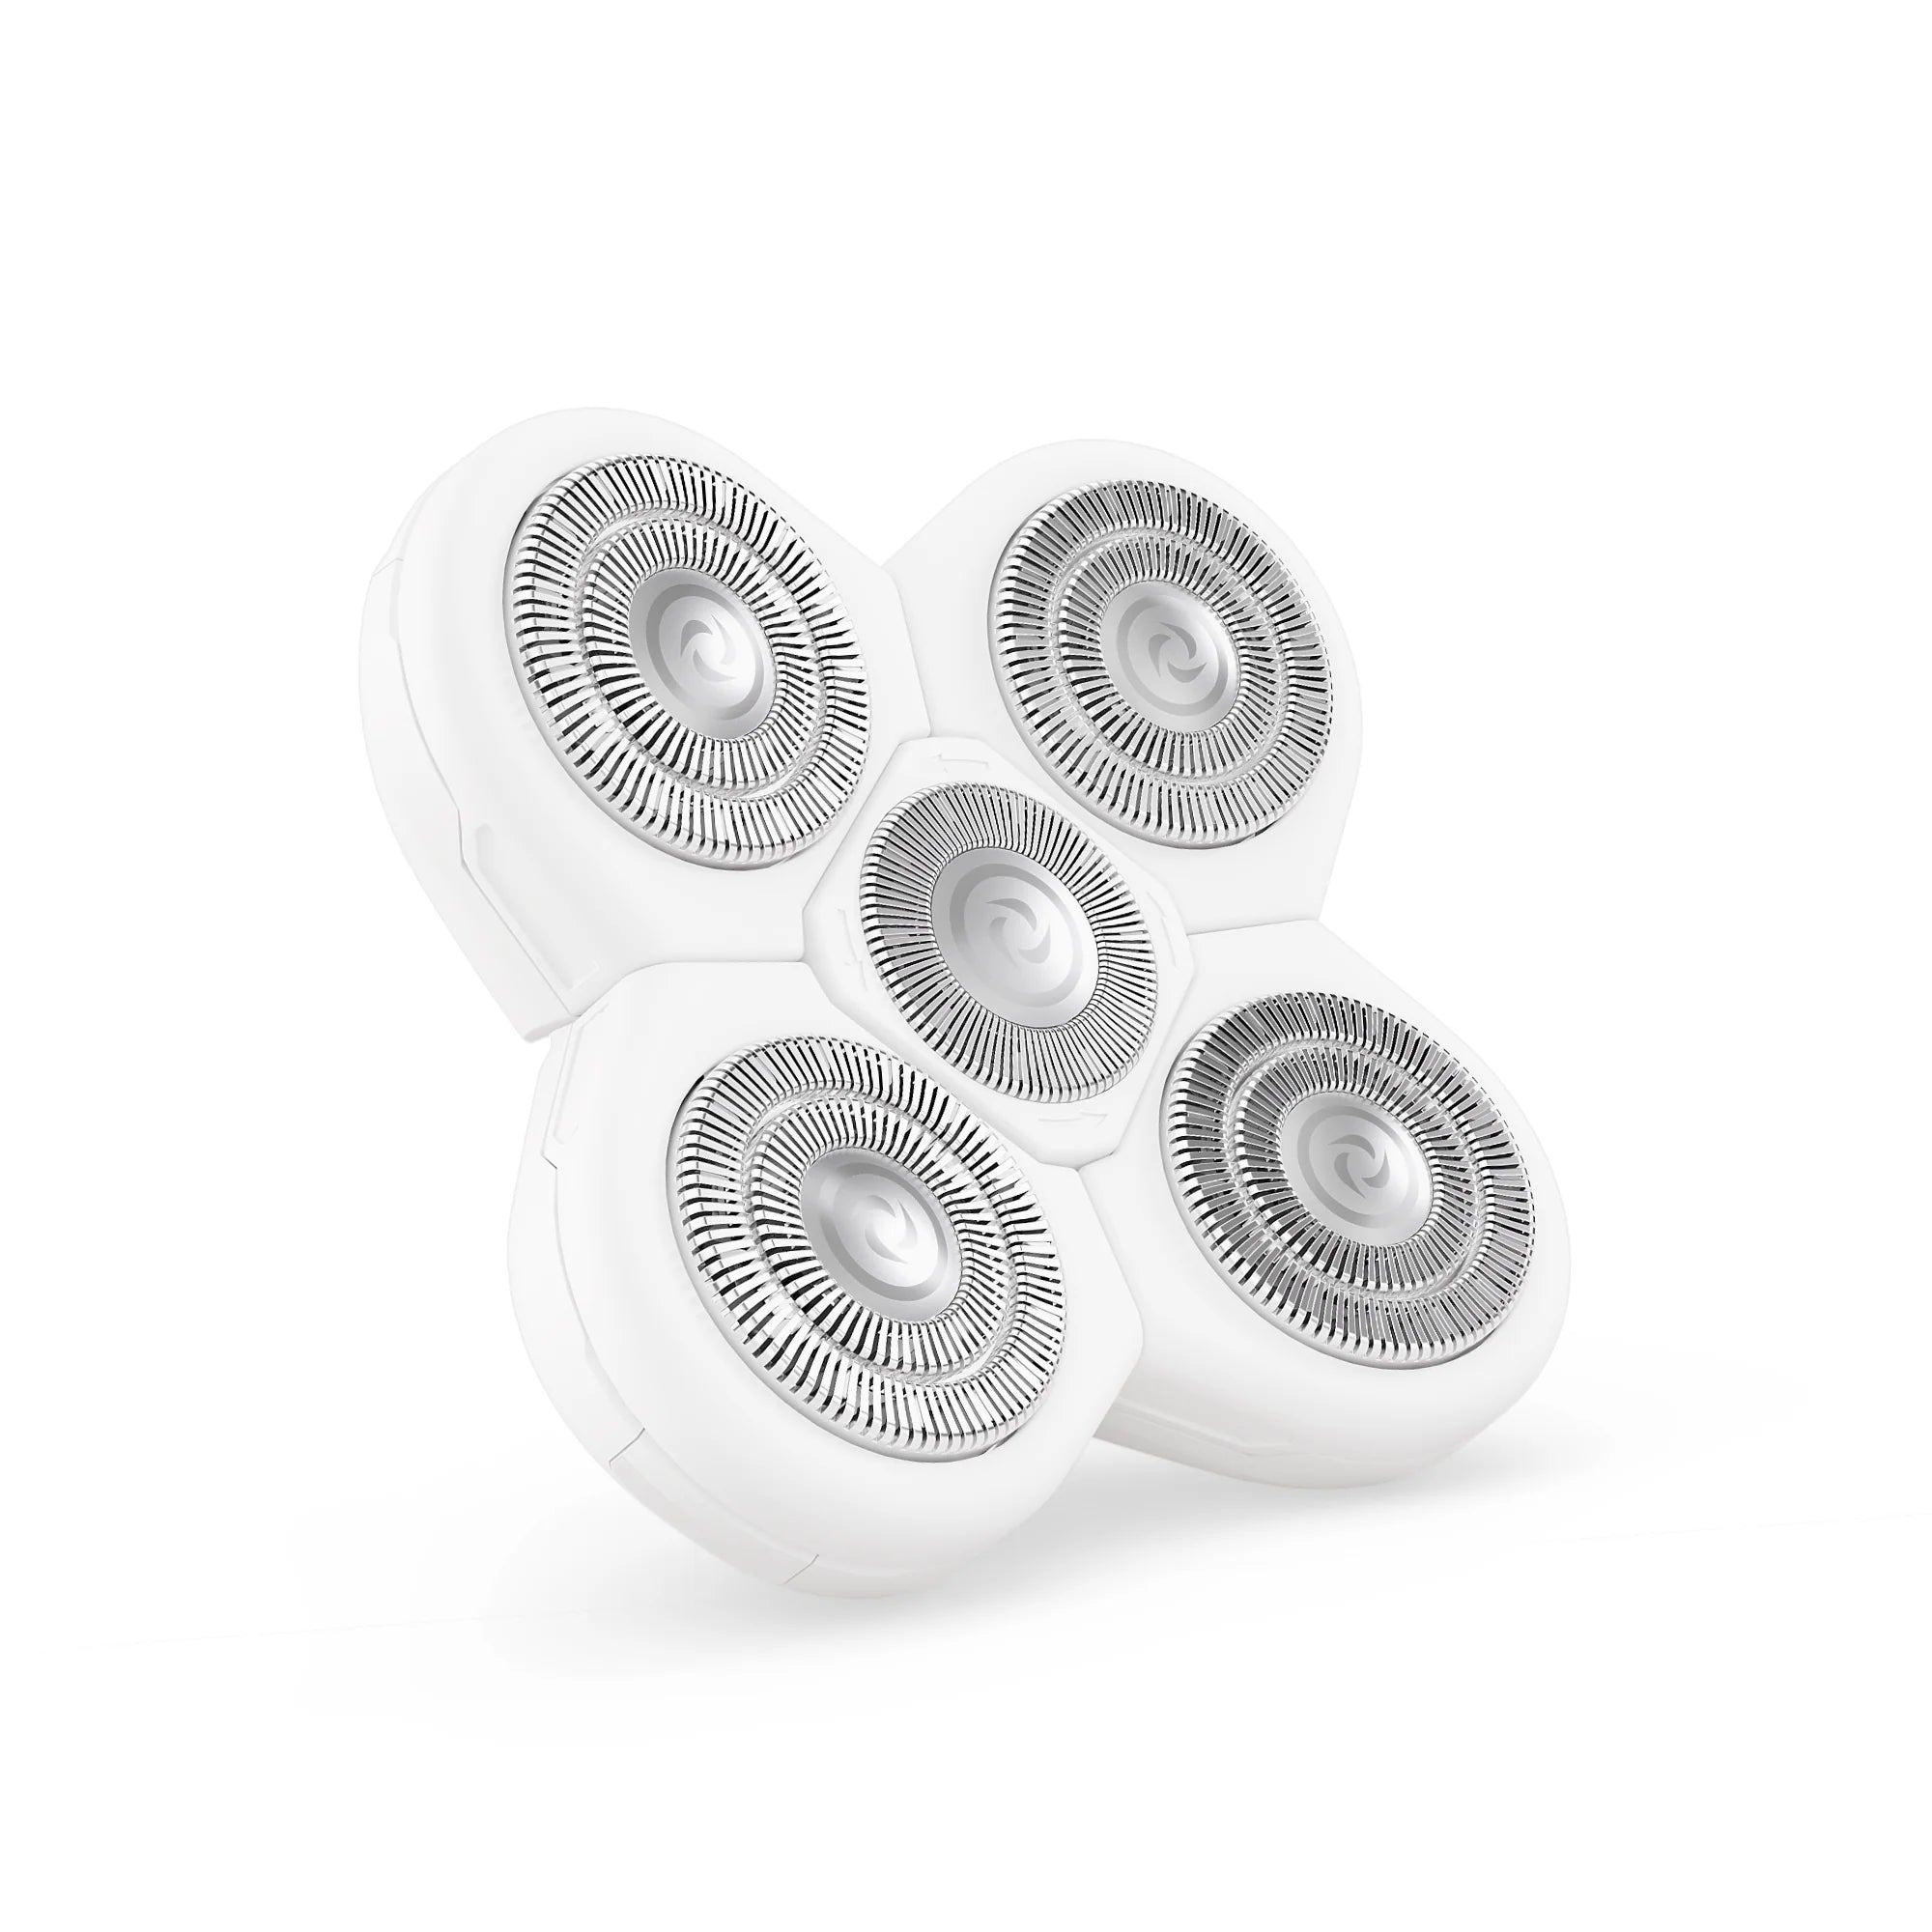
Most manufacturers recommend replacing foils and blades every 12 to 18 months, depending on usage frequency and hair type. Signs it’s time for a replacement include tugging, uneven cutting, or visible wear on the foil. Using compatible accessories from your grooming system, such as those in the FlexSeries® Shaving Kit, ensures optimal fit and performance. Always check your shaver’s manual for specific replacement intervals.
- Lubricate blades after every deep clean
- Replace foils and blades every 12–18 months
- Watch for tugging or uneven shaves as replacement cues
Storage Tips to Protect Your Shaver
Proper storage is just as important as cleaning. Always store your shaver in a dry, cool place away from direct sunlight and humidity. Bathroom cabinets or drawers are ideal, but avoid leaving it on a wet countertop. If you travel frequently, a protective case prevents damage from bumps and dust. Look for cases with ventilation to allow moisture to escape.
For those who use multiple grooming tools, organizing them in a dedicated kit can simplify your routine. The FlexSeries® Shaving Kit includes compartments for the shaver, attachments, and cleaning tools, making it easy to keep everything clean and accessible. Avoid storing the shaver with the protective cap on while wet, as trapped moisture can degrade the blades.
- Store in a dry, ventilated area
- Use a travel case for protection during trips
- Never store with wet blades or foil
Troubleshooting Common Maintenance Issues
Even with regular care, you may encounter issues like reduced battery life, unusual noise, or poor cutting performance. If the shaver becomes sluggish, first check for hair buildup around the motor shaft or under the cutting head. A thorough cleaning often resolves this. If the battery drains quickly, it may be time to replace it—many shavers have user-replaceable batteries, but some require professional service.
Persistent noise or vibration could indicate worn blades or a loose head assembly. Inspect the foil for cracks or dents, and ensure all parts are securely snapped into place. If problems continue, consult your shaver’s warranty or customer support. Using high-quality accessories and following the cleaning routine outlined here will minimize these issues and keep your shaver performing reliably.
- Check for hair clogs if performance drops
- Inspect foil for damage if noise increases
- Replace battery if it no longer holds a charge
By incorporating these simple cleaning and maintenance habits into your grooming routine, you can enjoy a consistently smooth, hygienic shave while extending the life of your electric shaver for years. Whether you’re using a basic model or a versatile system like the FlexSeries® Shaving Kit, regular care pays off in performance and comfort. Start today by checking your shaver’s manual and giving it a thorough clean—you’ll feel the difference with every shave.