How to Sanitize and Disinfect Your Grooming Tools: A Complete Hygiene Guide for 2025
By Myfreebird | Published: 2026-05-31
Category: How-to Guides
Learn the essential steps to sanitize and disinfect your electric shaver, trimmer blades, and grooming tools. This complete hygiene guide covers cleaning methods, frequency, and product recommendations for a safer grooming routine.
Your grooming tools touch your skin daily—faces, scalps, legs, and sensitive areas. Yet many people overlook the importance of regular sanitization. Bacteria, fungi, dead skin cells, and product residue can accumulate on blades, foils, and handles, leading to skin irritation, infections, and reduced tool performance. Whether you shave your beard, maintain a bald head, or groom body hair, learning how to sanitize grooming tools is a non-negotiable part of personal care. This guide walks you through the best methods to disinfect electric shaver components, clean trimmer blades, and maintain overall grooming tool hygiene.
Why Grooming Tool Hygiene Matters
Your tools come into contact with moisture, skin oils, and tiny nicks. Without proper cleaning, they become breeding grounds for Staphylococcus aureus, E. coli, and even mold. Studies show that unwashed razors can harbor up to 10,000 bacteria per square centimeter. Regular shaver maintenance not only protects your skin but also extends the life of your blades and motors. Dirty tools dull faster, tug at hair, and cause more irritation. For anyone using shared or unisex grooming tools—like the popular FlexSeries® line—hygiene becomes even more critical.
Step 1: Pre-Cleaning—Remove Hair and Debris
Before you disinfect, you must physically remove loose hair, dust, and product buildup. Use a small brush to sweep away clippings from the blade assembly, head guard, and crevices. A dedicated Micro Cleaning Brush is perfect for this task, as its fine bristles reach tight spaces without scratching the metal. For trimmers and shavers, rinse the head under lukewarm running water (if water-resistant) or use compressed air. Never use hot water, as it can degrade seals and lubricants.
Step 2: Disinfecting Solutions and Methods
There are several effective ways to disinfect electric shaver parts. Choose based on your tool's material and water-resistance rating.
Isopropyl Alcohol (70% or higher)
Alcohol is the gold standard for disinfecting metal blades and plastic bodies. It evaporates quickly and kills 99.9% of bacteria and viruses. Dip a clean cloth in 70% isopropyl alcohol and wipe down all surfaces, including the blade cartridge, foil, and handle. For deeper sanitation, you can soak removable blades for 5–10 minutes—but check your manufacturer's warranty first. Avoid using alcohol on rubber or silicone components repeatedly, as it can cause drying and cracking.
UV-C Light Sanitizers
Some modern grooming kits include built-in UV-C sanitizing stations. These use ultraviolet light to destroy microbial DNA. While convenient, UV-C only works on surfaces directly exposed to the light, so you still need to pre-clean. For most home users, alcohol remains the most reliable method.
Blade-Safe Cleaning Sprays
Commercial spray sanitizers formulated for electric shavers are gentle on blades and often include lubricants. Look for ones with antimicrobial ingredients like benzalkonium chloride. These are ideal for quick daily maintenance between deep cleans.
Step 3: Deep Cleaning Your Shaver and Trimmer Blades
A weekly deep clean is essential for clean trimmer blades and long-term performance. Here’s a step-by-step process:
- Detach all removable parts—the blade head, guard, foil, and comb attachments. Refer to your user manual for disassembly instructions.
- Rinse loose debris under lukewarm water. For non-waterproof models, use a brush and avoid getting water into the motor housing.
- Soak metal blades in a solution of warm water and a few drops of mild dish soap or a specialized blade cleaner. Let sit for 5 minutes to loosen dried skin cells and oil.
- Scrub gently with a soft toothbrush or the Micro Cleaning Brush to remove residue from between teeth and edges.
- Sanitize by wiping or spraying with 70% isopropyl alcohol. Pay special attention to the area where the blade meets the foil.
- Dry completely with a lint-free cloth, then leave parts air-dry for at least 30 minutes before reassembling. Moisture trapped inside promotes rust and bacterial growth.
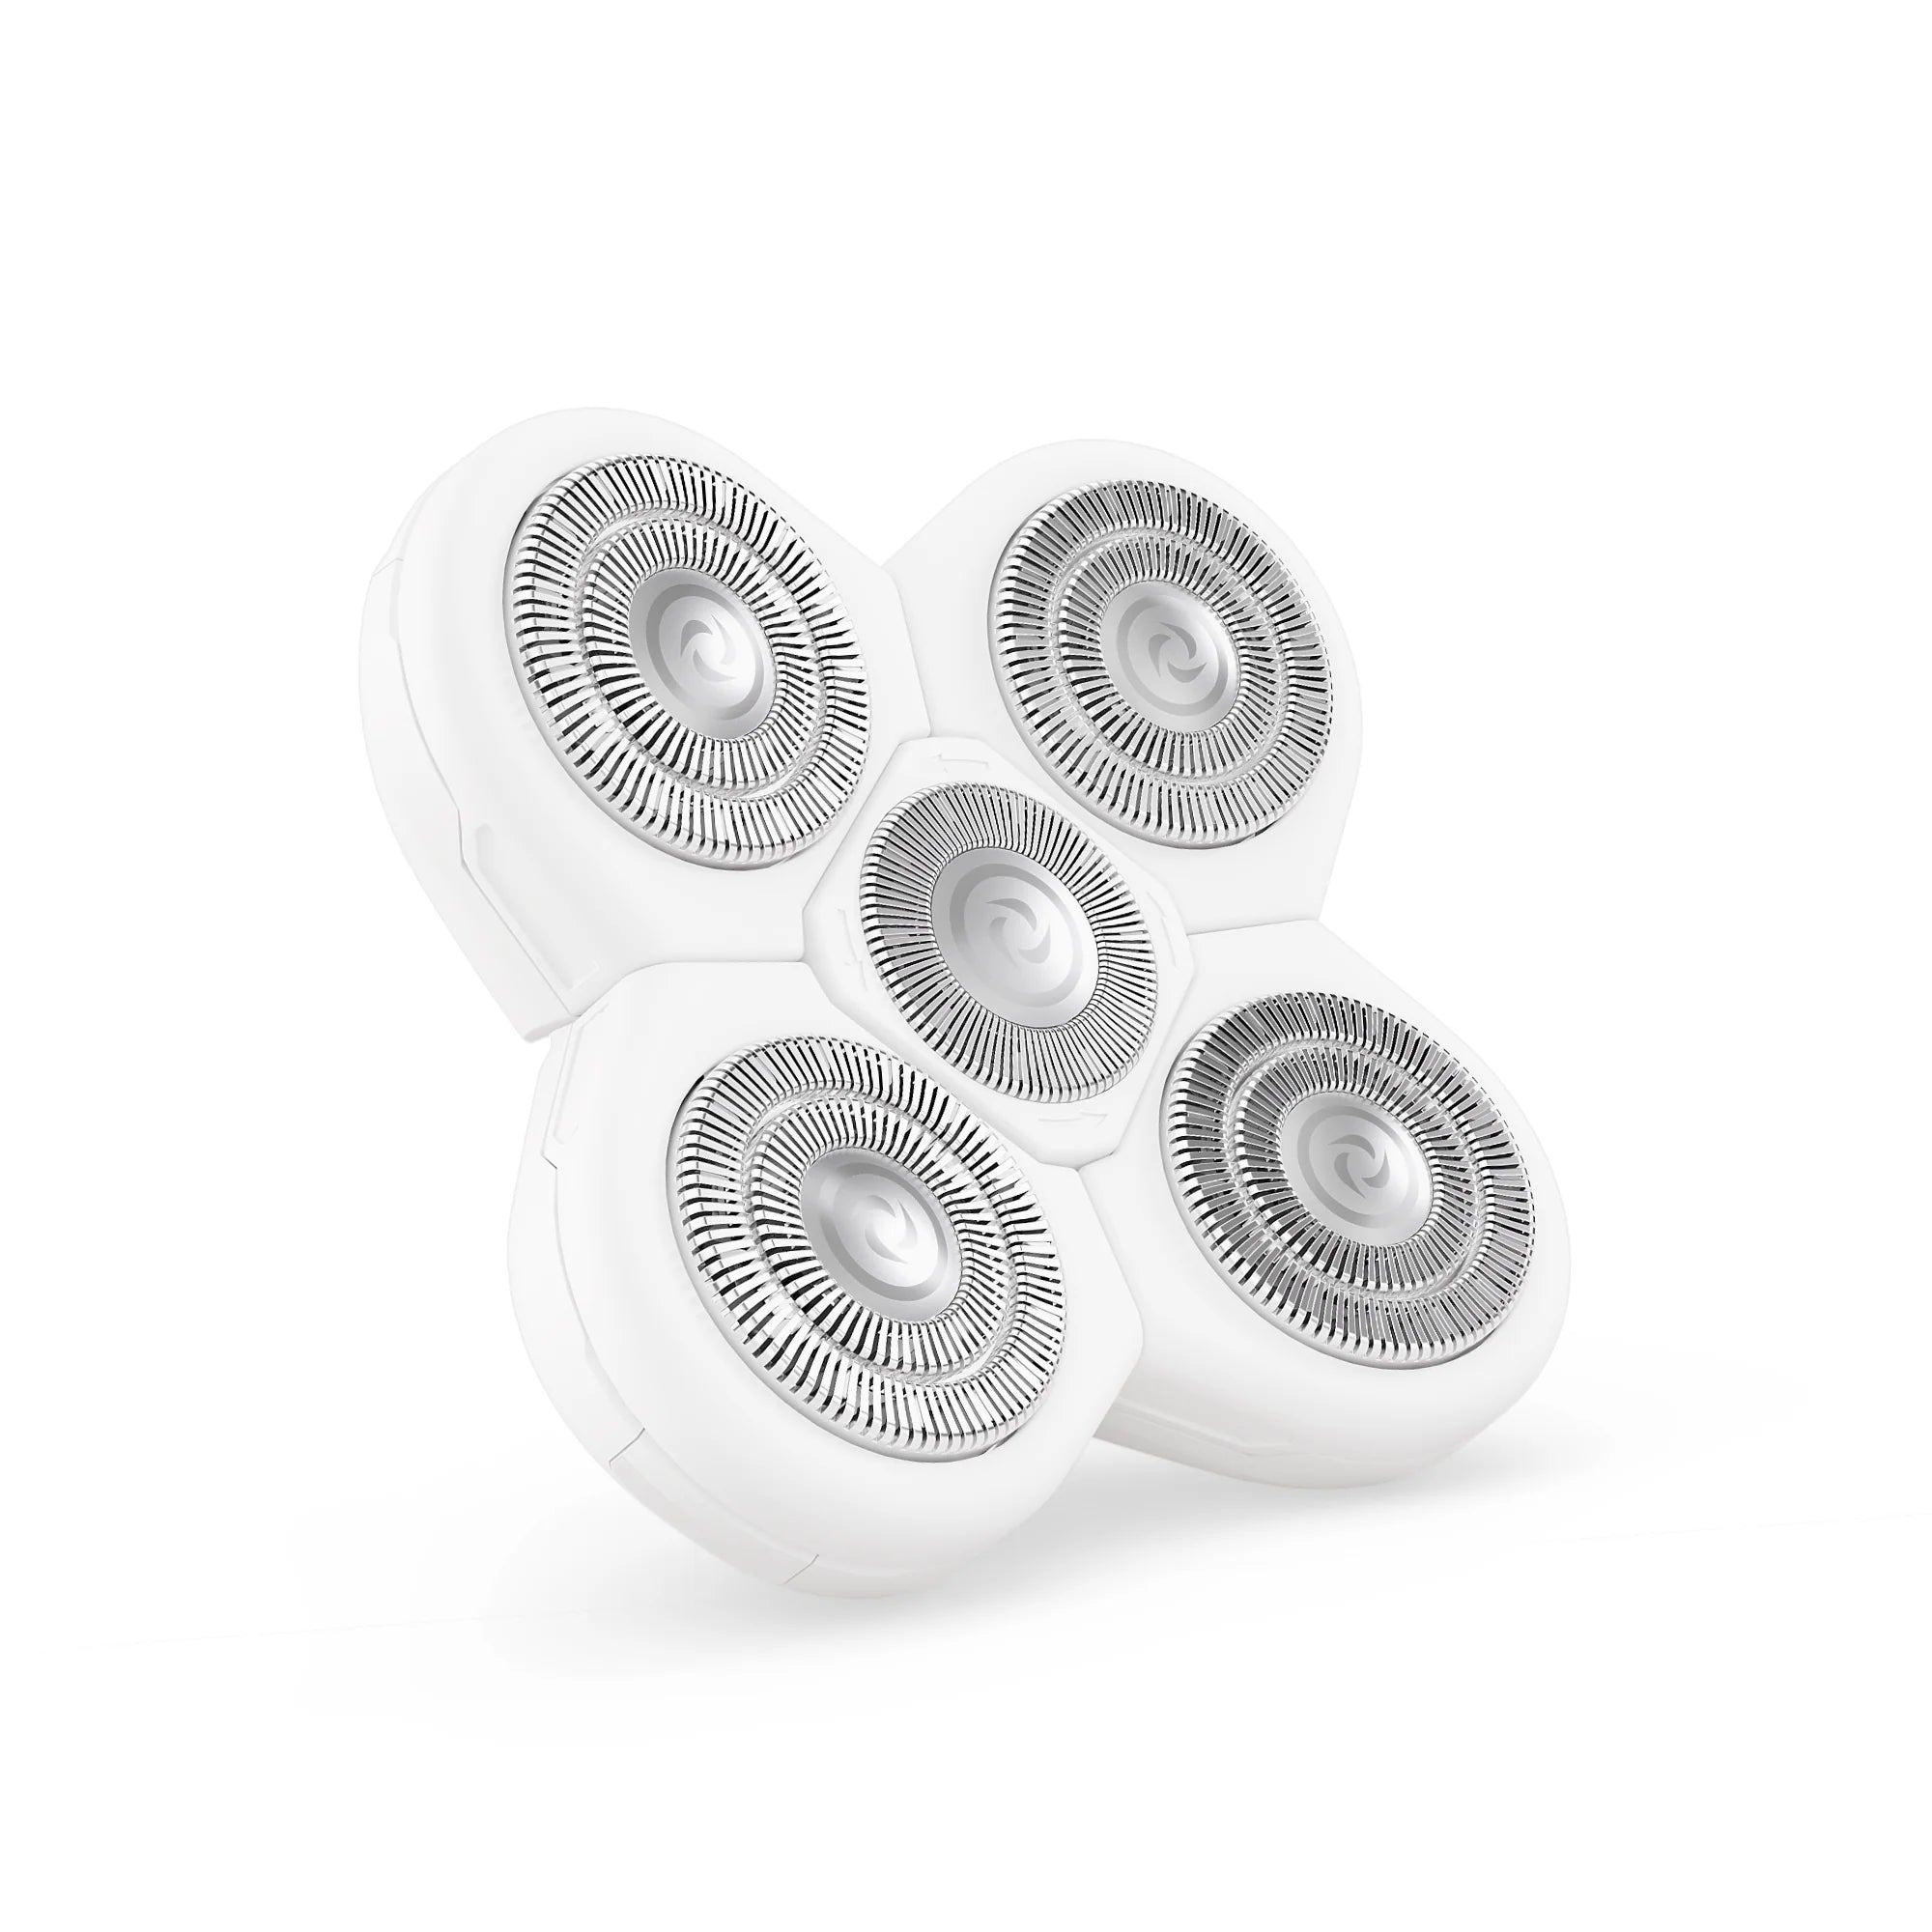
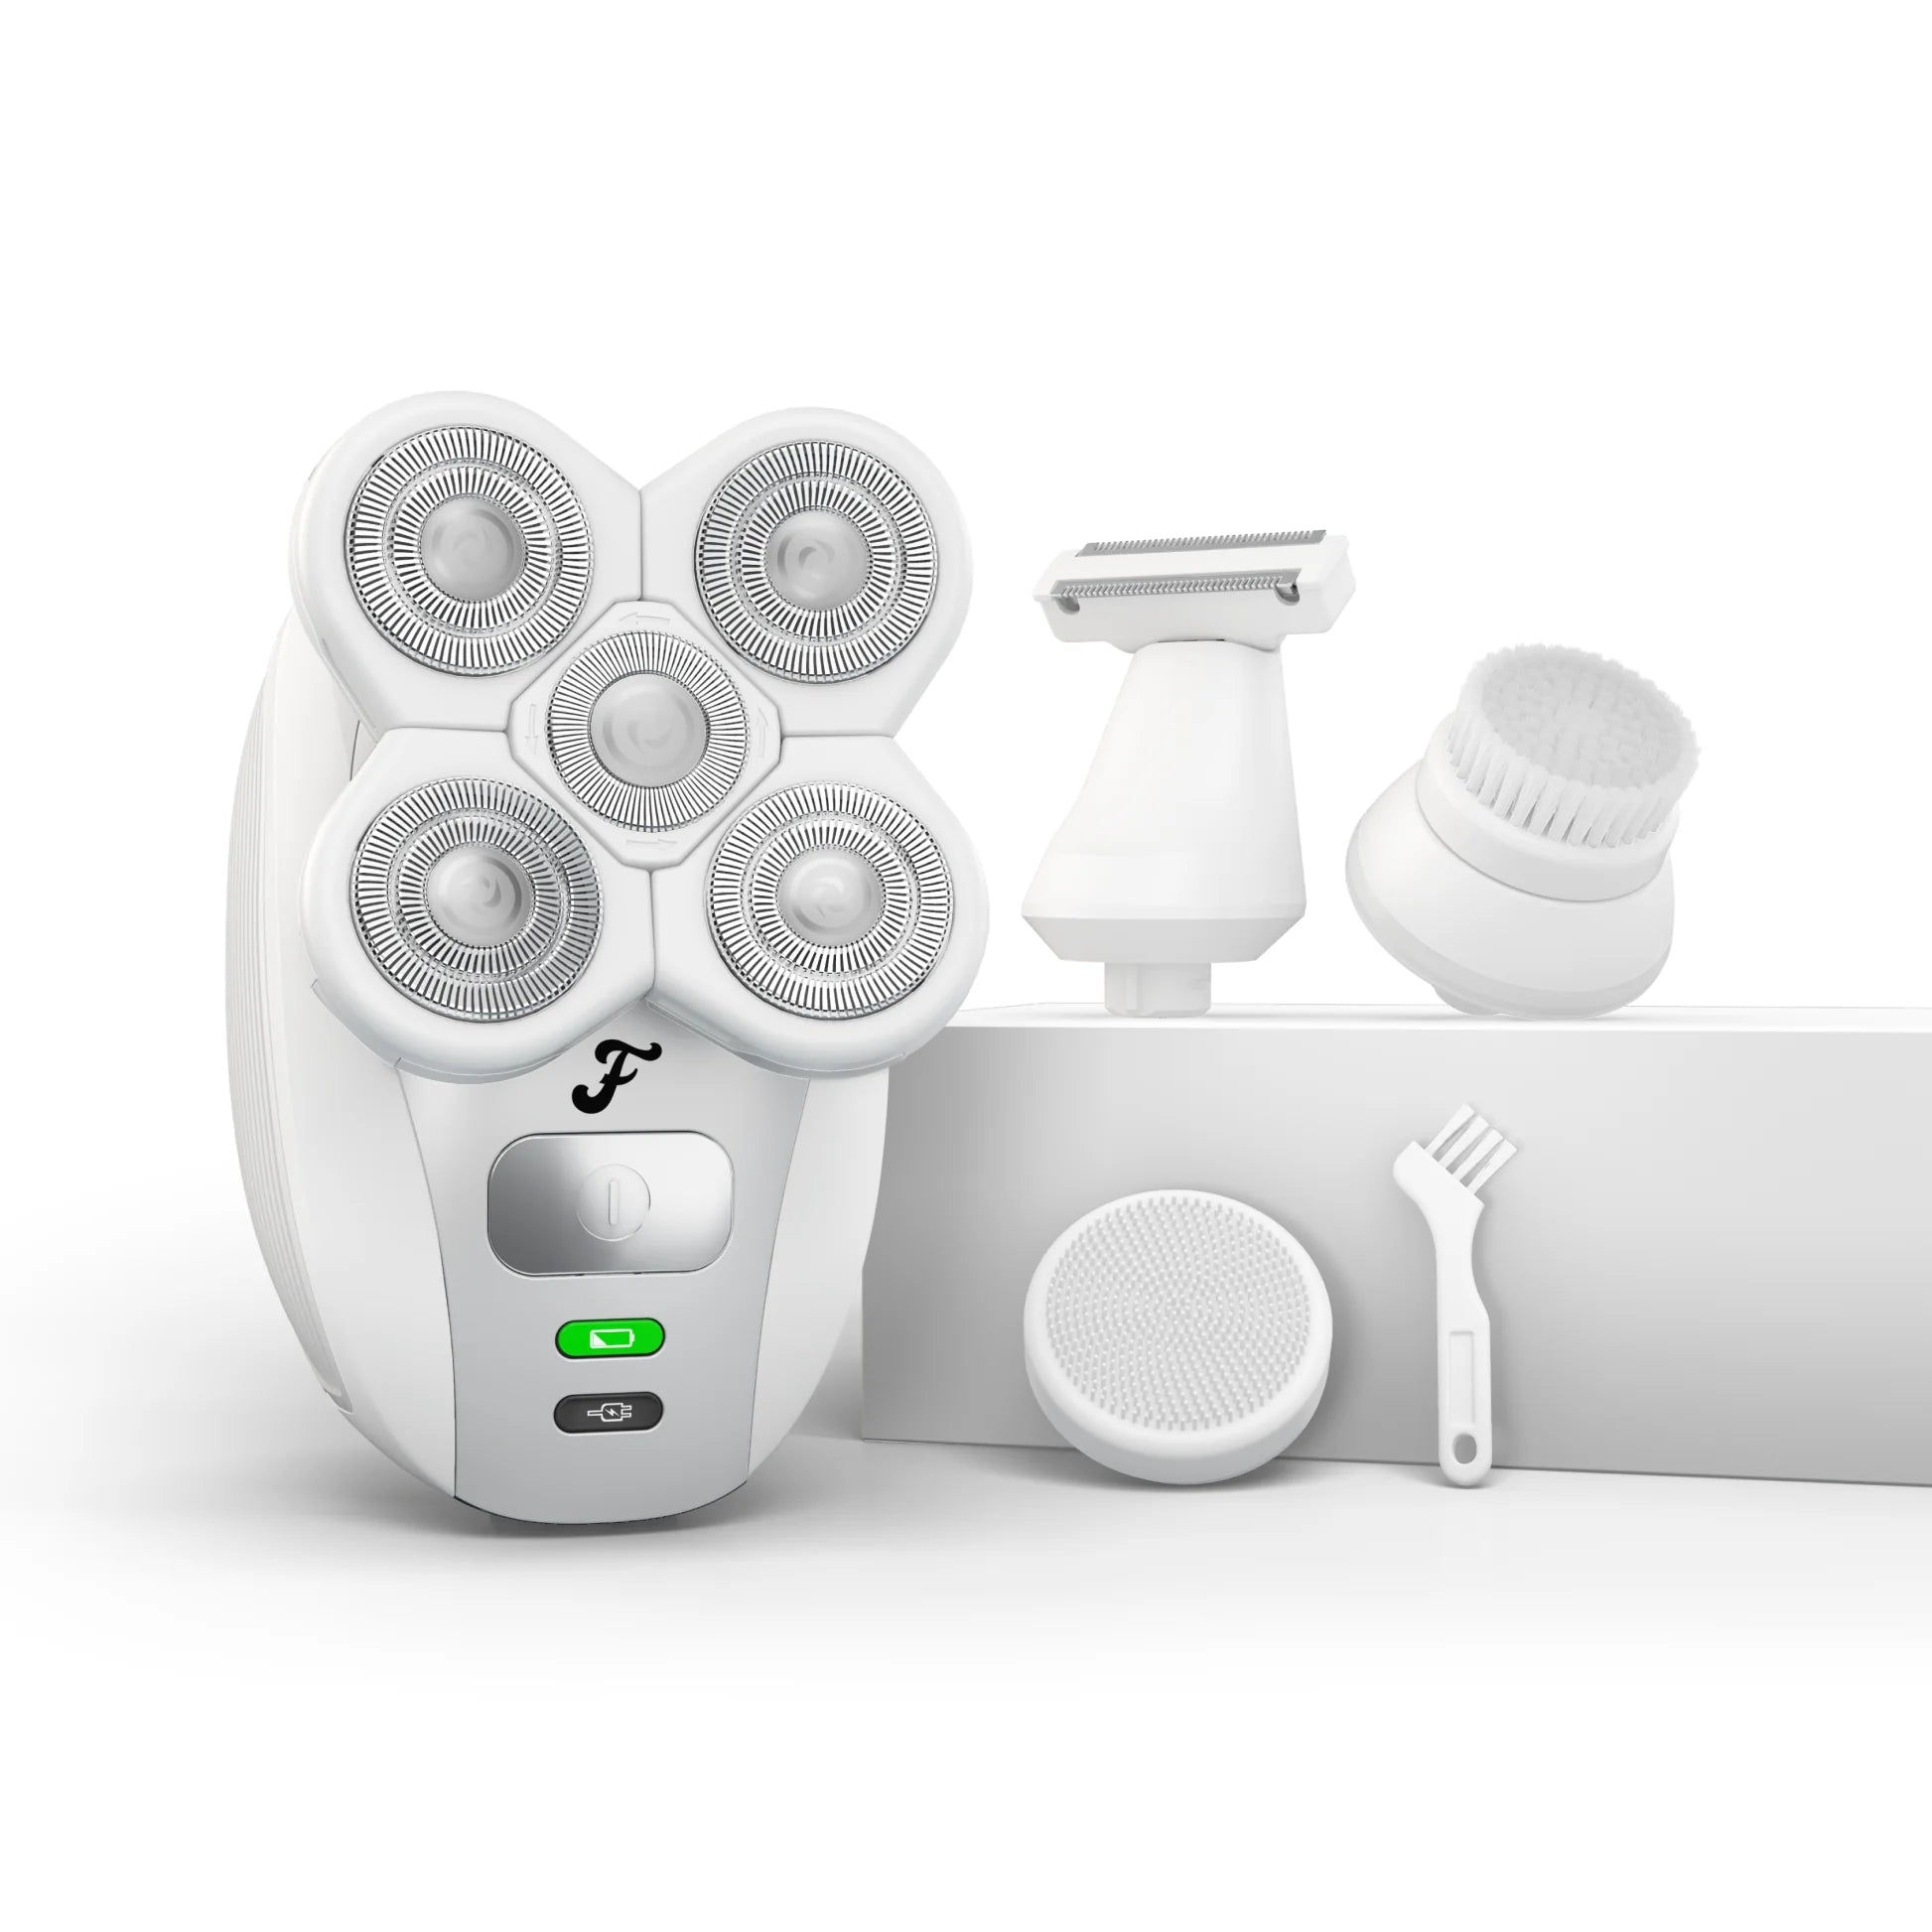
For those using a premium system like the FlexSeries® Pro Blade, its titanium-coated steel resists corrosion and stays sharper longer—but it still requires regular disinfecting to prevent biofilm buildup. Many users pair it with the FlexSeries® Exfoliation & Scrubber Set to prep the skin, which reduces the amount of dead skin cells transferring to the blade.
Step 4: Don't Forget the Handle and Charging Dock
Bacteria can also live on your shaver's handle, battery compartment, and charging dock. Wipe down the body of the tool with an alcohol-dampened cloth after each use. For docks, like the FlexSeries® Pro Charging Dock, use a dry brush to remove dust from contacts and then a barely damp cloth with alcohol. Never submerge the dock in water. Regular cleaning of charging surfaces ensures consistent power transfer and prevents short circuits.
How Often Should You Sanitize?
| Frequency | Action |
|---|---|
| After Every Use | Tap out hair, rinse (if waterproof), and wipe down with alcohol or a sanitizing spray. |
| Weekly | Deep clean as described above—soak, scrub, sanitize, and dry. |
| Monthly | Replace blades or foil if dull; inspect seals and gaskets for wear. |
| After Sharing or Skin Infection | Perform an extended soak in 70% alcohol for 15–20 minutes, then air-dry fully. |
Common Mistakes That Ruin Tool Hygiene
- Using bleach or harsh chemicals—they corrode metal and damage plastic parts.
- Storing tools in damp bathrooms—humidity encourages mold and rust. Store in a dry, ventilated area.
- Skipping drying before storage—always allow tools to air-dry completely before putting them in a case or drawer.
- Ignoring the blade refill schedule—old, dull blades harbor more bacteria and cause micro-cuts. Replace them every 3–6 months with a compatible refill like the BeardSeries Trimmer Blade Refill.
- Sharing tools without sanitizing—even between family members, always disinfect thoroughly before and after each use.
Products That Support Better Hygiene
Beyond cleaning solutions, the right accessories make grooming tool hygiene easier. A FlexSeries® Travel Case & Charging Dock keeps your tools organized and protected from dust when not in use. For women who share tools or want a dedicated kit, the FlexSeries® Shaving Kit for Women includes a storage pouch and blade guards that reduce contamination. Digital Gift Cards are also a great option if you want to gift a hygiene-conscious friend the freedom to choose their own sanitizing tools.
Conclusion
Sanitizing your grooming tools is a simple yet powerful habit that protects your skin, extends the life of your equipment, and ensures every shave or trim is safe and comfortable. By following the steps in this guide—pre-cleaning, disinfecting with alcohol, deep cleaning weekly, and storing properly—you can maintain peak shaver maintenance and grooming tool hygiene all year round. Whether you're using a precision trimmer or a full shaving kit, clean tools mean better results.
Ready to upgrade your grooming routine with tools that are easy to clean and built to last? Explore the FlexSeries® Pro Blade today and experience the difference a well-maintained, high-performance blade can make.