How to Replace Your Electric Shaver Blades: A Step-by-Step Safety Guide
By Myfreebird | Published: 2026-06-07
Category: How-to Guides
Learn how to safely replace electric shaver blades with this detailed guide. Step-by-step instructions, safety tips, and recommendations for blade refills like the FlexSeries® Pro Blade Refill.
Keeping your electric shaver in top condition is essential for a close, comfortable shave every time. One of the most important maintenance tasks is knowing when and how to replace your electric shaver blades. Dull blades not only irritate your skin but also reduce the efficiency of your shaver, leading to more passes and longer grooming sessions. In this step-by-step safety guide, we'll walk you through everything you need to know about blade replacement — from recognizing the signs of dull blades to safely installing new ones. Whether you're a first-timer or a seasoned groomer, these tips will help you extend the life of your shaver and keep your skin happy.
Why You Need to Replace Your Shaver Blades Regularly
Electric shaver blades are precision-engineered components that wear down over time. On average, you should replace them every 6 to 12 months, depending on how often you shave and your hair type. Signs that it's time for a new set include:
- Increased tugging or pulling during shaving
- Skin irritation or razor bumps after each use
- Uneven cutting or patches of missed hair
- Visible nicks or chips on the blade foil or cutter
- Unusual noise or vibration from the motor
Ignoring these signs can lead to poor performance and even damage to your shaver's motor. Regular blade replacement is a simple, cost-effective way to maintain your grooming routine.
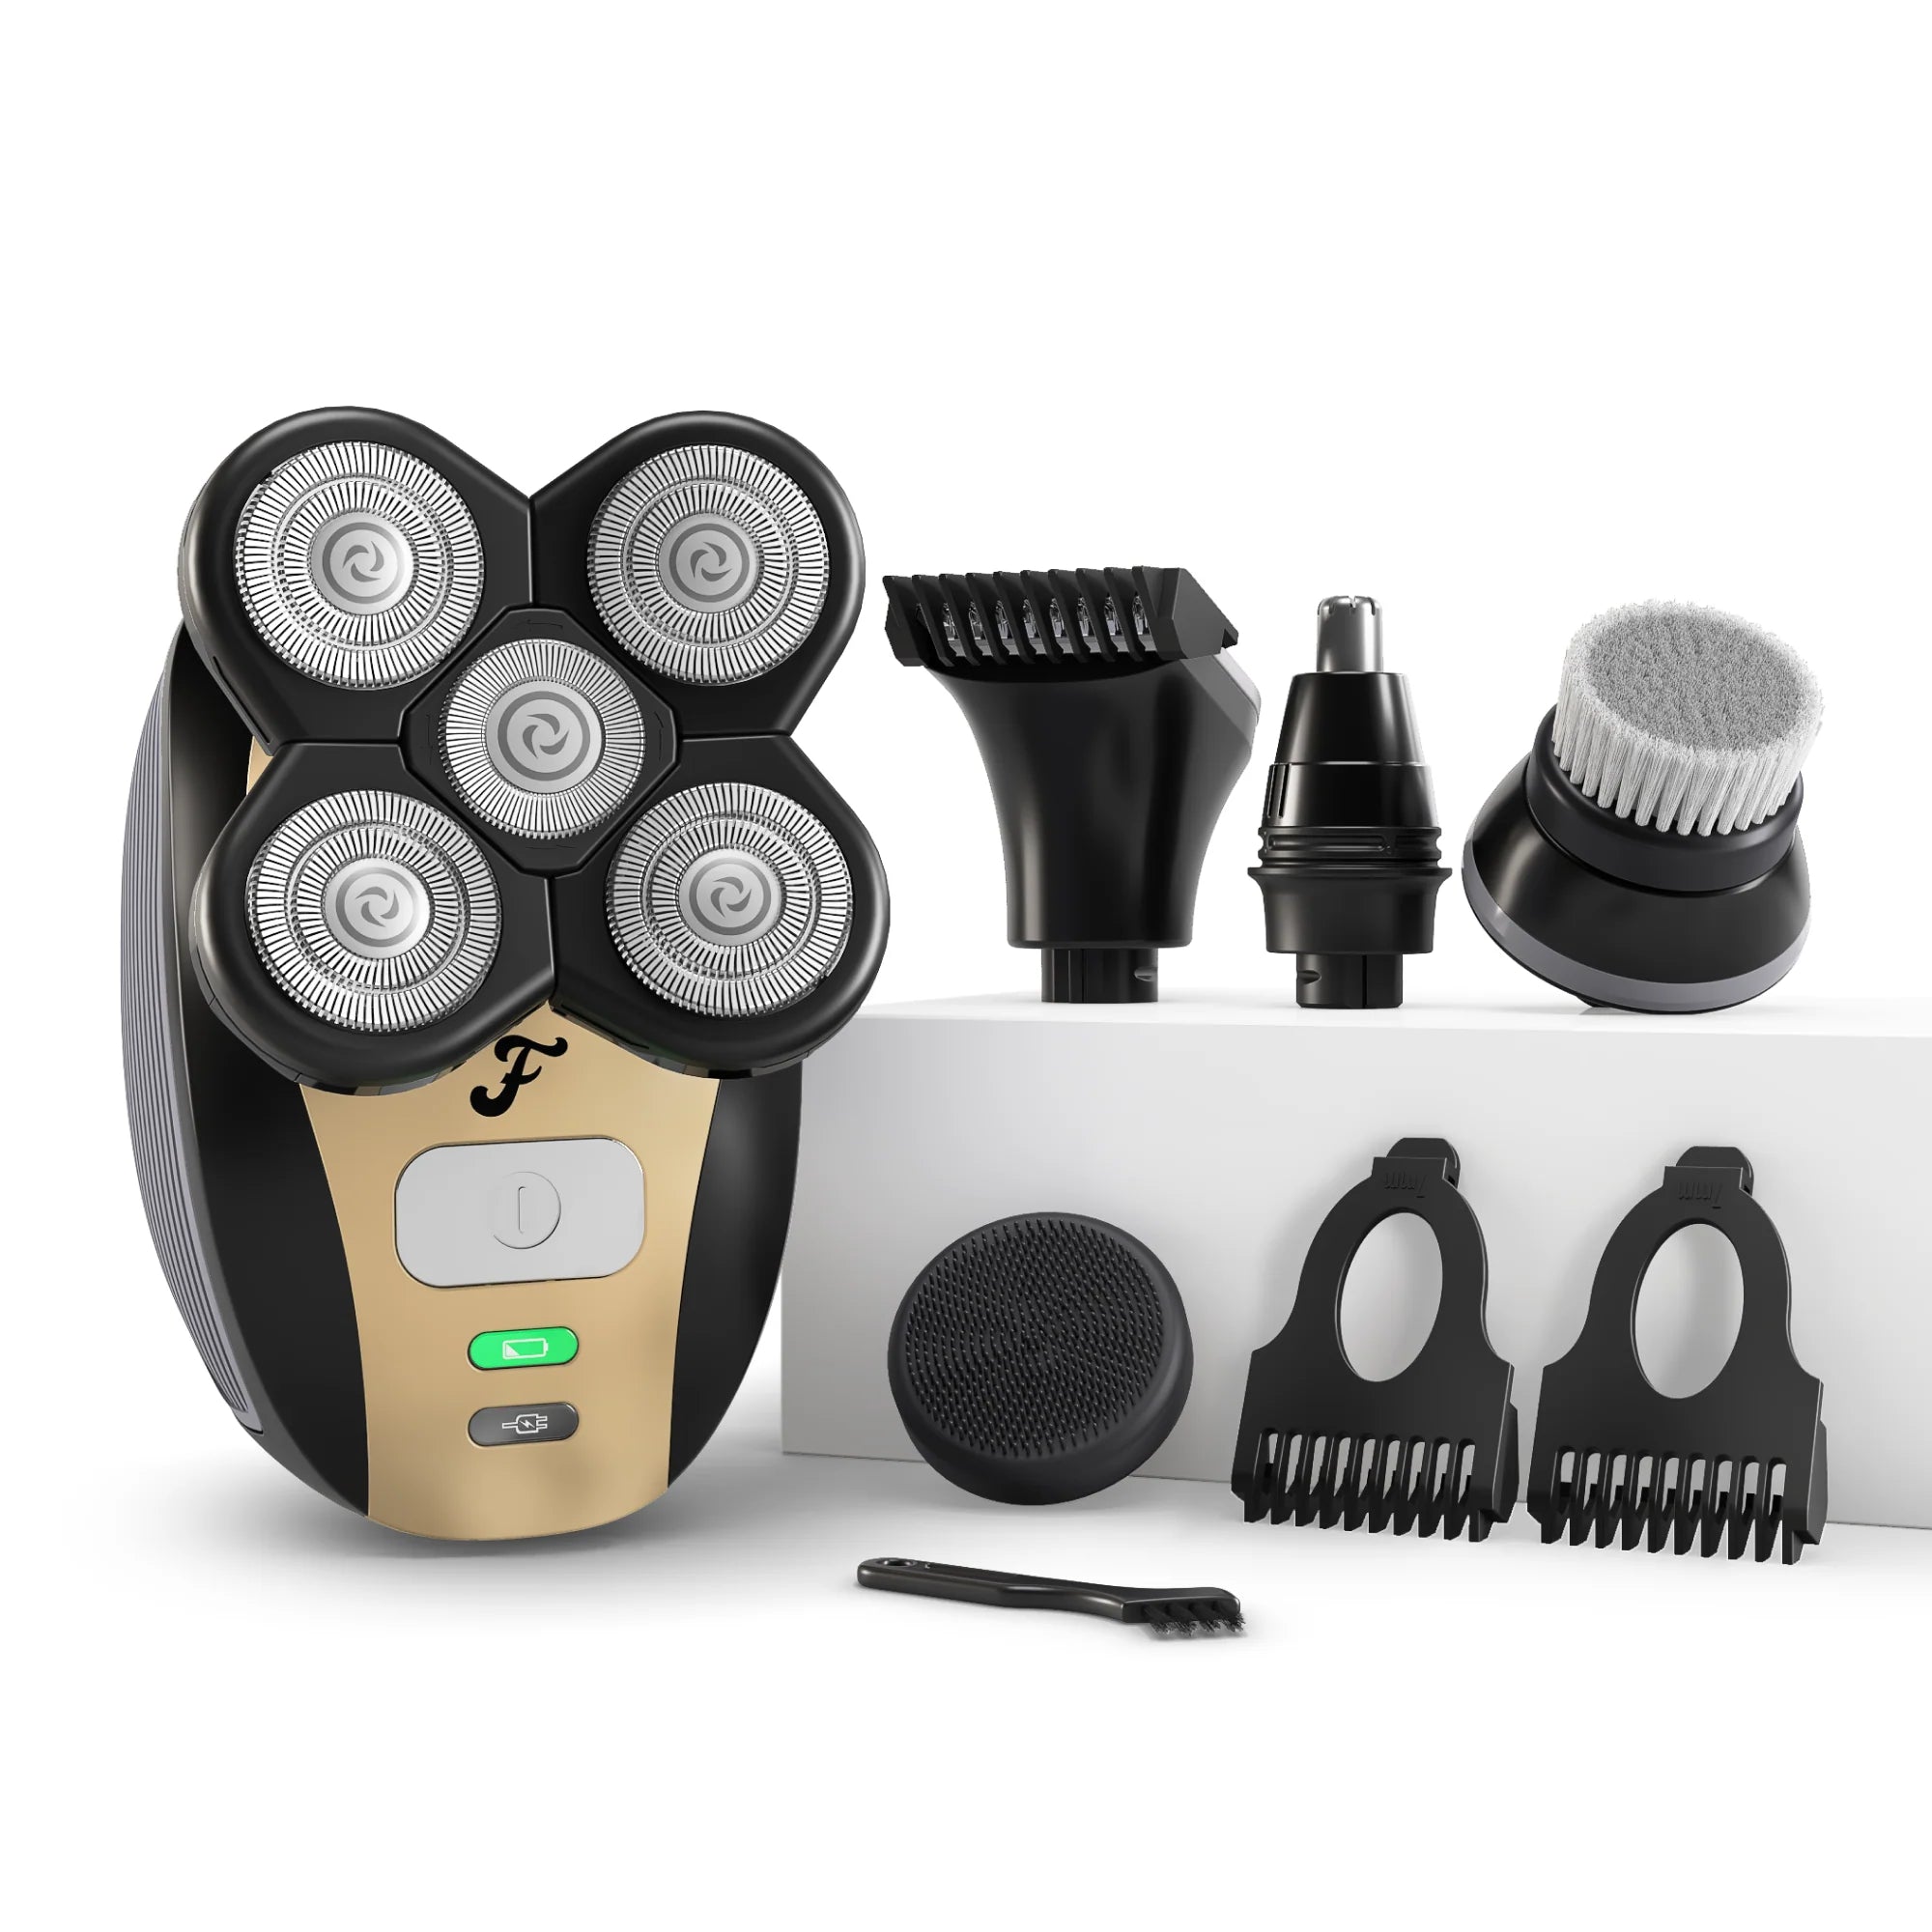
What You'll Need to Replace Your Blades
Before you start, gather the following items:
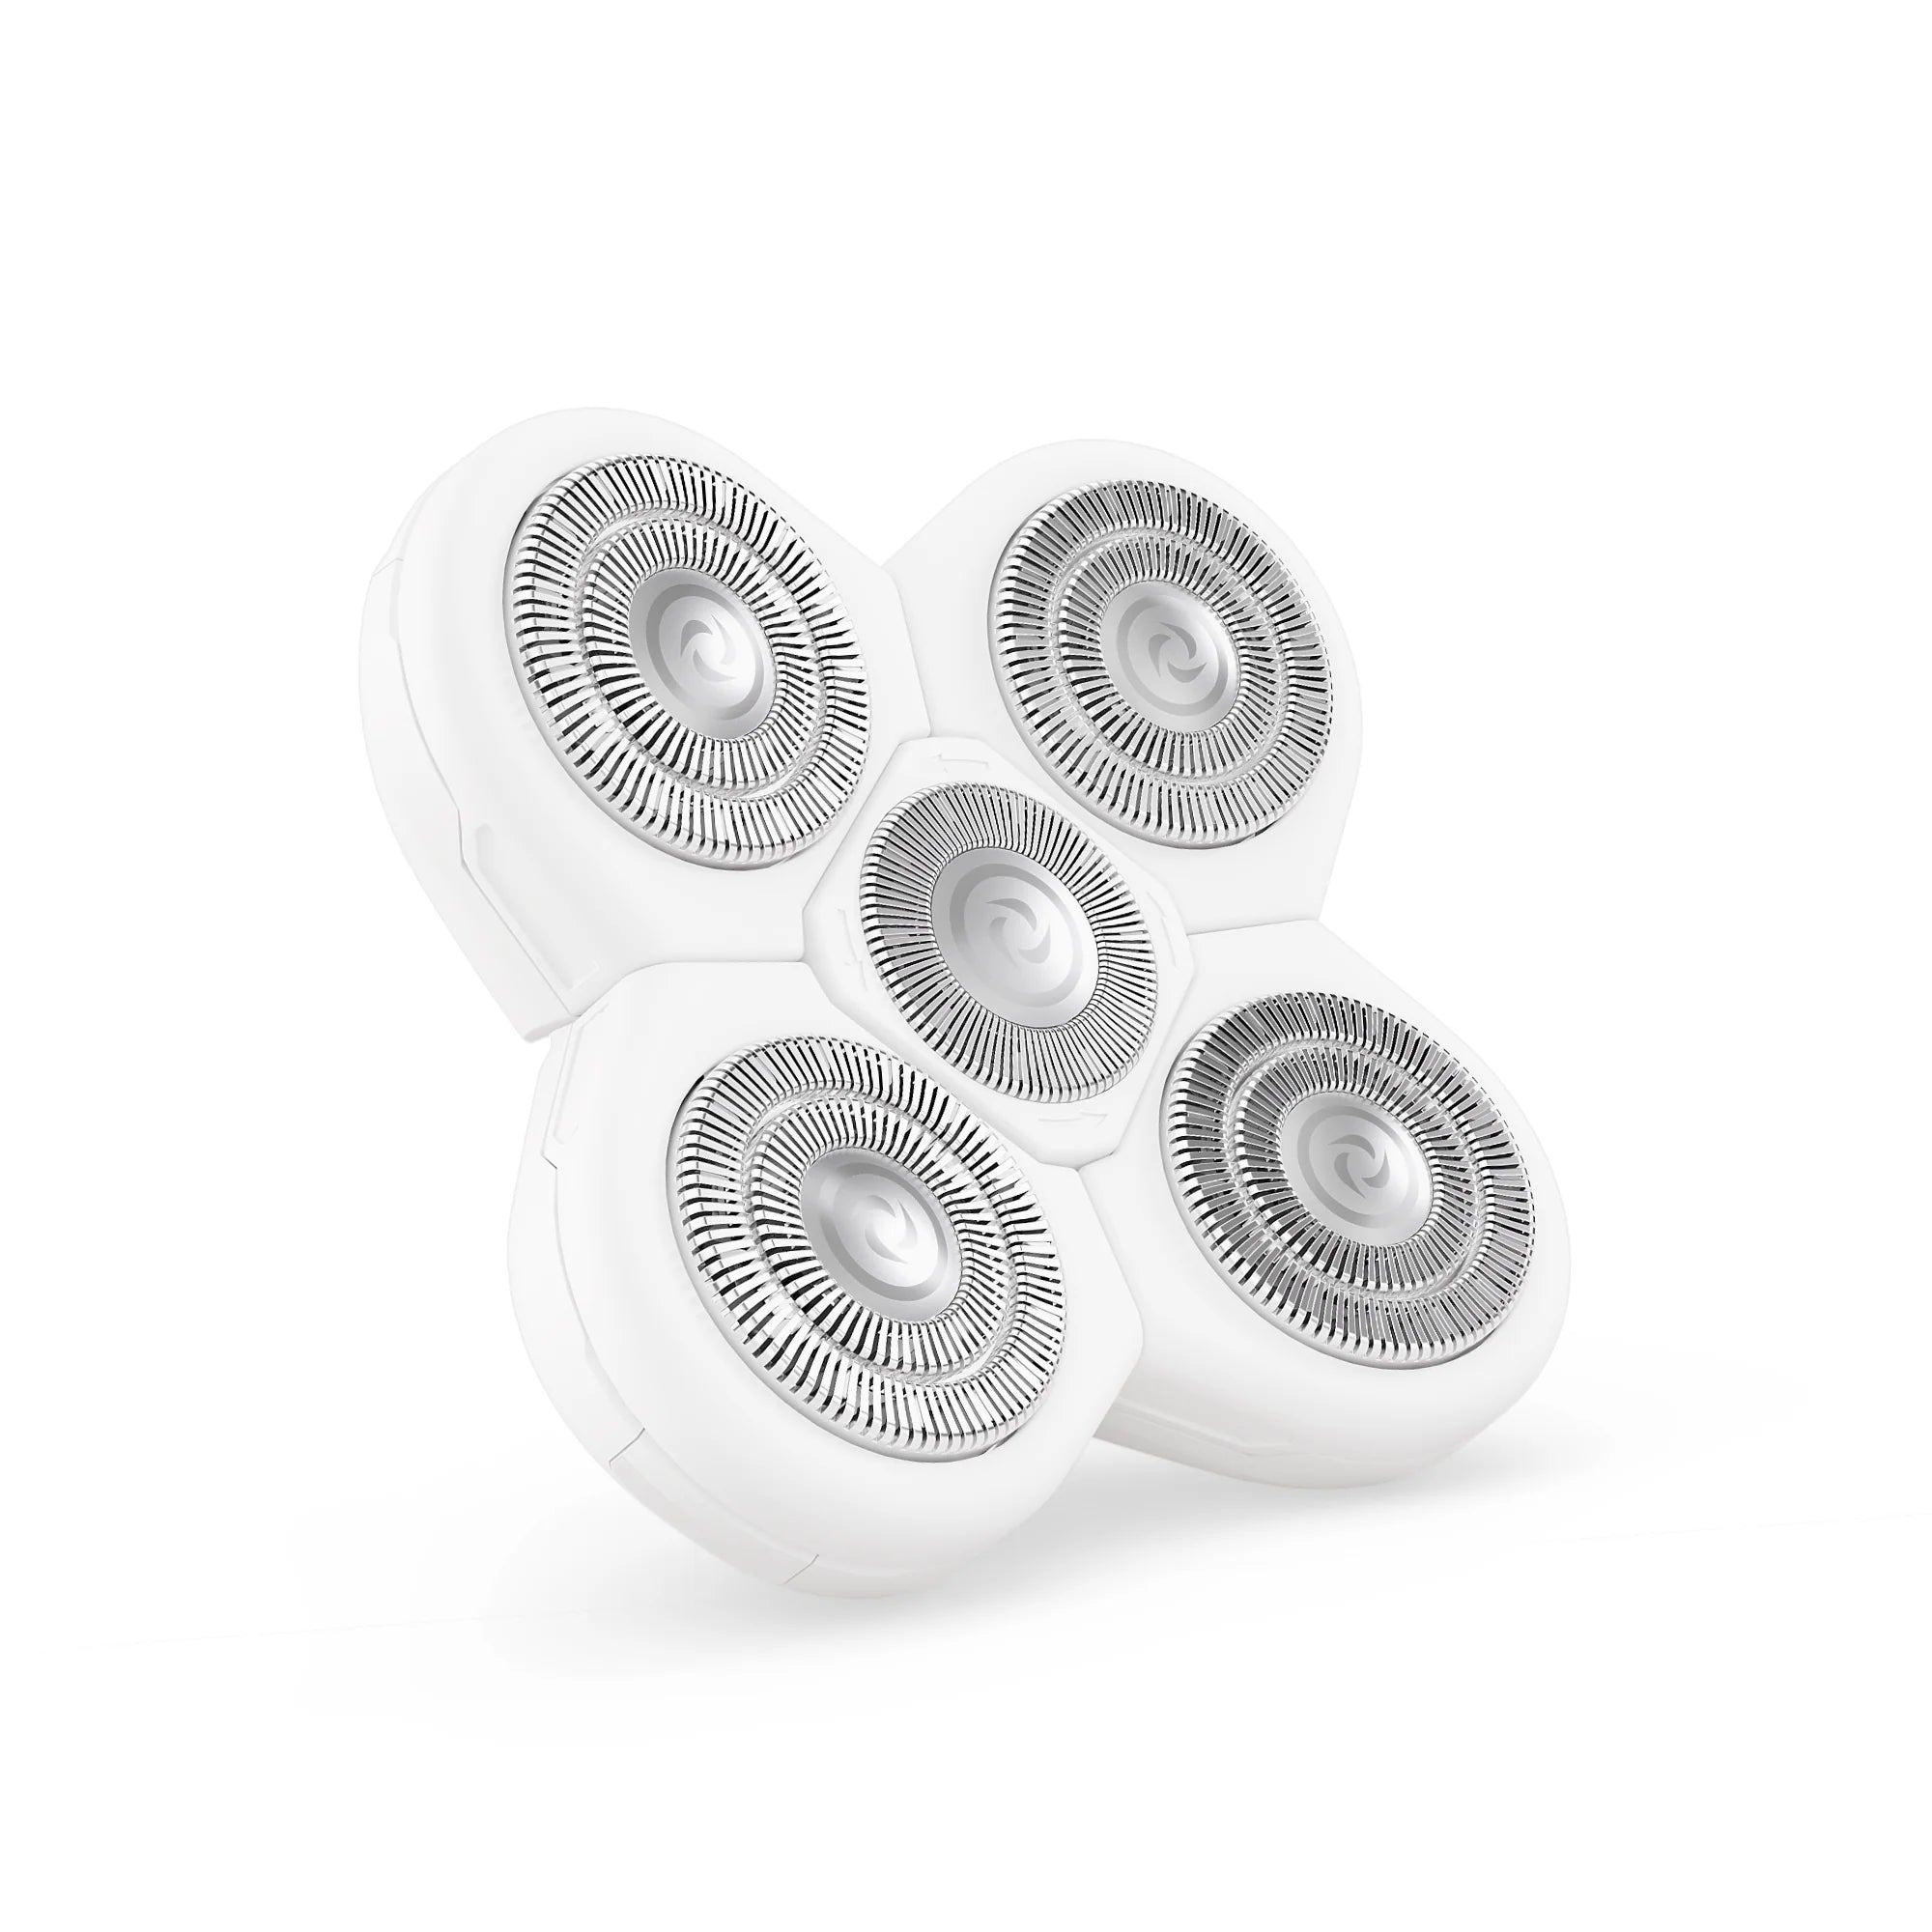
- A replacement blade set compatible with your shaver model. For premium performance, consider the FlexSeries® Pro Blade Refill, designed for a precise, close shave with minimal irritation.
- Your shaver's user manual (or check the manufacturer's website for specific instructions)
- A small screwdriver (if your shaver uses screws to secure the head)
- A soft brush for cleaning debris from the shaver head
- Rubbing alcohol or a mild disinfectant for sanitizing
Step 1: Safety First — Power Down and Disconnect
Always turn off your electric shaver and disconnect it from any power source. If it's cordless, remove the battery if possible. This prevents accidental activation during the replacement process and protects you from electrical shock. Place the shaver on a clean, dry towel or mat to avoid losing small parts.
Step 2: Remove the Old Blade Assembly
Most electric shavers have a removable head or foil assembly. Gently press the release button or slide the latch to detach the head. If your model has screws, use a small screwdriver to remove them. Carefully lift off the old blade assembly. Take note of how the blades and foils are oriented — snapping a photo can help during reassembly.
Step 3: Clean the Shaver Head Thoroughly
Before installing new blades, take the opportunity to clean the shaver head and interior. Use the soft brush to remove hair clippings, dust, and debris. For a deeper clean, wipe the components with a cloth lightly dampened with rubbing alcohol. This step prevents old residue from affecting the performance of your new blade refill. If your shaver is waterproof, you can rinse the head under warm water — just ensure it's completely dry before reassembly.
Step 4: Install the New Blade Refill
Take your new blade refill out of its packaging. For many modern shavers, the replacement comes as a single unit that includes both the foil and the cutter. Align it carefully with the shaver head, matching any guides or notches. Press down firmly until it clicks into place. If your shaver uses a screw-type attachment, tighten the screws gently — do not overtighten, as this can warp the foil.
For users of high-performance shavers, the FlexSeries® Pro Blade Refill is engineered for a snap-fit installation that takes just seconds. It's designed to maintain consistent cutting pressure, reducing the risk of cuts and providing a smoother shave from the first use.
Step 5: Test the Shaver
Once the new blades are installed, turn on the shaver (still disconnected from charging) for a few seconds. Listen for any unusual sounds. The shaver should run smoothly and quietly. If you hear grinding or rattling, turn it off immediately and double-check the installation. Also, run your finger lightly over the foil — it should feel smooth with no sharp edges or misalignments.
Step 6: Sanitize and Store Properly
After confirming everything is working, wipe the new blades with a disinfectant wipe or a cloth with alcohol. This ensures they are sterile before your next shave. Store your shaver in a dry place, preferably in a protective case. If you travel frequently, a Pro Travel Case can keep your shaver and spare blade refills organized and protected from damage.
Safety Tips for Blade Replacement
- Use only manufacturer-approved replacement blades — generic or off-brand blades may not fit correctly and can damage your shaver or cause skin injury.
- Handle the foil with care — it is extremely thin and can tear easily. Even a small tear can cause cuts during shaving.
- Never force a blade refill — if it doesn't click into place easily, check the alignment and try again. Forcing can break the locking mechanism.
- Keep blades away from children and pets — the sharp edges can cause injury.
- Dispose of old blades safely — wrap them in paper or tape before throwing them away to prevent injury to sanitation workers.
How Often Should You Replace Shaver Blades?
| Usage Frequency | Recommended Replacement Interval | Signs to Watch For |
|---|---|---|
| Daily shaving (thick hair) | Every 4–6 months | Tugging, irritation, longer shave time |
| Daily shaving (fine hair) | Every 6–8 months | Uneven cut, increased passes |
| 2–3 times per week | Every 9–12 months | Visible wear on foil, noise |
| Occasional use (once a week or less) | Every 12–18 months | Dullness, reduced efficiency |
Common Mistakes to Avoid
- Replacing only one part of the set — always replace both the foil and the cutter together for optimal performance.
- Skipping the cleaning step — installing new blades into a dirty shaver head can trap bacteria and reduce blade life.
- Using excessive force — pressing too hard during installation can damage the foil or the shaver's alignment pins.
- Ignoring the user manual — different models have specific removal and installation procedures. Always consult your manual first.
Extend the Life of Your New Blades
Once you've successfully replaced your blades, proper maintenance will help them last longer. Here are a few quick tips:
- Rinse the shaver head after every use to remove hair and skin oils.
- Use a lubricating spray designed for electric shavers every few weeks.
- Store your shaver in a dry place — moisture accelerates blade dulling.
- Replace the blade refill at the first sign of wear — don't wait until it's completely dull.
Conclusion
Learning how to replace your electric shaver blades is an essential skill for anyone who values a clean, comfortable shave. By following this step-by-step safety guide, you can change your blades with confidence, avoid common pitfalls, and keep your shaver performing like new. Regular blade replacement not only protects your skin from irritation but also saves you money by extending the life of your shaver.
Ready to upgrade your grooming routine? Explore the FlexSeries® Pro Blade Refill at Myfreebird for a seamless replacement experience. Pair it with a Pro Travel Case to keep your tools safe on the go. Visit Myfreebird today and discover the difference precision blades can make.