How to Replace Your Electric Shaver Blades: A Step-by-Step Maintenance Guide for a Smooth Shave
By Myfreebird | Published: 2026-05-29
Category: How-to Guides
Learn how to replace electric shaver blades with this easy step-by-step guide. Extend your shaver's life, prevent irritation, and enjoy a precise groom with Myfreebird tips.
Maintaining your electric shaver or trimmer is key to a comfortable, close shave every time. Over time, blades dull, collect debris, and lose their edge, leading to tugging, irritation, and uneven results. Replacing shaver blades regularly—about every 6 to 12 months depending on usage—restores performance and prolongs your device's life. This step-by-step guide walks you through how to change trimmer blades safely and efficiently, whether you're swapping out a FlexSeries® Blade Refill or refreshing the head of your favorite body trimmer. We'll cover signs you need replacement, tools required, and aftercare tips to keep your grooming tool in top shape.
Why Replacing Shaver Blades Matters
Dull blades don't just compromise your shave—they can damage your skin and the device itself. When blades lose sharpness, they pull hair rather than cutting cleanly, increasing the risk of razor burn, ingrown hairs, and nicks. Additionally, clogged blades force the motor to work harder, potentially shortening the lifespan of your trimmer. Regular electric shaver blade replacement ensures:
- Smooth, irritation-free shaves: Sharp blades glide across skin without tugging.
- Hygiene: Fresh blades reduce bacterial buildup from dead skin and oil.
- Cost savings: Replacing just the blade (not the entire unit) is economical.
For example, using a quality product like the Detoxifying Bald Head Cleanser post-shave helps keep your skin and blades clean, but nothing beats a fresh blade for performance.
Signs It's Time to Replace Your Shaver Blades
Not sure if your blades need swapping? Look for these common indicators:
- Increased pulling or snagging: If you feel resistance while shaving, blades are dull.
- Reduced cutting efficiency: You need multiple passes to achieve the same result.
- Visible wear: Chipped, bent, or discolored blades.
- Loud operation: A struggling motor often indicates dull blades.
- Skin irritation: Rashes, redness, or bumps post-shave suggest blades are past their prime.
Most manufacturers recommend checking blades every three months and replacing them as needed. If you use your trimmer daily or on coarse hair, you may need replacements more often.
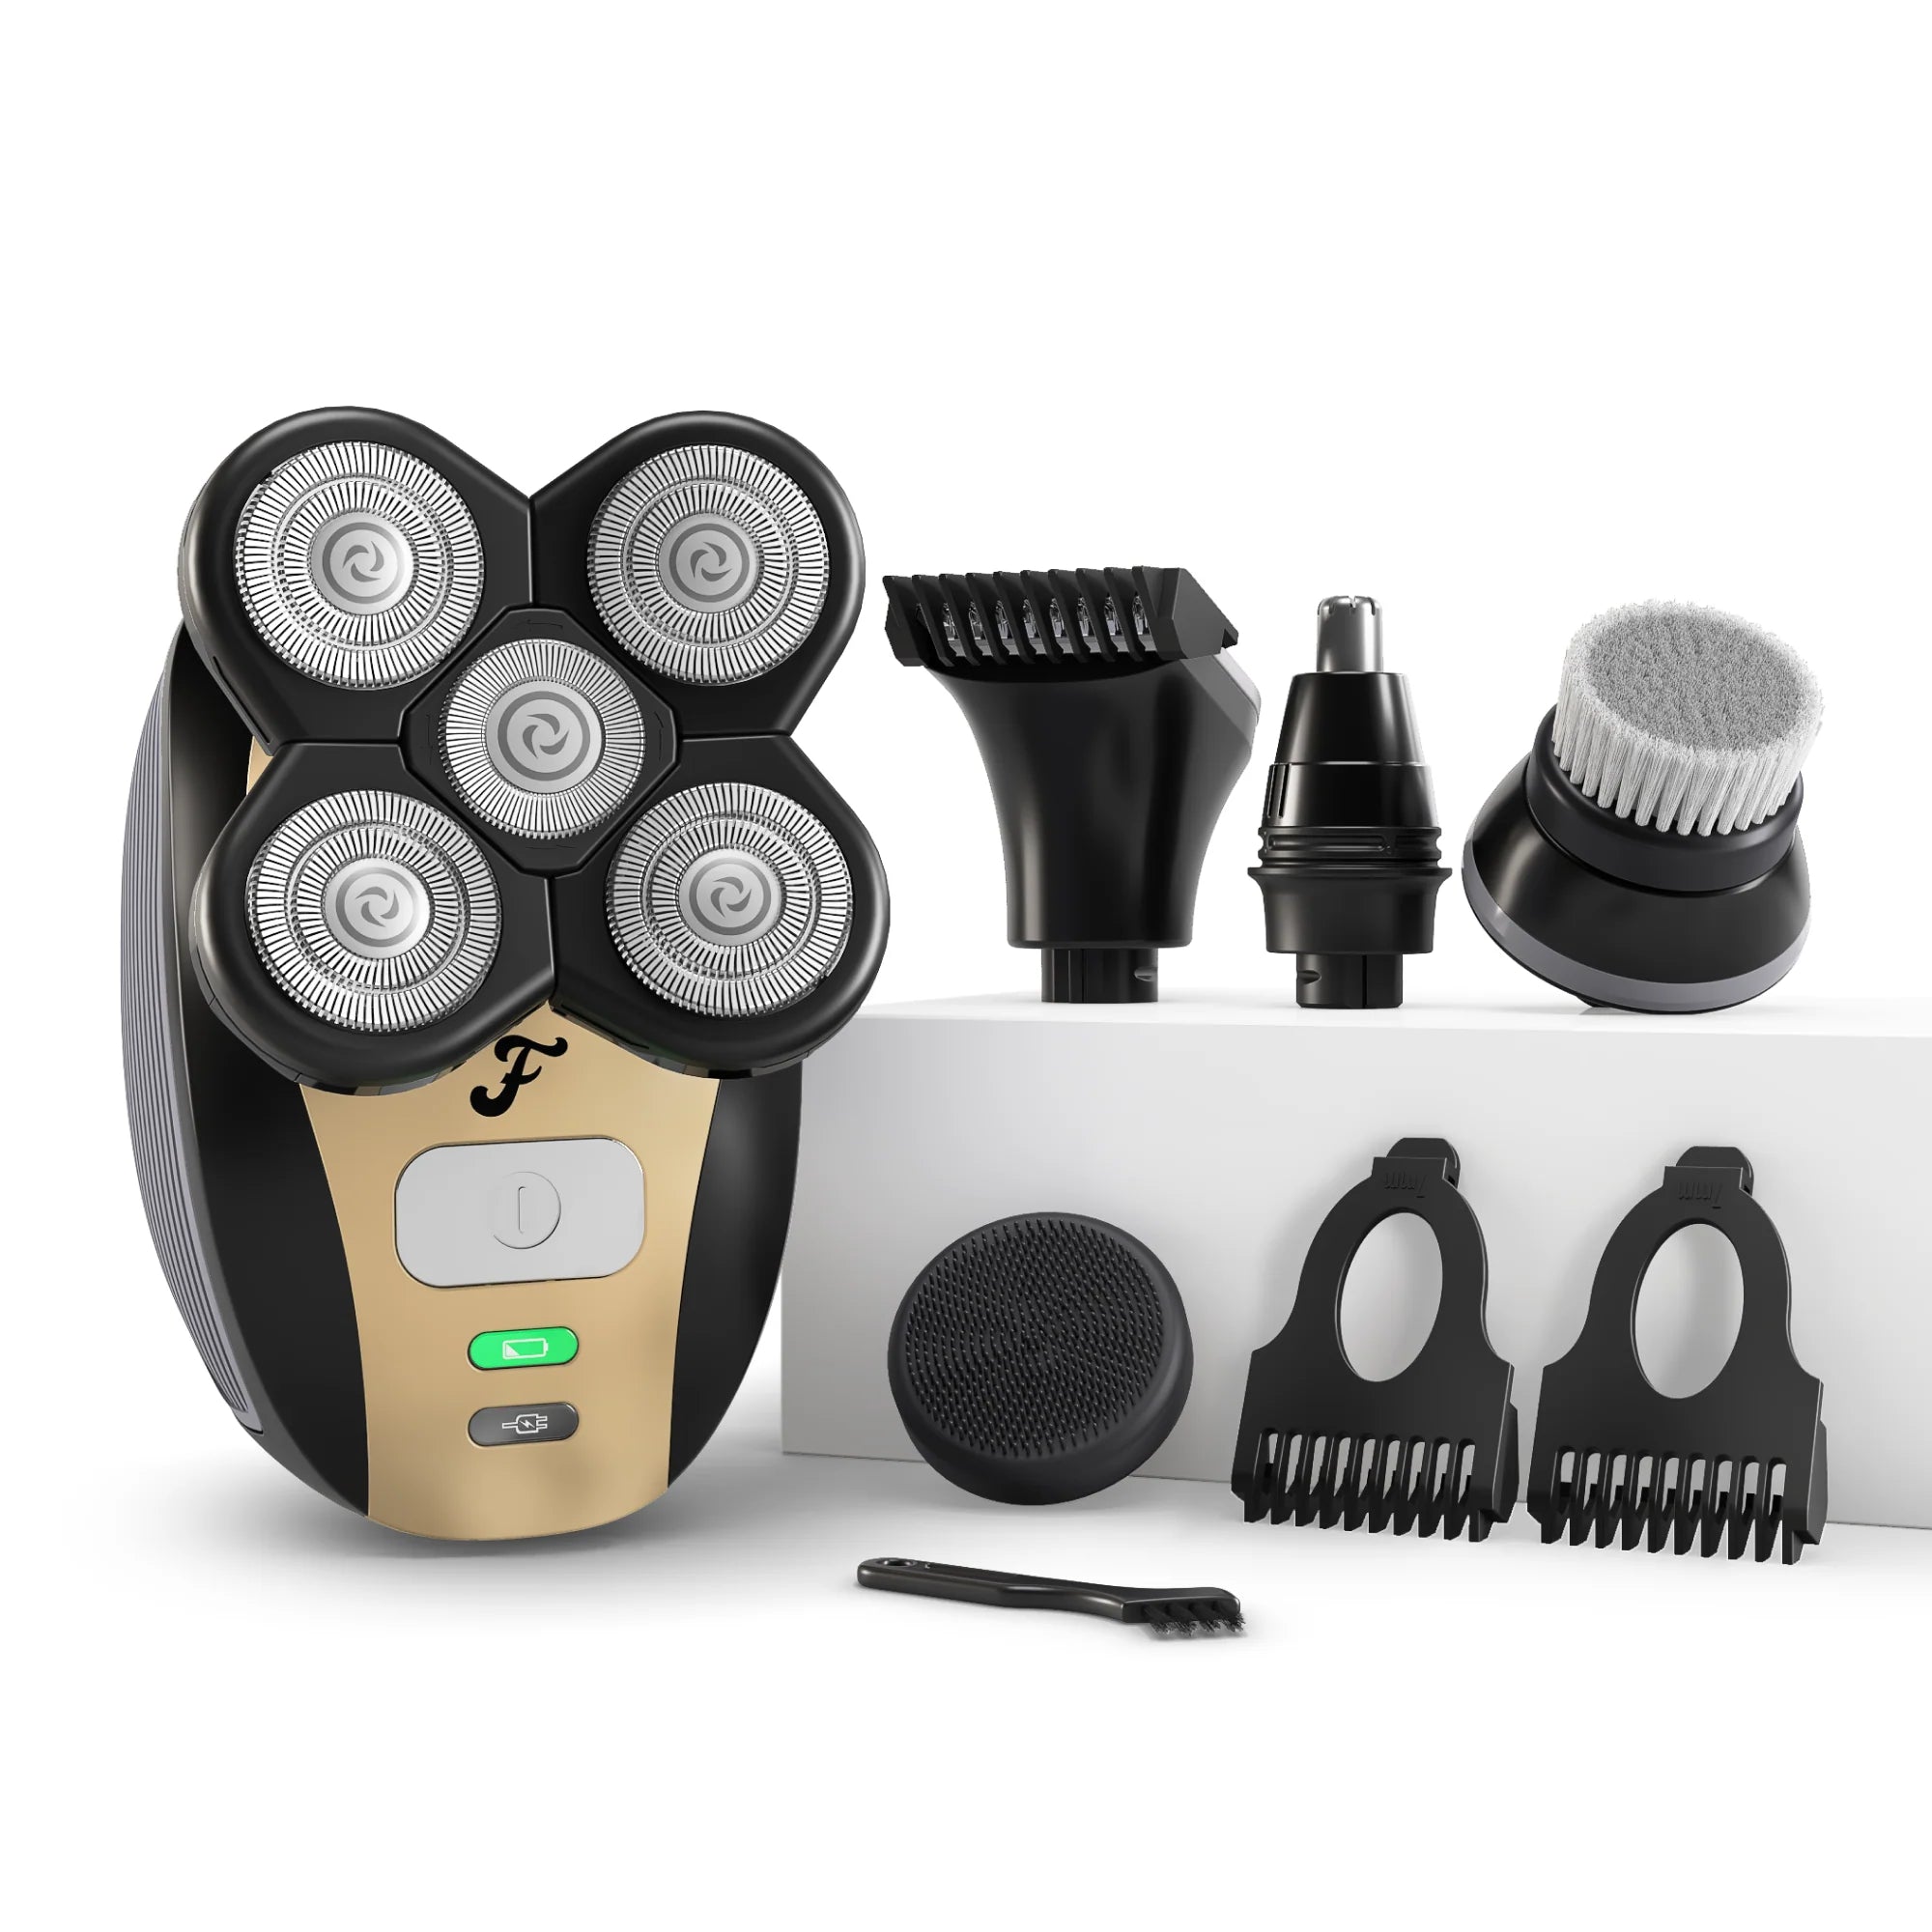
Tools and Prep for Blade Replacement
Before you begin, gather these essentials:
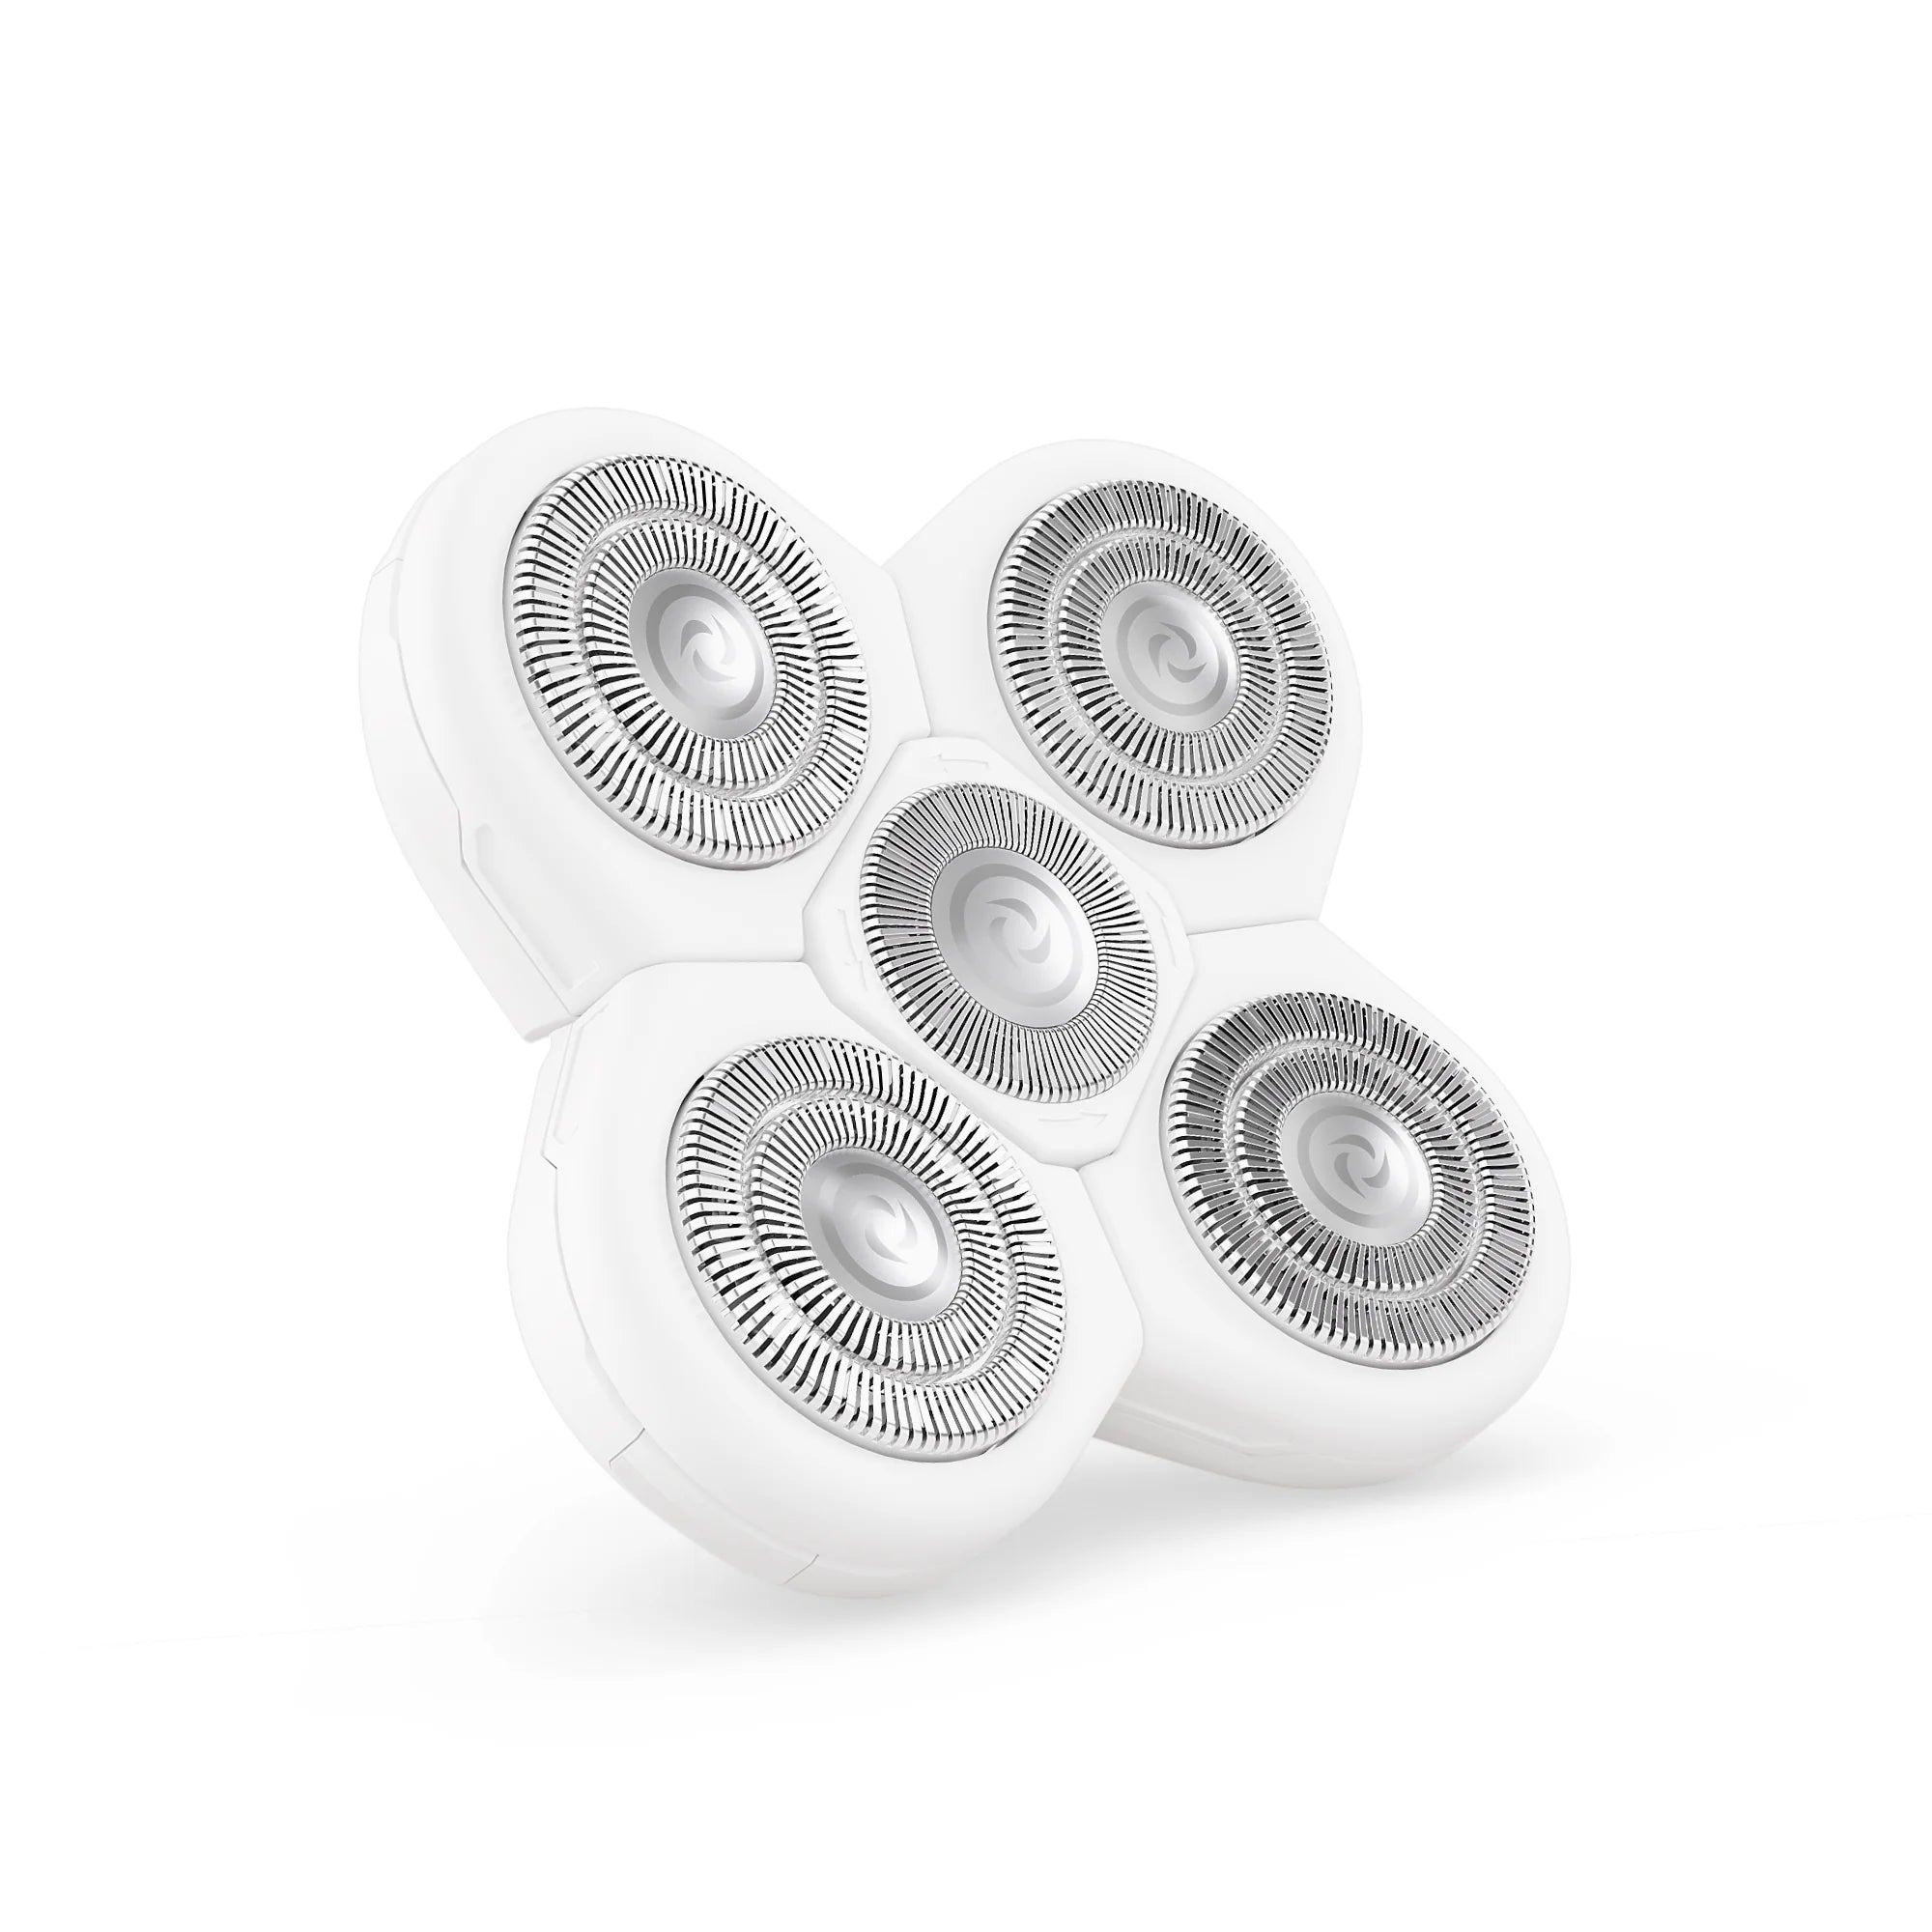
- Replacement blade set: Ensure it's compatible with your shaver model (e.g., a FlexSeries® Blade Refill for FlexSeries trimmers).
- Cleaning brush: Most trimmers come with one, or use a soft toothbrush.
- Isopropyl alcohol (70% or higher): For disinfecting the blade housing.
- Small screwdriver (if needed): Some models require it to release the blade head.
- Lubricating oil (optional but recommended): To keep the new blade running smoothly.
Work on a clean, well-lit surface. Unplug your shaver or remove batteries to avoid accidental activation.
Step-by-Step Guide: How to Change Trimmer Blades
Step 1: Power Down and Remove Old Blade Assembly
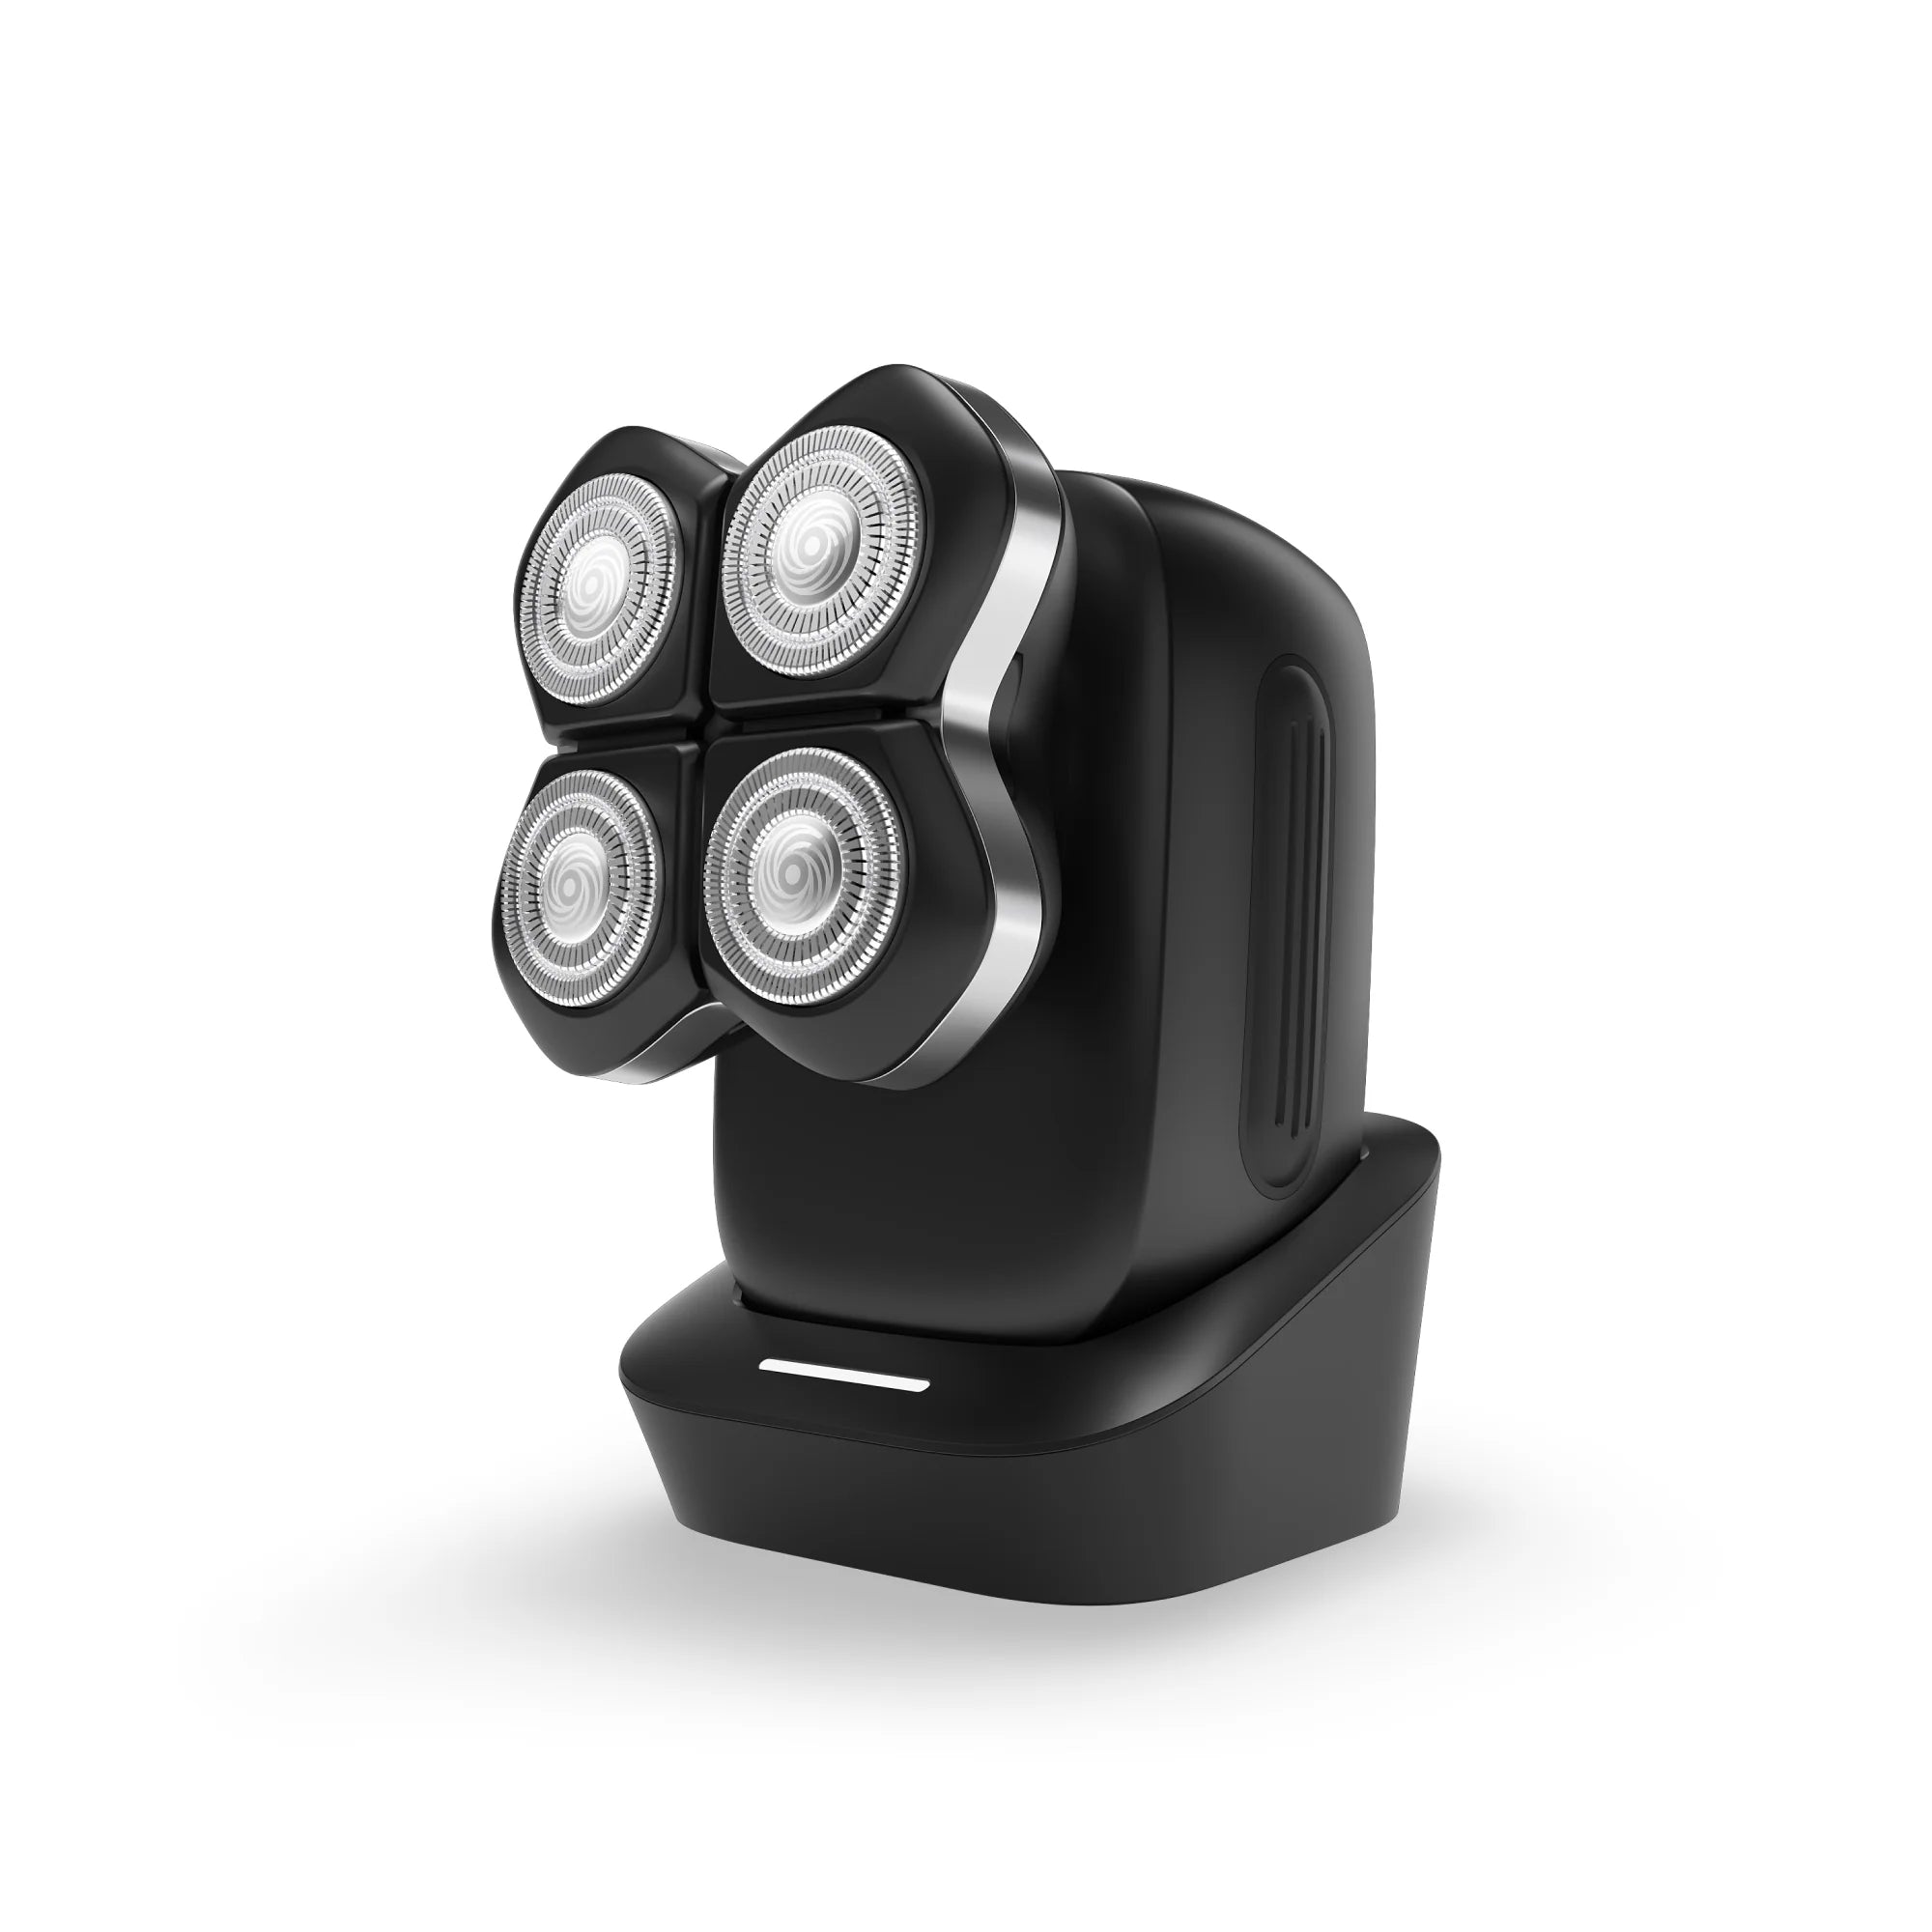
Ensure the device is off and disconnected from any power source. Most electric shavers and trimmers have a release button or tab that separates the blade head from the motor body. Press the button and gently pull the blade assembly away. For models like the FlexSeries, the head typically lifts off without tools—refer to your user manual if uncertain.
Step 2: Clean the Blade Housing
Use the cleaning brush to remove loose hair and debris from the blade housing and any crevices. Dampen a cloth with isopropyl alcohol to wipe down the metal contacts and interior. This prevents old residue from affecting the new blade's fit and performance. Let it air dry for a minute.
Step 3: Remove and Dispose of the Old Blade
If the blade is attached to a plastic frame, you may need to snap it off or unscrew it. Be careful—blades are sharp. Dispose of the old blade safely in a sealed container or wrap it in tape to prevent injury.
Step 4: Align and Install the New Blade
Take your replacement blade set (e.g., a FlexSeries® Blade Refill) and align it with the housing or cutter mechanism. You should hear a click or feel a secure fit when it's properly seated. If your model uses screws, tighten them gently—avoid overtightening, which can damage the blade.
Step 5: Lubricate (Optional but Recommended)
Apply a single drop of lightweight oil (like clipper oil) to the blade's cutting edge. This reduces friction and heat during use. Wipe away any excess with a clean cloth.
Step 6: Test and Reattach
Before fully reassembling, power on the device briefly (if cordless) to ensure the blade rotates freely and quietly. If it vibrates excessively, reseat the blade. Then snap the blade head back onto the main body.
Aftercare Tips for Long-Lasting Blades
To maximize the life of your new blades:
- Clean after each use: Rinse trimmer heads under running water (if waterproof) and brush away hair.
- Store in a dry place: Moisture accelerates rust—use a case like the FlexSeries® Travel Case & Charging Dock for protection.
- Oil monthly: A drop of oil every 30 days keeps blades gliding.
- Replace according to schedule: For heavy users (daily shaving), swap blades every 4–6 months; for occasional use, 12 months may suffice.
Common Mistakes to Avoid
Don't fall into these pitfalls:
- Mixing incompatible blades: Always check model numbers. Generic blades may fit poorly and damage your trimmer.
- Skipping lubrication: A dry blade creates heat and wears faster.
- Using excessive force: If the new blade doesn't click in easily, you may have the wrong part or alignment.
- Neglecting the outer foil: For foil shavers, replace both the foil and cutter simultaneously for best results.
When to Seek Professional Help
If you're uncomfortable disassembling your device, or if your shaver uses a sealed cartridge system that's difficult to open, consider contacting the manufacturer's support or visiting a certified repair center. For most modern trimmers like the FlexSeries line, blade replacement is user-friendly and tool-free.
Conclusion: Keep Your Shaver in Prime Condition
Learning how to replace electric shaver blades is a simple skill that saves money and elevates your grooming routine. By swapping out dull blades promptly, you reduce skin irritation, improve cutting efficiency, and extend the life of your shaver. Pair fresh blades with a proper skincare regimen—such as cleansing with a high-quality product—for the best results.
Ready for a smooth upgrade? Explore the FlexSeries® Blade Refill at Myfreebird to keep your trimmer performing like new. Visit our how-to guides for more maintenance tips!