How to Clean and Maintain Your Beard Trimmer Blades for Long-Lasting Performance
By Myfreebird | Published: 2026-06-20
Category: How-to Guides
Learn the essential steps to clean and maintain your beard trimmer blades for optimal performance, extended lifespan, and a smooth grooming experience.
Your beard trimmer is a daily companion in your grooming routine, but without proper care, its blades can dull, clog, and lose precision over time. Whether you use a cordless model or a professional-grade tool, understanding beard trimmer blade maintenance is key to ensuring a clean, comfortable shave every time. In this guide, we’ll walk you through how to clean trimmer blades effectively, share trimmer blade care tips, and help you maximize your beard trimmer lifespan.
Why Cleaning Your Beard Trimmer Blades Matters
Hair clippings, skin oils, and product residue accumulate on the blades after each use. If left uncleaned, this buildup can cause the blades to pull rather than cut, leading to irritation and uneven trimming. Regular cleaning prevents corrosion, reduces friction, and keeps the motor running smoothly. In fact, periodic trimmer blade care can double the life of your device, saving you money and hassle.
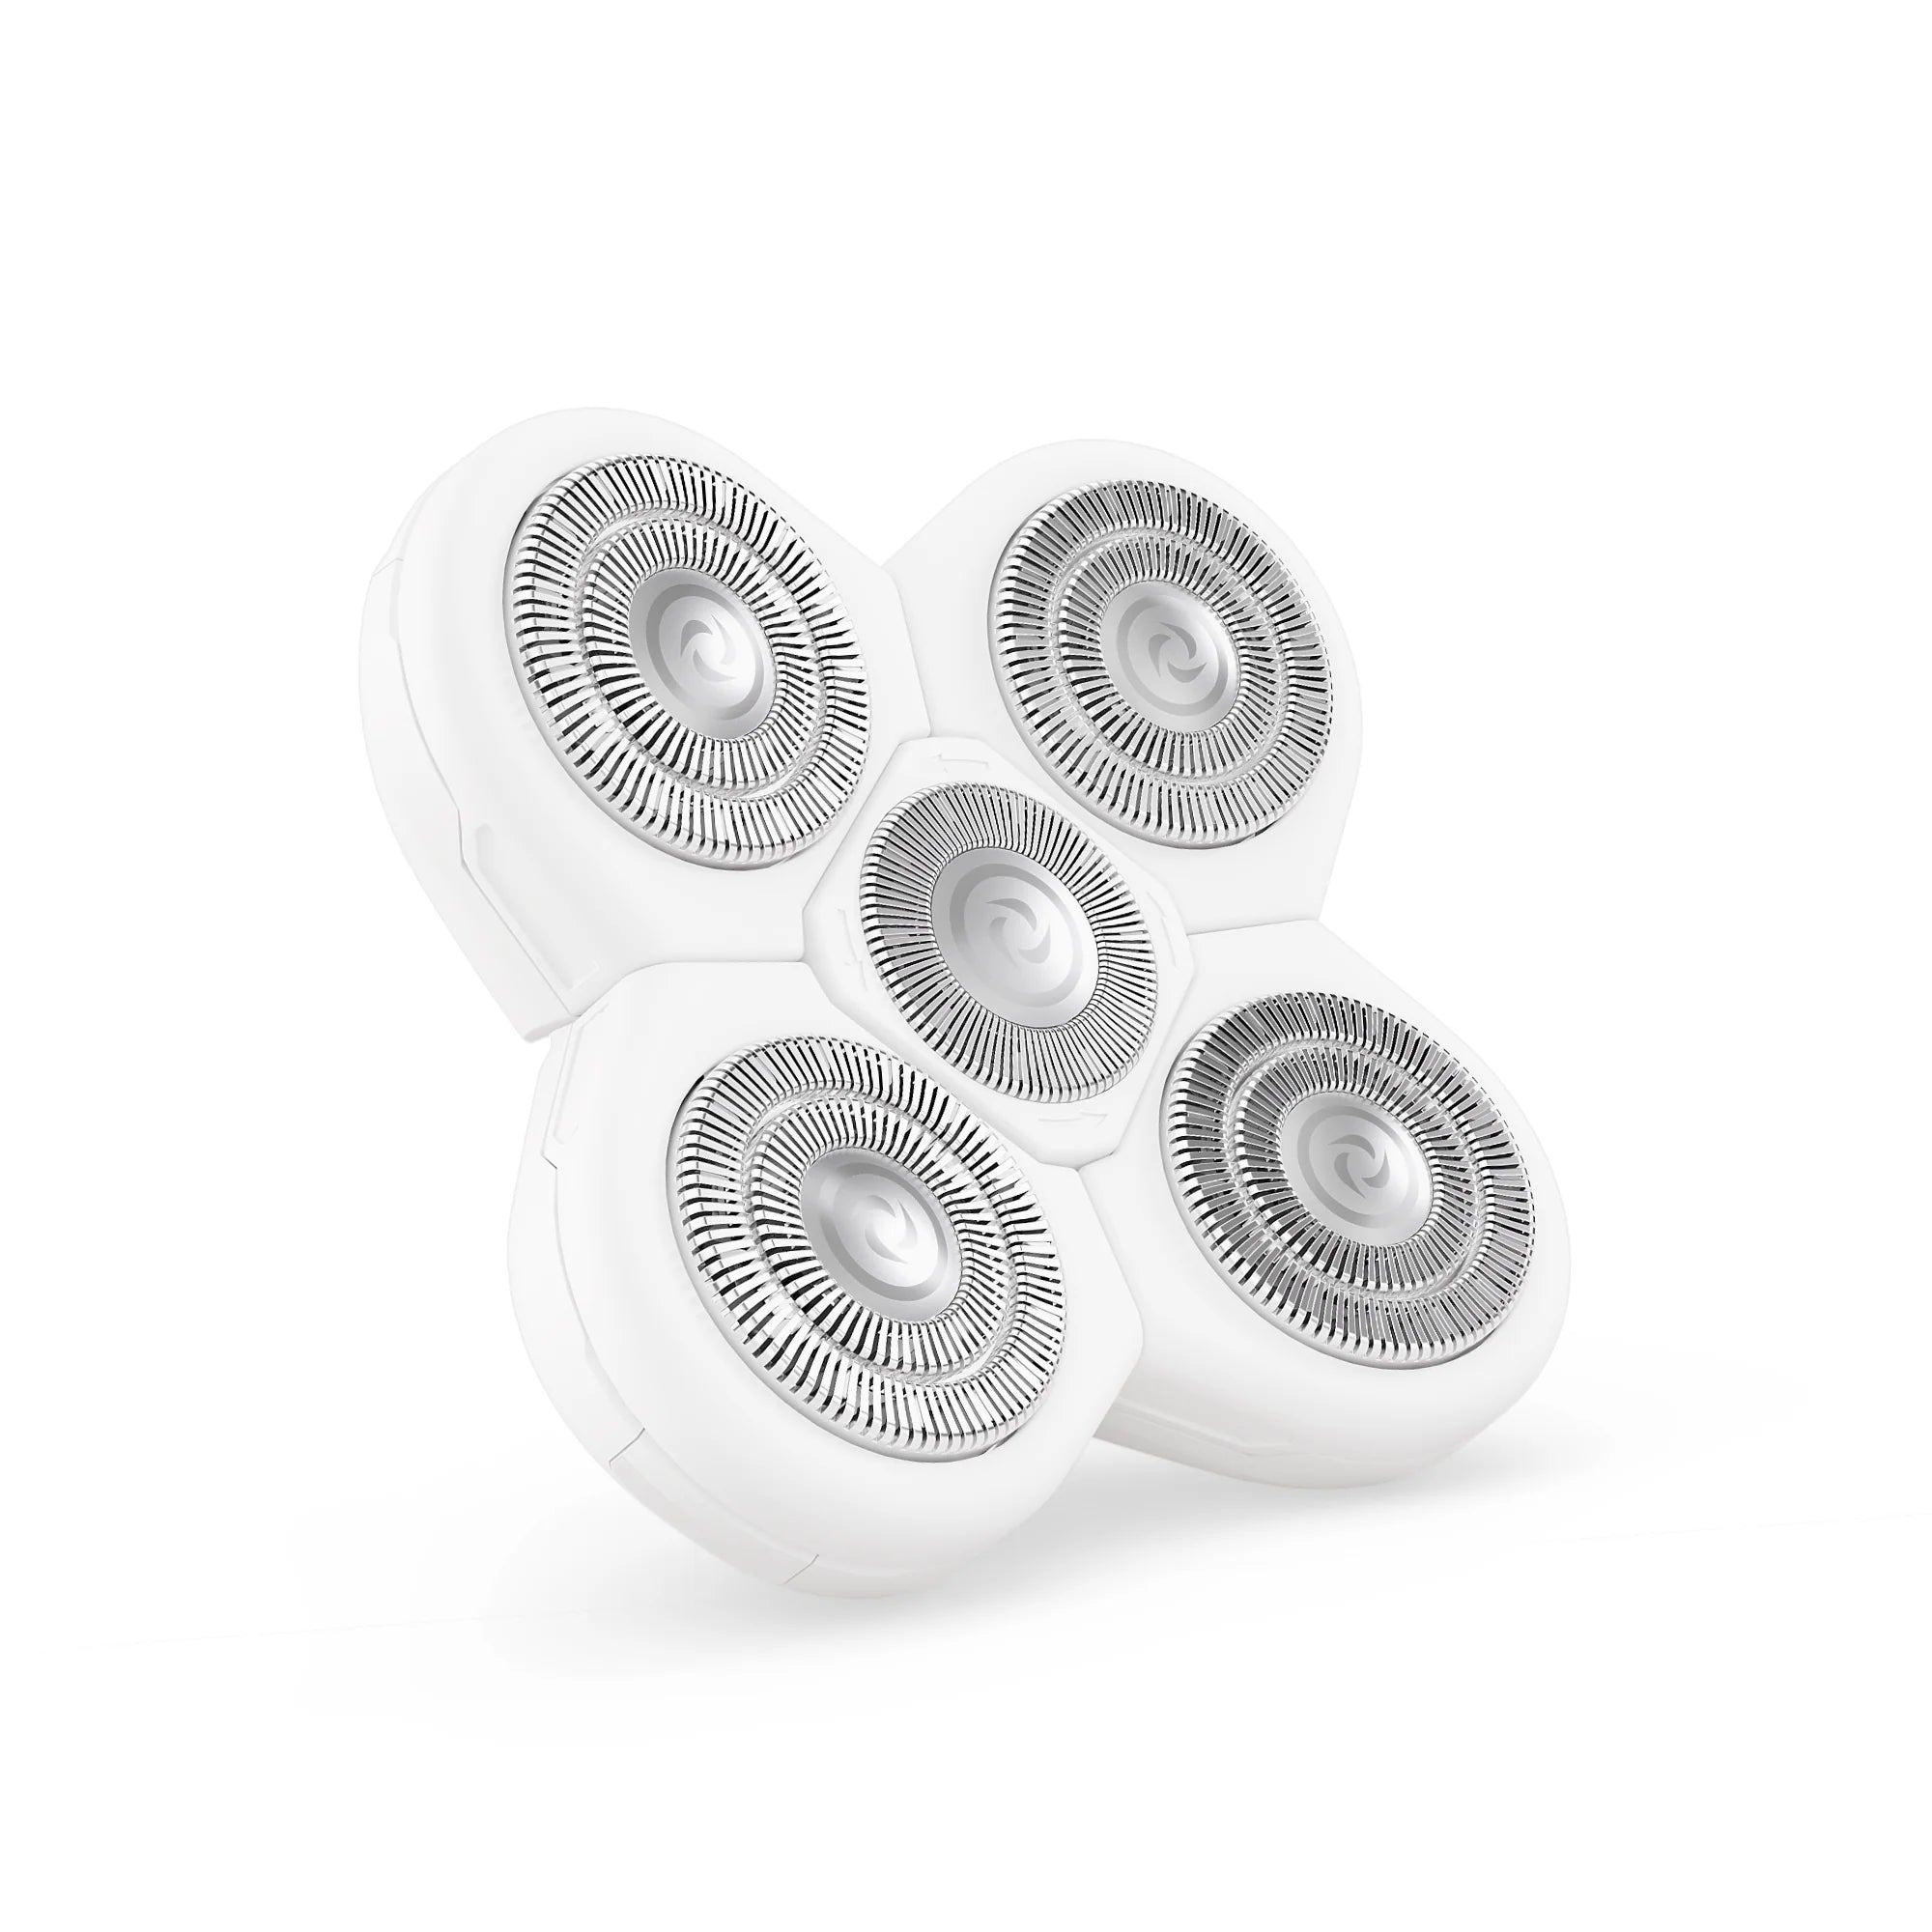
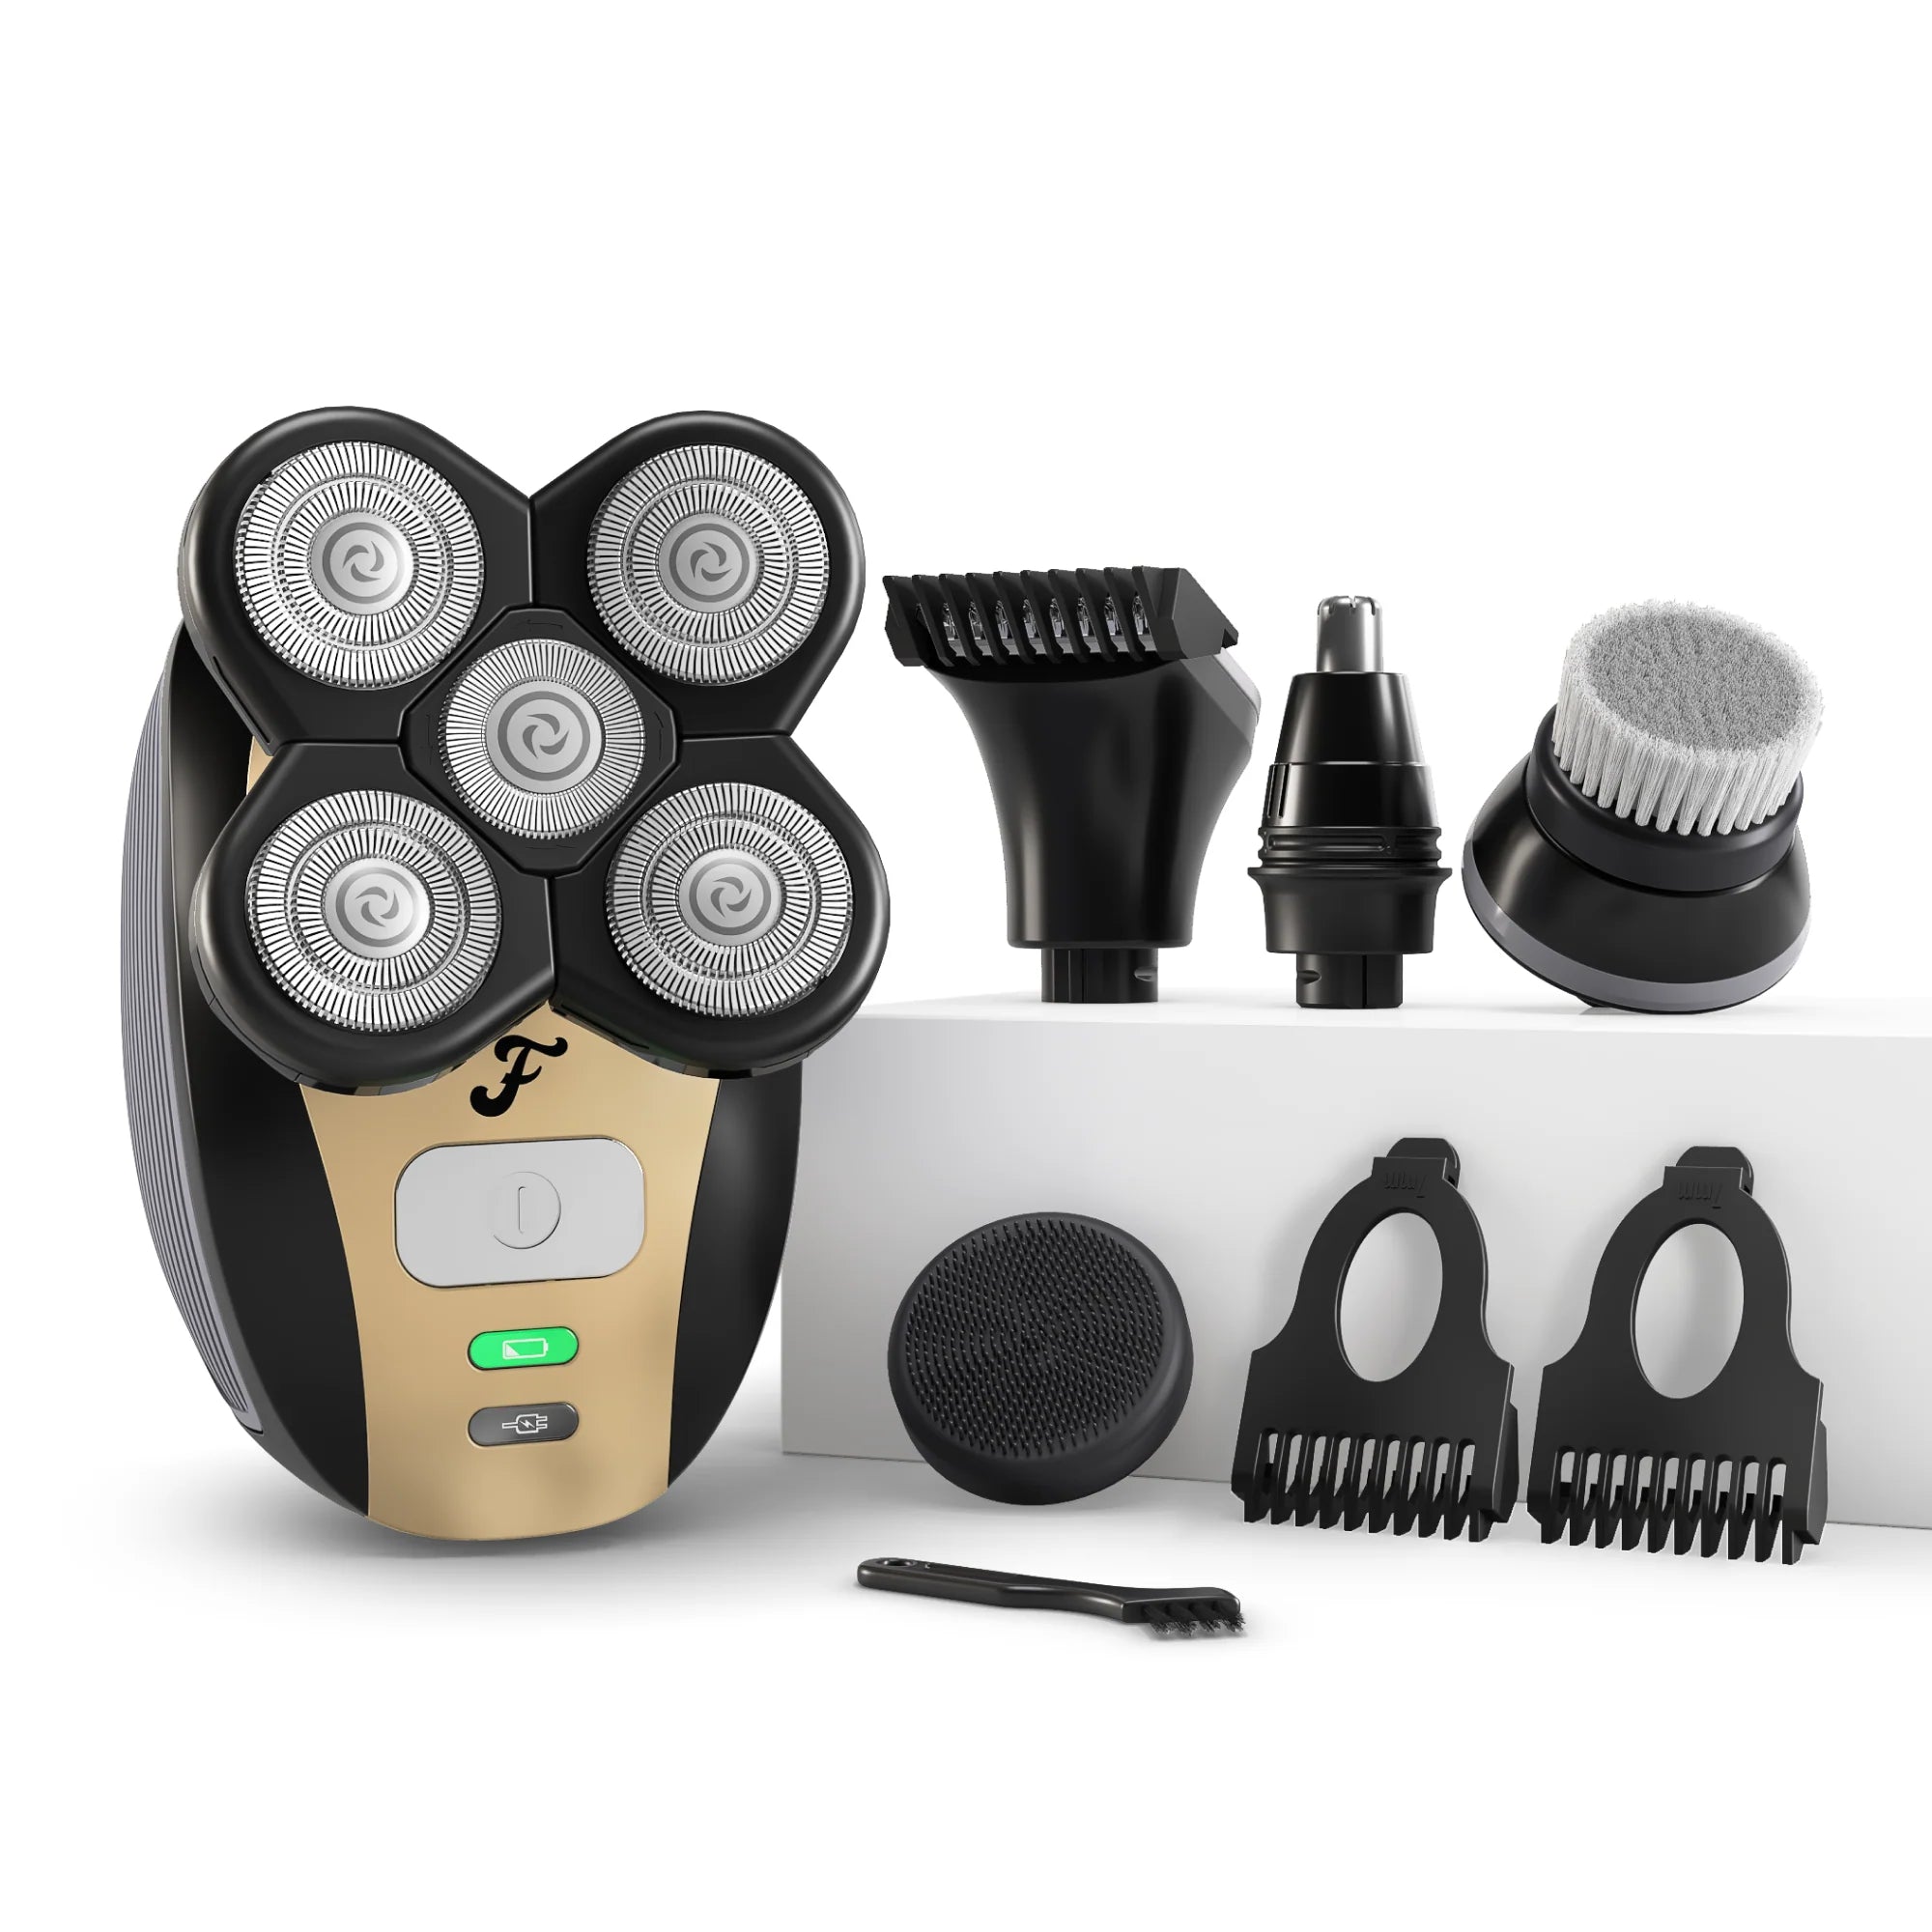
For example, the FlexSeries® Pro Nose & Ear Trimmer features precision blades that benefit greatly from routine oiling and brushing. Similarly, the FlexSeries® Nose & Ear Trimmer is designed for easy cleaning, but even the best tools require diligent maintenance.
What You’ll Need to Clean Your Trimmer Blades
Before you start, gather these supplies:
- A small cleaning brush (often included with your trimmer)
- Isopropyl alcohol (70% or higher) for disinfecting
- Light machine oil or clipper oil (never use cooking oil)
- A soft, lint-free cloth
- Optional: a toothpick or compressed air for stubborn debris
Using the right oil is critical — it reduces metal-on-metal wear and prevents rust. Avoid WD-40 or heavy lubricants; they can gum up the blades over time.
Step-by-Step Guide to Clean Trimmer Blades
Step 1: Unplug and Remove the Blade Assembly
Always disconnect your trimmer from power before cleaning. Most models allow you to detach the blade head by pressing a release button or sliding it off. Check your user manual if you’re unsure. For precision tools like the FlexSeries® Pro Nose & Ear Trimmer, the blade assembly pops off easily, making maintenance straightforward.
Step 2: Brush Away Loose Hair
Use the cleaning brush to sweep hair clippings from between the teeth and around the blade base. Hold the blade head over a trash can to avoid mess. For deep crevices, a toothpick can gently dislodge stubborn debris. Never use metal tools that could scratch the blade surface.
Step 3: Disinfect with Alcohol
Dampen a cloth or cotton swab with isopropyl alcohol and wipe down the blades. This kills bacteria and removes oily residue. Avoid submerging the entire blade head in liquid unless the manufacturer specifies it’s waterproof. Many modern trimmers, including the FlexSeries® Nose & Ear Trimmer, are rinse-safe, but always check first.
Step 4: Oil the Blades
Apply one to two drops of clipper oil to the blade’s cutting edge and moving parts. Turn the trimmer on for a few seconds to distribute the oil evenly. Wipe away any excess with a cloth. Oil not only lubricates but also creates a protective barrier against moisture and rust.
Step 5: Reassemble and Test
Once the blades are dry and oiled, reattach the blade head securely. Run the trimmer for 10–15 seconds to ensure smooth operation. If you hear a grinding noise, the blades may need additional oil or realignment.
How Often Should You Clean Your Beard Trimmer Blades?
Frequency depends on usage:
- After every use: Brush away loose hair and wipe the blades with a dry cloth.
- Once a week: Perform a full clean with alcohol and oil.
- Monthly: Deep clean by removing the blade assembly and soaking it in alcohol for 10 minutes (if waterproof).
Signs it’s time for maintenance include tugging, uneven cuts, visible rust, or a slower motor. Ignoring these cues can permanently damage the trimmer.
Common Mistakes in Trimmer Blade Care
Avoid these pitfalls to extend your beard trimmer lifespan:
- Using water on non-waterproof models: Water can seep into the motor and cause short circuits. Always check your trimmer’s IP rating.
- Skipping oil: Dry blades wear out faster and generate heat, leading to skin burns.
- Over-oiling: Too much oil attracts dust and debris, making cleanup harder.
- Storing without drying: Moisture promotes rust. Always store your trimmer in a dry environment.
When to Replace Your Trimmer Blades
Even with perfect care, blades eventually dull. Replace them if you notice consistent pulling, visible nicks on the cutting edge, or rust that won’t come off. Most manufacturers recommend replacing blades every 6–12 months, depending on usage.
If you own a FlexSeries® Pro Nose & Ear Trimmer, you can order replacement blades directly from Myfreebird to ensure compatibility. For other models, check the product page for compatible refills.
Bonus Tips for Long-Lasting Performance
- Charge properly: Avoid overcharging your trimmer’s battery, as heat can degrade blade alignment.
- Use on clean, dry hair: Trimming wet or product-laden hair accelerates dulling.
- Store in a case: Keep your trimmer in a protective pouch to prevent accidental drops.
- Rotate blades: If your trimmer has reversible blades, switch sides periodically to even out wear.
FAQs About Beard Trimmer Blade Maintenance
Can I use olive oil instead of clipper oil?
No. Olive oil goes rancid, attracts dirt, and lacks the viscosity needed for precision blades. Stick to mineral oil or dedicated clipper oil.
Is it safe to clean trimmer blades in the dishwasher?
Never. High heat and moisture will warp blades and damage the motor. Hand-clean only.
How do I know if my blades are dull?
If you need to pass over the same area multiple times, or if the trimmer tugs at hairs, the blades are dull.
Conclusion
Mastering beard trimmer blade maintenance is a simple investment that pays off in smoother shaves, less skin irritation, and a longer-lasting device. By following this routine, you’ll keep your trimmer performing like new for months or even years. Ready to upgrade your grooming kit? Explore the FlexSeries® Pro Nose & Ear Trimmer at Myfreebird for precision-engineered blades that make maintenance a breeze — and enjoy a cleaner, closer trim every day.