How to Clean Your Electric Shaver: A Step-by-Step Guide for Maximum Performance
By Myfreebird | Published: 2026-06-06
Category: How-to Guides
Learn how to clean your electric shaver properly with this step-by-step guide. Extend blade life, improve performance, and maintain hygiene using our expert tips.
Your electric shaver is a precision tool that deserves regular care. Whether you use it daily or a few times a week, cleaning your electric shaver isn't just about hygiene—it's about maintaining peak performance and extending the life of your device. A dirty shaver can lead to dull blades, skin irritation, and even bacterial buildup. In this comprehensive guide, we'll walk you through the best practices for shaver maintenance, including how to clean your shaver after every use and deep-clean it weekly. By following these steps, you'll ensure a smoother, more comfortable shave every time.
Why Cleaning Your Electric Shaver Matters
Many people overlook the importance of regular cleaning, but it's essential for several reasons:
- Blade Longevity: Hair clippings, dead skin cells, and oil can clog the blades, causing them to dull faster. Regular cleaning keeps the cutting edges sharp.
- Hygiene: Bacteria and fungi thrive in warm, moist environments. A clean shaver reduces the risk of skin infections and breakouts.
- Performance: A clogged shaver pulls hair instead of cutting it cleanly. Cleaning restores optimal cutting power.
- Cost Savings: Proper maintenance means fewer blade refills and replacements. When it's time to replace, consider the Pro Precision Clipper for a durable upgrade.
How Often Should You Clean Your Electric Shaver?
The frequency depends on your usage and hair type. As a general rule:
- After every use: Rinse the shaver head under running water (if waterproof) or use a brush to remove loose hair.
- Weekly: Perform a deep clean by removing the blades and foils, soaking them in cleaning solution, and drying thoroughly.
- Monthly: Lubricate the blades with a drop of oil to keep them moving smoothly.
If you share your shaver—like with the Freebird® His & Hers Bundle—clean it more frequently to prevent cross-contamination.
Step-by-Step Guide to Cleaning Your Electric Shaver
Follow these steps for both daily and deep cleaning. Always check your manufacturer's instructions first, as some models have specific requirements.
Step 1: Unplug and Disassemble
Always unplug your shaver before cleaning. Remove the shaver head, foil, and blade assembly. Most models pop off easily. For waterproof shavers, you can rinse the head directly under a tap.
Step 2: Remove Loose Hair
Use the small brush that came with your shaver (or a soft toothbrush) to sweep away hair clippings from the blades, foils, and crevices. This prevents clogging during the wash.
Step 3: Rinse with Water (If Waterproof)
Hold the shaver head under warm running water for 10–15 seconds. Avoid hot water as it can damage seals. For non-waterproof models, skip this step and use a brush only.
Step 4: Deep Clean the Blades and Foil
Once a week, soak the removed blades and foil in a bowl of warm water with a drop of mild soap or shaving-specific cleaning solution. Gently agitate for 30 seconds, then rinse thoroughly. Avoid harsh chemicals that can corrode metal.
Step 5: Dry Completely
Shake off excess water and pat dry with a soft cloth. Leave the parts to air-dry completely before reassembling—moisture can lead to rust or mold. For faster drying, use a FlexSeries® Charging Dock, which some models include for convenient storage and drying.
Step 6: Lubricate the Blades
After deep cleaning, apply a single drop of shaver lubricating oil to the blades. Run the shaver for 5 seconds to distribute the oil evenly. This reduces friction and extends blade life.
Step 7: Reassemble and Charge
Snap the foil and blade assembly back into place. Ensure proper alignment. Store your shaver in a dry place—ideally on a charging dock to keep it ready for next use.
Pro Tips for Specific Shaver Types
Different shavers have different cleaning needs. Here's how to adapt:
| Shaver Type | Cleaning Method | Extra Tips |
|---|---|---|
| Foil Shaver | Brush and water rinse (if waterproof) | Replace foil every 12–18 months |
| Rotary Shaver | Remove cutter heads and brush | Soak heads in alcohol for disinfection |
| Wet/Dry Shaver | Rinse under running water | Use shaving gel for wet use |
Common Mistakes to Avoid
- Using hot water: Can warp plastic parts and damage seals.
- Submerging non-waterproof shavers: Only waterproof models can be rinsed.
- Skipping lubrication: Oil prevents metal on metal wear.
- Reassembling while wet: Leads to rust and bacteria growth.
- Ignoring blade wear: If you notice tugging or irritation, it's time for a new blade set. Check the Complete Shave Set for a full kit replacement.
When to Replace Blades vs. Clean
Cleaning is not a substitute for replacement. Even with perfect care, blades eventually dull. Signs it's time for new blades include:
- Pulling or snagging hair instead of cutting
- Skin irritation after shaving
- Visible wear or nicks on the foil
- Reduced battery life (more passes needed)
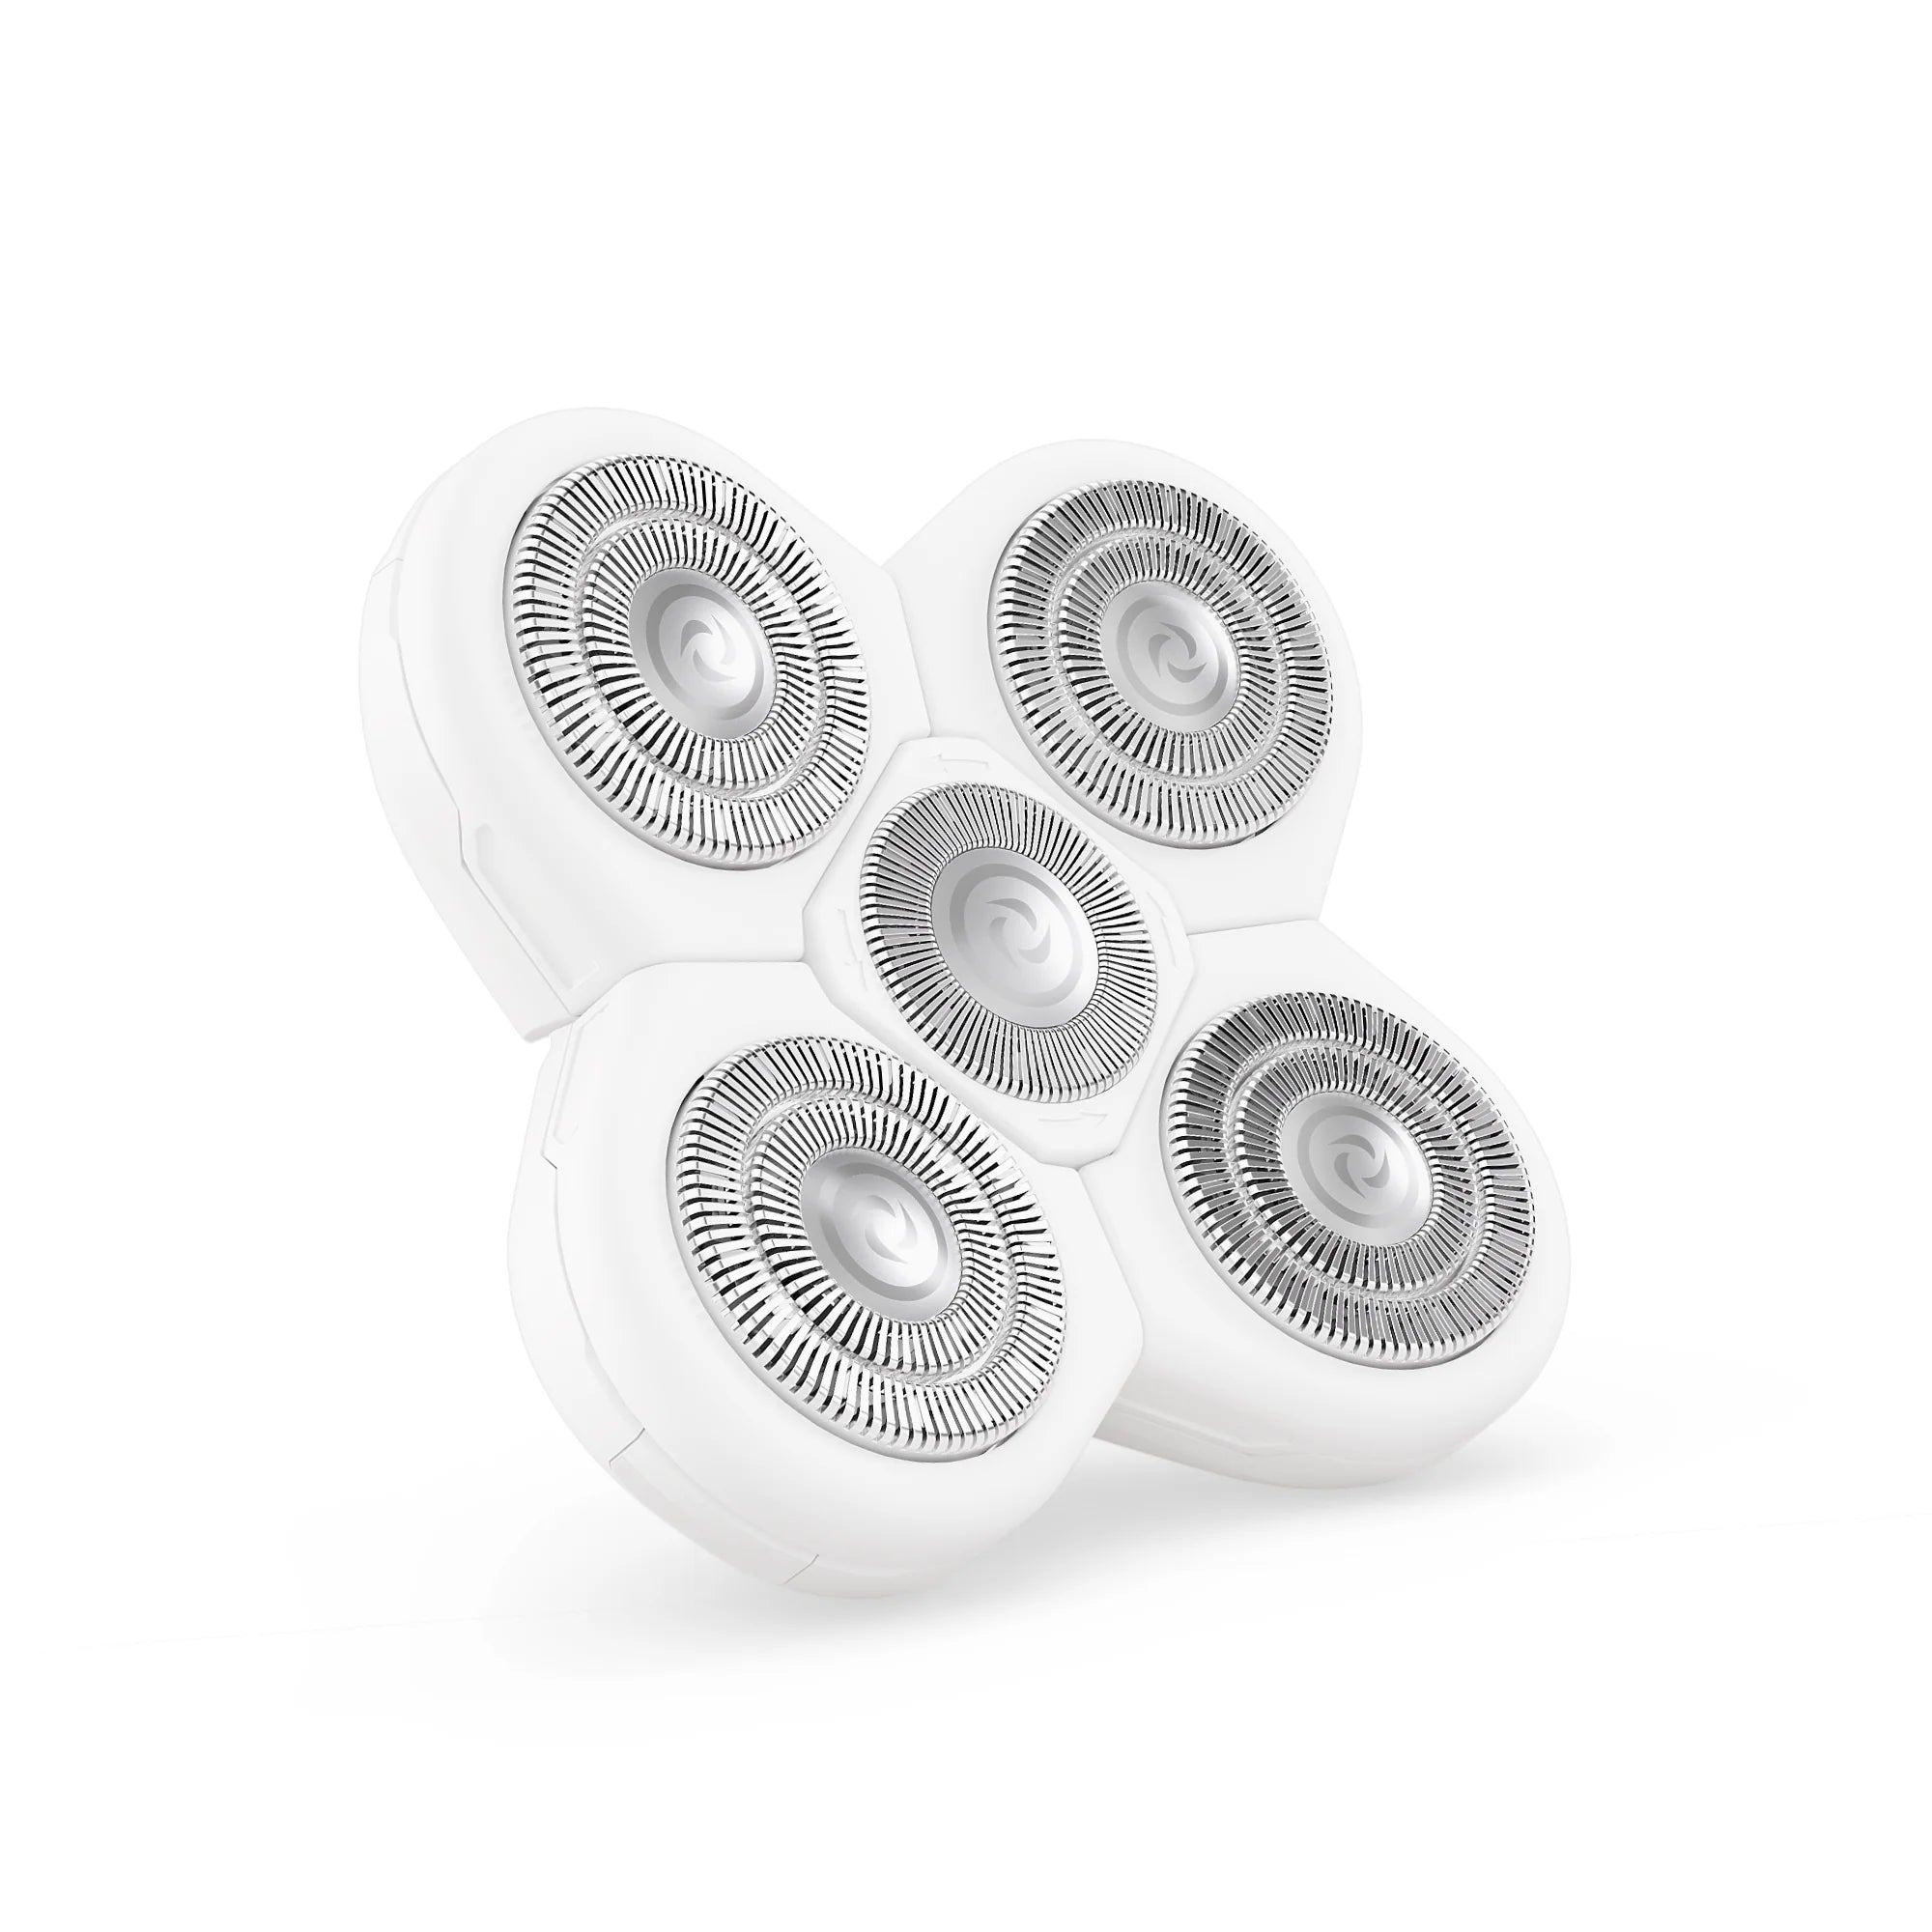
For most users, blade replacement every 6–12 months is recommended. The FlexSeries® Shaving Kit includes replacement blades and foils for a seamless upgrade.
How to Clean Accessories Like Trimmers and Clippers
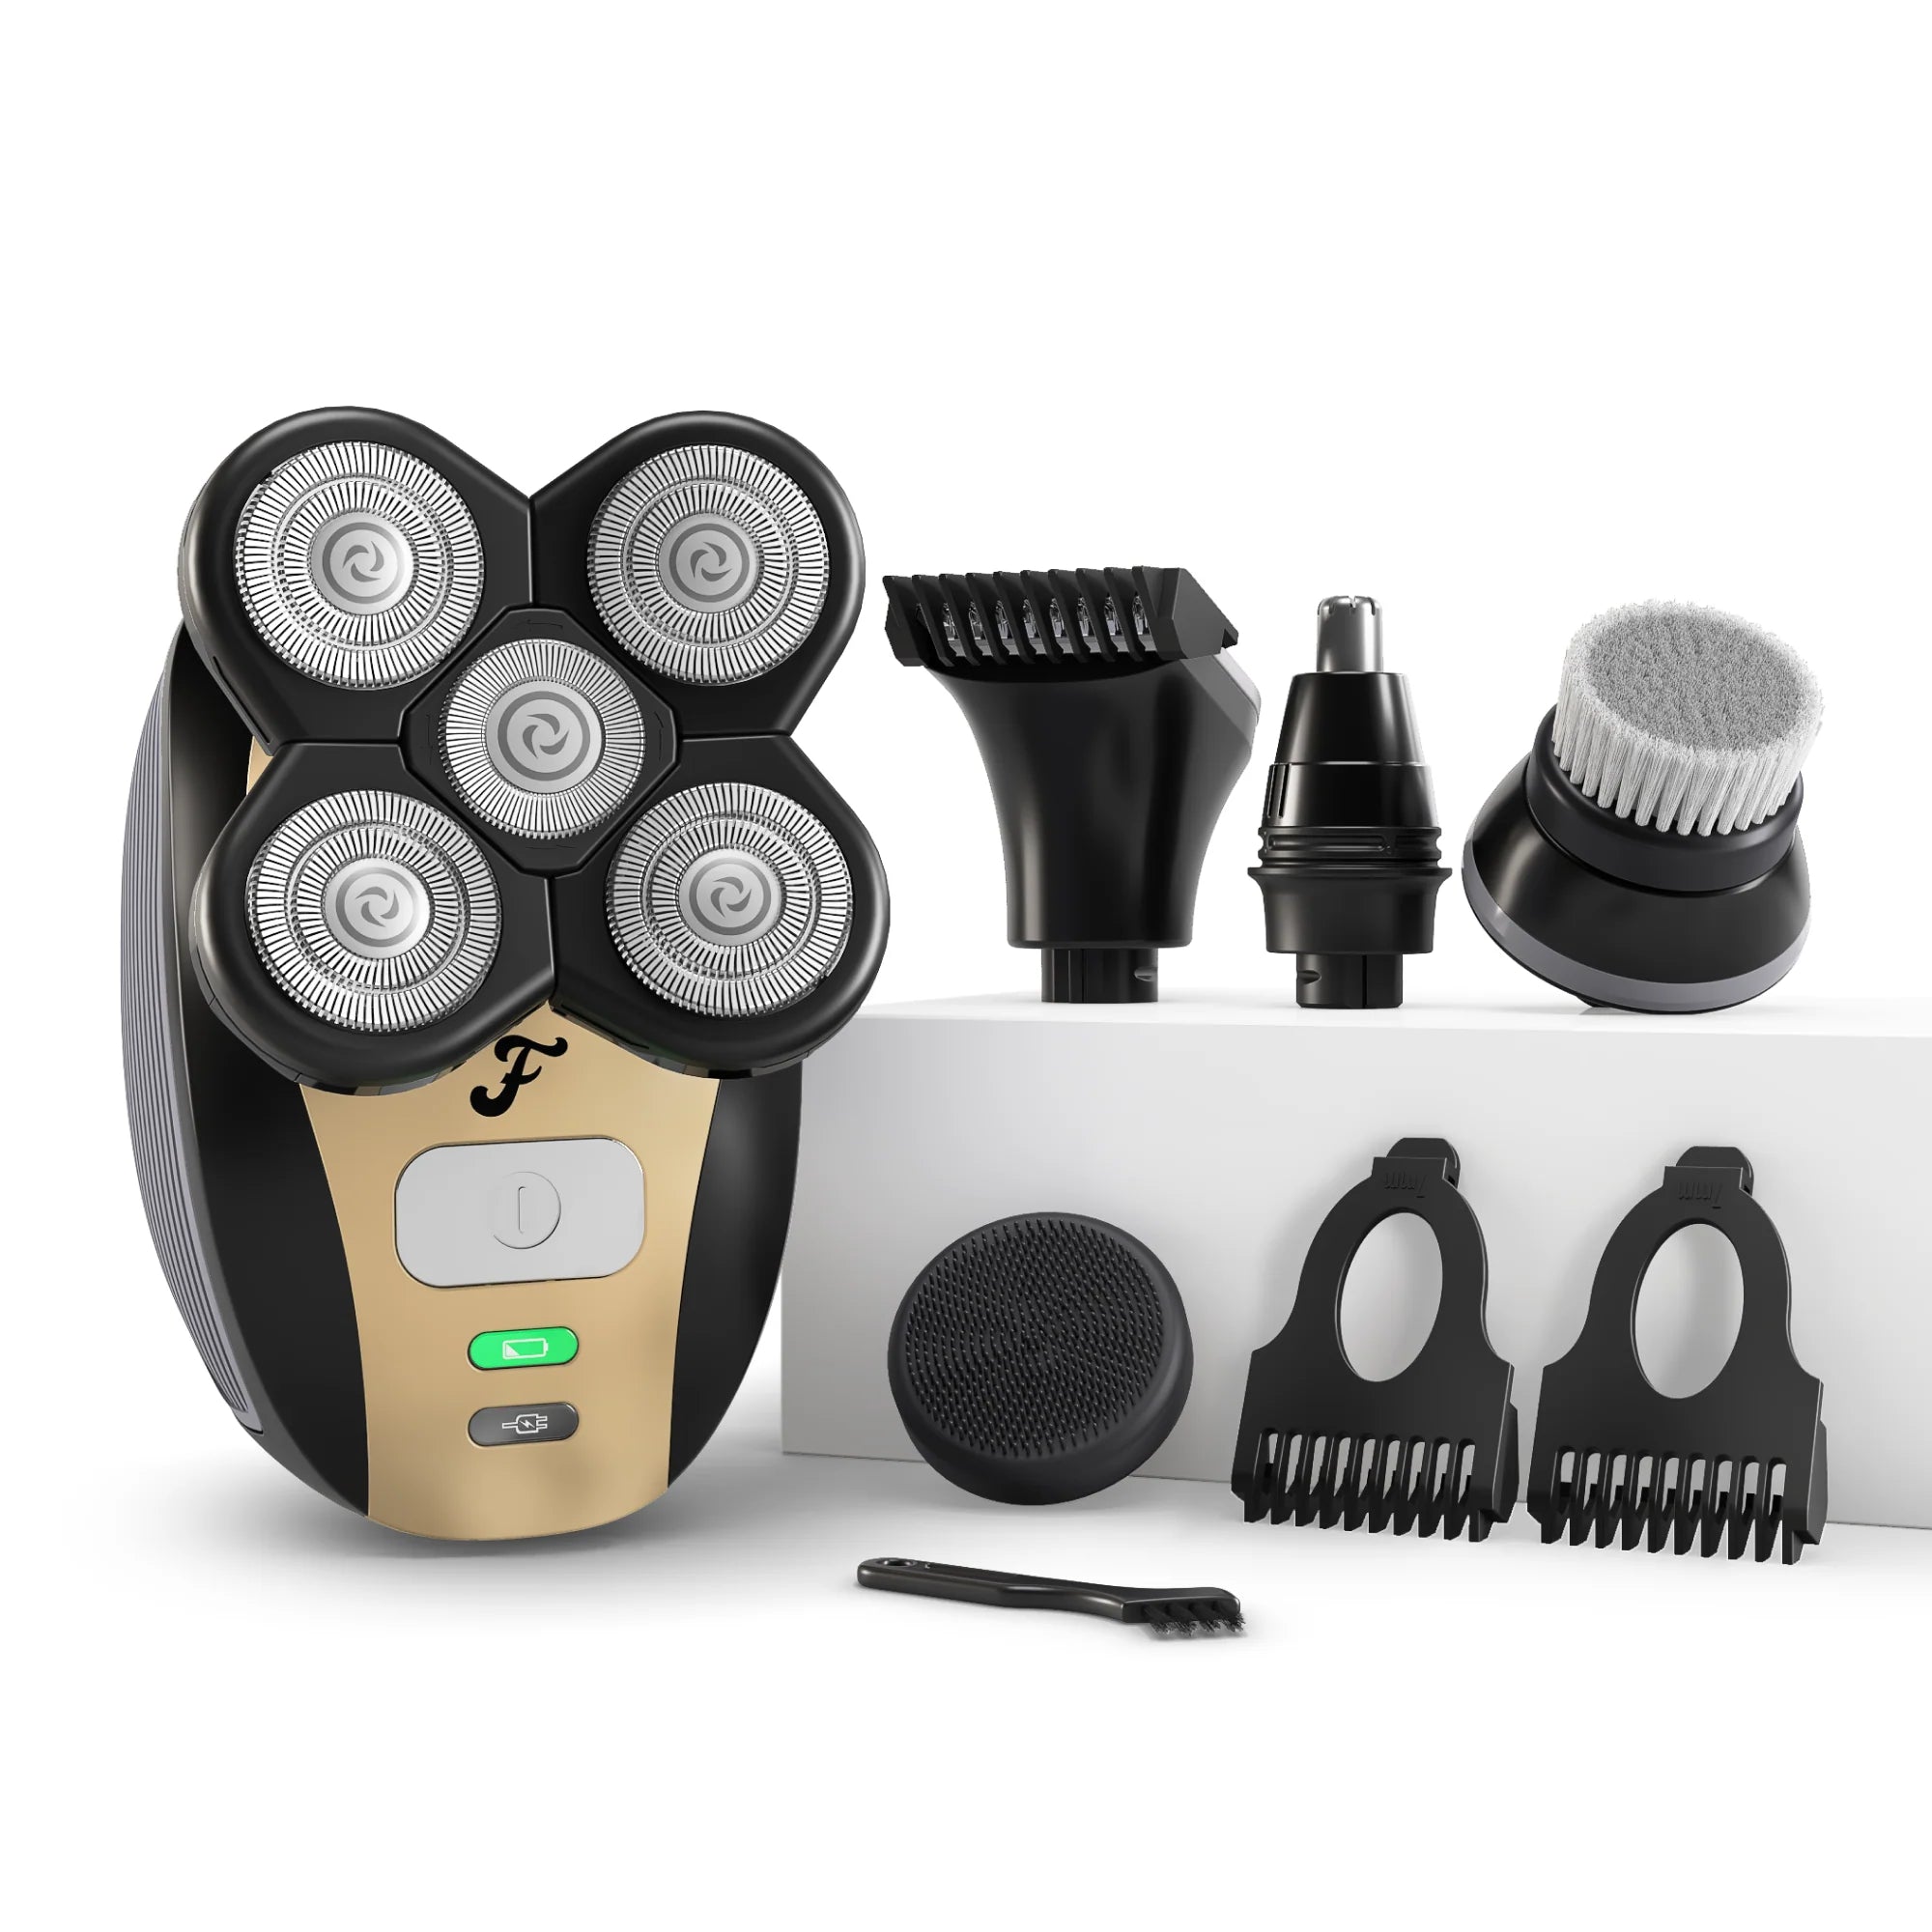
If you use a beard trimmer or clipper alongside your shaver, clean them similarly. Remove the guard and brush out hair. For deeper cleaning, remove the blade assembly and soak in warm soapy water. Never submerge the motor body. Dry thoroughly before reassembling. The FlexSeries® Attachment Kit makes it easy to switch between shaving and trimming with interchangeable heads.
Storage and Charging Best Practices
Where you store your shaver affects its performance. Avoid humid bathrooms; instead, keep it in a dry, cool place. Use a charging dock to prevent battery drain and protect the shaver head. The FlexSeries® Travel Case is ideal for on-the-go storage, keeping your shaver clean and protected.
Conclusion: Make Cleaning a Habit
Cleaning your electric shaver takes just a few minutes but pays off in better shaves, fewer skin issues, and longer equipment life. By integrating these steps into your grooming routine, you'll maximize your investment. Ready to upgrade your grooming setup? Explore the Freebird® His & Hers Bundle for a complete shaver and accessories kit designed for easy cleaning and maintenance. Your skin will thank you.