How to Extend the Life of Your Electric Shaver Blades: Maintenance and Replacement Tips
By Myfreebird | Published: 2026-06-12
Category: How-to Guides
Learn expert tips to extend the life of your electric shaver blades, including cleaning, lubrication, and replacement signs for optimal performance.
Your electric shaver is a daily workhorse, but its blades are the heart of its performance. Over time, even the best blades dull, leading to irritation, missed hairs, and frustrating tugs. The good news? With proper care, you can significantly extend the life of your shaver blades, saving money and ensuring a consistently smooth shave. Whether you use a high-performance kit like the FlexSeries® Shaving Kit or a specialized head shaver, understanding maintenance and knowing when to replace parts is essential. In this guide, we’ll cover everything from daily cleaning routines to recognizing the tell-tale signs of blade wear.
Why Blade Maintenance Matters
Shaver blades are precision tools. They rely on sharp, aligned edges to cut hair cleanly at the surface. When neglected, debris, skin oils, and hair clippings accumulate between the blades and foils. This buildup causes friction, which generates heat and accelerates dulling. Worse, dirty blades can harbor bacteria, leading to skin breakouts or infections. Regular maintenance not only prolongs blade life but also preserves the shaver’s motor efficiency and your skin’s health.
Step 1: Daily Cleaning – The Non-Negotiable Habit
The simplest way to extend blade life is to clean your shaver after every use. Most modern electric shavers are designed for quick rinsing. Follow these steps:
- Rinse under warm water: Remove the shaver head (if detachable) and rinse the blades and foils under a gentle stream. Avoid hot water—it can warp foils or damage seals.
- Use a brush: For stubborn hairs, use the included cleaning brush to sweep debris from between the blades. Never use a metal brush—it can scratch the blade edges.
- Let air dry: Shake off excess water and leave the shaver head open to dry completely before reassembling. Moisture trapped inside can rust blades.
- Apply lubricant weekly: A drop of light machine oil (often included with shavers) on the blades after cleaning reduces friction and prevents rust.
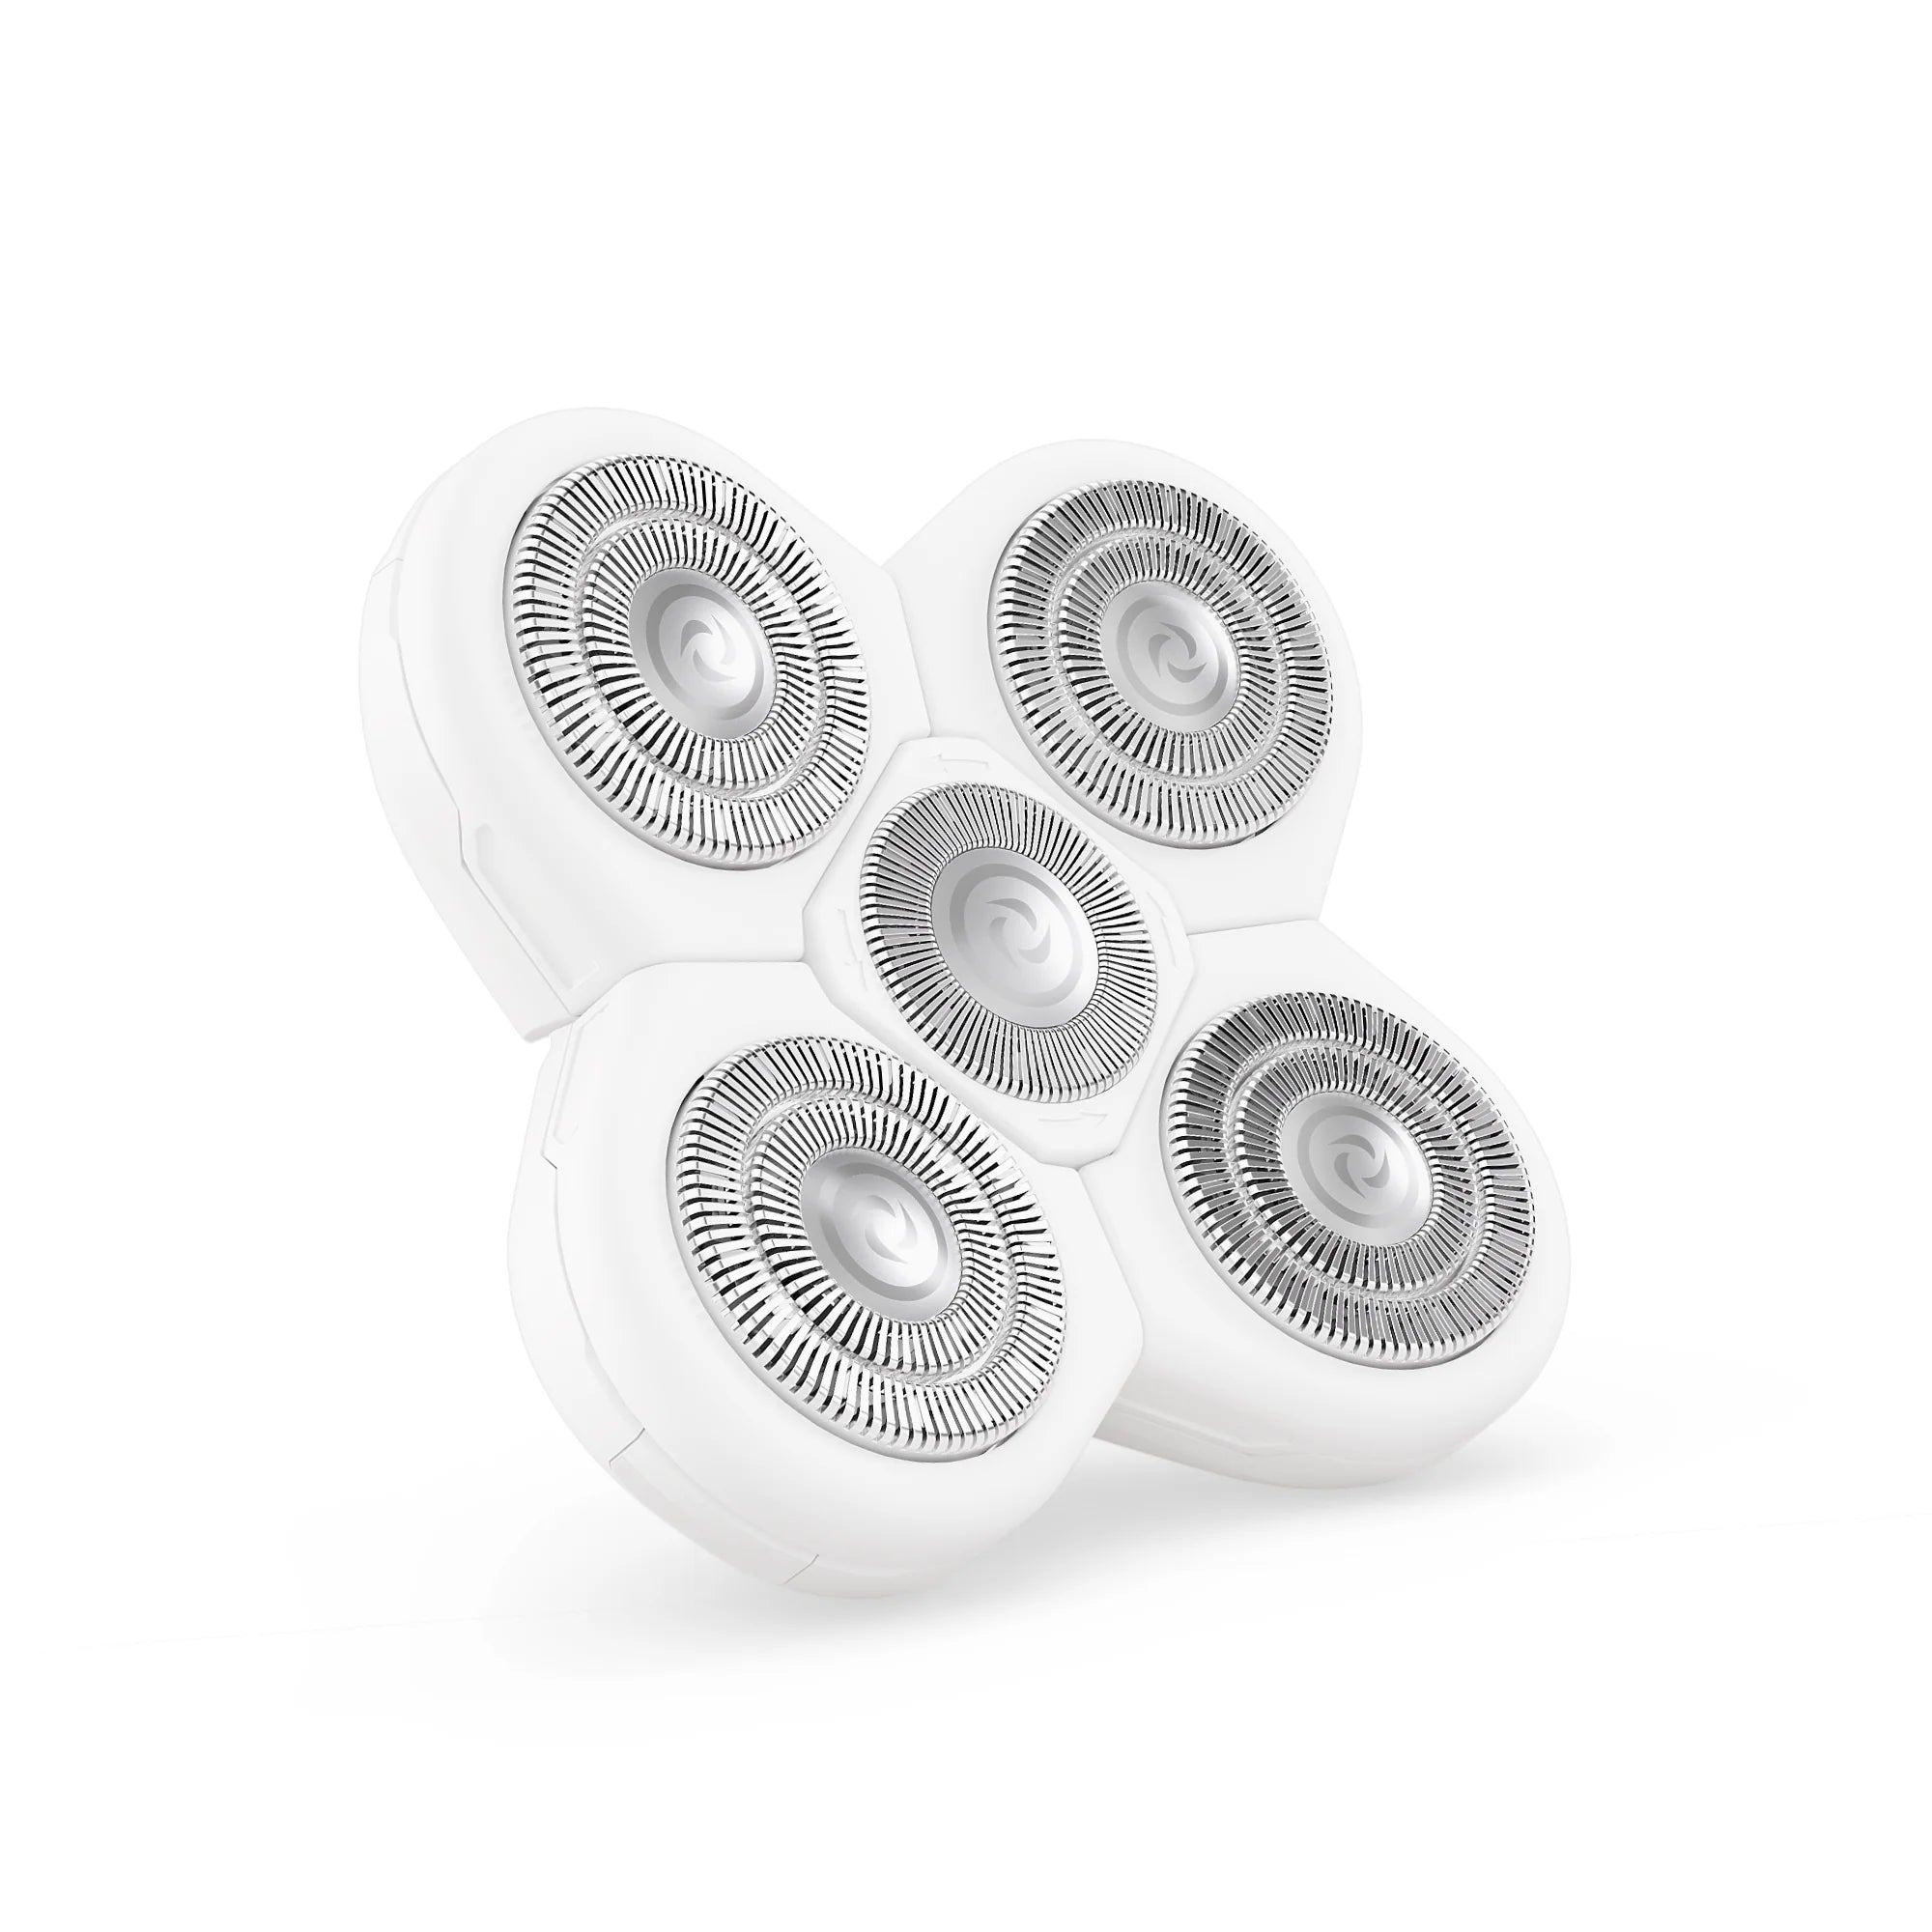
If you use a premium shaver like the Perfect Head Kit, which features a unique pivoting head, pay extra attention to the pivot mechanism—hair can get lodged there and restrict movement.
Step 2: Deep Cleaning – Monthly Maintenance
Once a month, give your shaver a thorough cleaning. This removes oil buildup and fine particles that rinsing alone misses.
- Disassemble completely: Remove the foil, cutter block, and any guards.
- Soak in mild soapy water: Use a drop of dish soap in a bowl of warm water. Soak the removable parts for 5–10 minutes. Never submerge the main body unless it’s explicitly waterproof.
- Gently scrub: Use an old toothbrush or the cleaning brush to scrub the blade surfaces and foil. For stubborn residue, a 50/50 vinegar-water solution can help dissolve mineral deposits.
- Rinse and dry thoroughly: Rinse with clean water, pat dry with a lint-free cloth, and let all parts air dry for at least an hour before reassembly.
- Lubricate: After drying, add a drop of oil to the blades and run the shaver for 10 seconds to distribute it.
Step 3: Signs It’s Time to Replace Your Blades
Even with impeccable care, blades eventually wear out. Here’s what to watch for:
| Sign | What It Means | Action |
|---|---|---|
| Pulling or tugging sensation | Blades are dull—they’re no longer slicing cleanly. | Replace the cutter block or foil. |
| Increased skin irritation | Dull blades create micro-abrasions on the skin. | Replace and check your pre-shave routine. |
| Uneven shave or missed patches | The foil may have a tiny dent or the blade alignment is off. | Inspect and replace the foil. |
| Loud or rattling noise | Worn bearings or misaligned blades. | Service or replace the head assembly. |
| Visible corrosion or rust spots | Moisture damage—blades are compromised. | Replace immediately to avoid skin infection. |
Most manufacturers recommend replacing the blades and foils every 12 to 18 months with regular use. If you shave daily or have thick, coarse hair, consider replacing them sooner—every 6 to 12 months.
Step 4: Proper Storage to Prevent Damage
How you store your shaver between uses has a direct impact on blade longevity.
- Keep it dry: Store in a dry, ventilated area—not in a closed, humid bathroom cabinet.
- Use a protective cap: Always replace the blade guard when traveling or storing the shaver in a drawer. This prevents accidental nicks on the foil.
- Charge correctly: Avoid leaving the shaver on the charger 24/7. Overcharging can degrade the battery, which affects motor speed and blade performance. Follow the manufacturer’s charging guidelines.
Step 5: The Role of Pre-Shave and Post-Shave Products
Your shaver’s blades work better when your skin and hair are prepped correctly. Use a pre-shave lotion or gel to soften hair and reduce friction. The Soothing Shave Gel is an excellent choice—it creates a slick barrier that allows the blades to glide effortlessly, reducing drag and heat. Post-shave, apply a moisturizer or balm to calm the skin, which minimizes the chance of irritation that might make you blame the blades. A clean, well-lubricated blade paired with good skin prep is the ultimate combination for longevity.
When to Repair vs. Replace
Sometimes a blade issue is actually a symptom of a deeper problem. Before buying new blades, check these quick fixes:
- Clean thoroughly: A clogged blade can mimic dullness. Deep clean first.
- Check alignment: Ensure the foil and cutter are seated correctly. A misaligned foil can cause a tugging sensation.
- Test with oil: Dry blades create friction. Lubricate and test again.
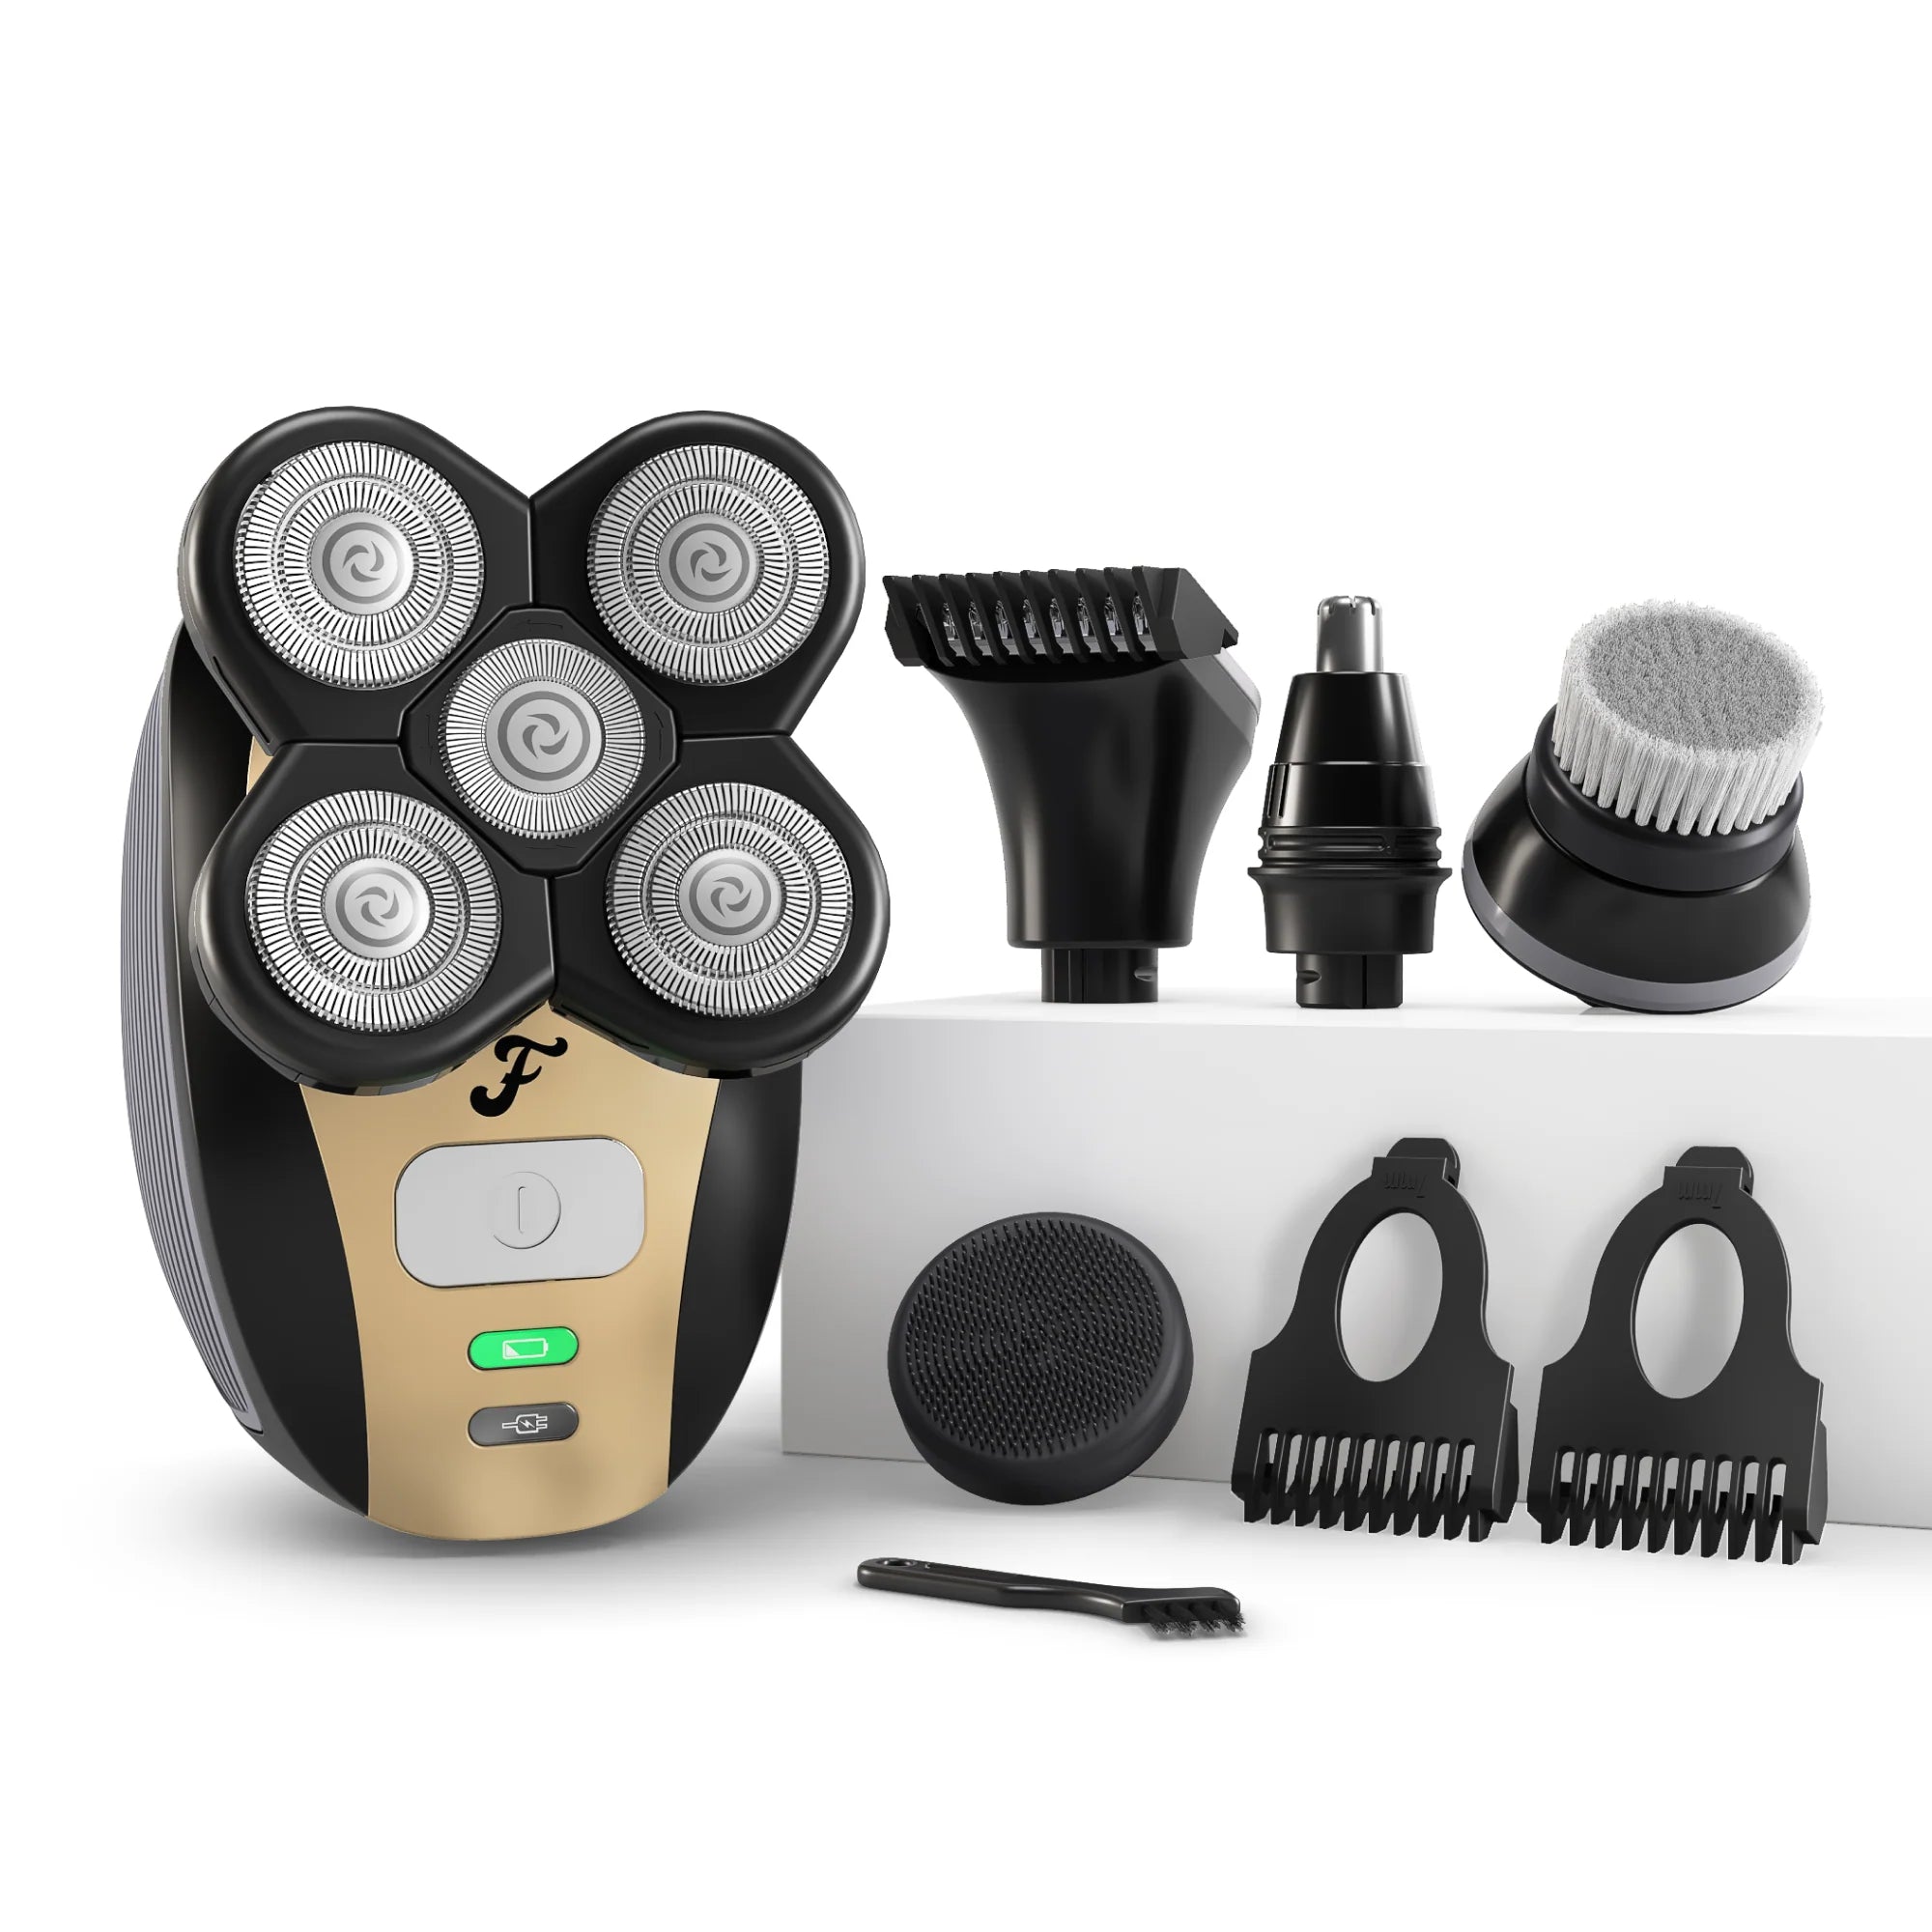
If these steps don’t restore performance, it’s time for a replacement. For high-end models like those in the FlexSeries lineup, replacement cutter blocks and foils are typically available as separate parts. Buying a replacement set is almost always cheaper than buying a new shaver.
Final Thoughts: Invest in Care, Reap the Rewards
Your electric shaver is an investment in your grooming routine. By adopting a simple daily cleaning habit, scheduling monthly deep cleans, and knowing when to replace worn parts, you can keep your shaver performing like new for years. Remember, the blades are the only part of the shaver that physically touches your skin—keeping them sharp and clean is the best way to achieve a comfortable, irritation-free shave every time.
Ready to upgrade your grooming experience? Explore the FlexSeries® Shaving Kit today and discover how precision engineering and easy maintenance come together for the ultimate shave.